Sony NV-U70 User Manual
Sony nv-u70: installation instruction
Hide thumbs
Also See for NV-U70:
- User manual (121 pages) ,
- Quick start manual (68 pages) ,
- Specifications (2 pages)
Advertisement
Quick Links
Read
Read
This
This
First
First
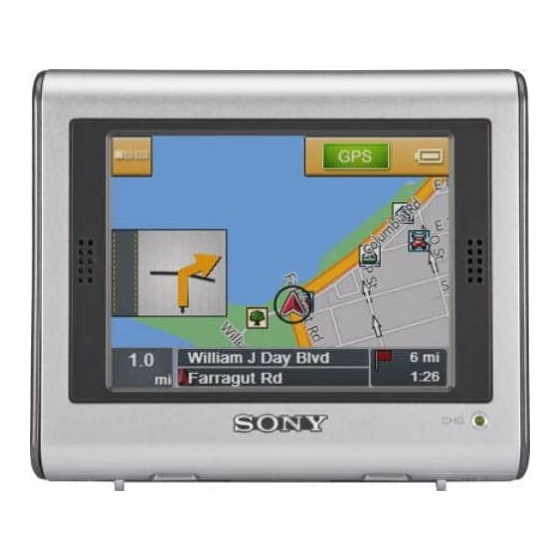
NV-U70
NV-U70
Please take a few moments to review this User Guide
and all its contents.
Please ensure that both the USB and Power Supply
connections are not disturbed during the update.
3
• Verify that the partnership between PC and NV-U70 has
been activated.
6
Notice that when browsing the various map options,
different regions will highlight in orange. Select the
region in which you will most likely be traveling In the
foreseeable future.
1
• Slide the POWER switch on the bottom of the NV-U70 to OFF.
• Plug in the power cable to the NV-U70. Plug in the USB cable
to the NV-U70 and then to the PC. Slide the POWER switch on
the bottom of the NV-U70 to ON.
• Insert the Update DVD into your PC DVD-ROM drive and
select your language.
4
• Select the Map Manager to select which map zone
segment you would like to update on your NV-U70.
Note: Due to the nature of the updated, highly-detailed
map content, the entire US map cannot fit on the NV-U70
at one time.
7
Please be patient during the update process as it can take
a few hours to complete.
Load times can vary depending upon your PC settings, as well
as the physical size of the actual chosen map segment.
2
If you have previously installed ActiveSync, skip to Step 4.
If not, please continue below.
• Select Install PC connection software from the
main window.
• Select Next to begin ActiveSync installation. Follow the
prompts to establish a partnership with your NV-U70.
5
• Loading new software to your NV-U70 will delete all
pre-existing maps. In some cases your Favorites will
no longer be compatible.
• If you agree to these terms Select Yes.
8
Congratulations, you have successfully updated
your NV-U70!
• Select OK. Exit out of the Sony Personal Navigation
System update disc. Slide the POWER switch on the
bottom of the NV-U70 to OFF.
• Disconnect your NV-U70 from both the power cord
and the USB cable.
• Slide the POWER switch on the bottom of the NV-U70
to ON and follow the prompts.
continue
Advertisement

Related Manuals for Sony NV-U70


Summary of Contents for Sony NV-U70
- Page 1 • Slide the POWER switch on the bottom of the NV-U70 to OFF. • Plug in the power cable to the NV-U70. Plug in the USB cable to the NV-U70 and then to the PC. Slide the POWER switch on the bottom of the NV-U70 to ON.
-
Page 2: Map Manager
Notes: Due to the nature of the updated, highly-detailed map content, the entire US map cannot fit on the NV-U70 at one time. You can swap maps at a later time by re-using the update disc. Sony cannot be responsible for the loss of personal content, such as ‘Favorites’ during the update process as certain points may not be compatible with the updated content.