Getinge Decomat 4656 Installation Instructions Manual
Hide thumbs
Also See for Decomat 4656:
- Operating instructions manual (16 pages) ,
- Installation instructions manual (16 pages)

Related Manuals for Getinge Decomat 4656


Summary of Contents for Getinge Decomat 4656
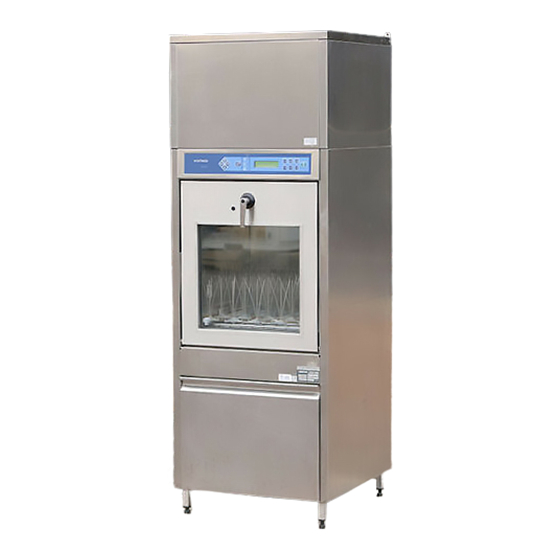
- Page 1 Installation instructions Decomat 4656 INSTALLATION INSTRUCTIONS Decomat 4656 Serial no. 701600 - 4997985-02 9809...
-
Page 2: Table Of Contents
Decomat 4656 Installation instructions Contents Safety rules _______________________________________________ 3 General safety rules _______________________________________ 3 Power cut-off device ______________________________________ 3 Caution symbols _________________________________________ 3 Installation ________________________________________________ 4 Wall-mounted model ______________________________________ 5 Free-standing model ______________________________________ 5 Connection of electricity, water, steam and drain ________________ 7... -
Page 3: Safety Rules
Installation instructions Decomat 4656 Safety rules This machine is designed with a number of integrated safety devices. To avoid personal injury it is essential that the safety devices are not bypassed or in any other way put out of action. -
Page 4: Installation
Decomat 4656 Installation instructions Installation • Pull the machine (standing on a transport pallet) to where it is to stand. • Remove the detergent compartment. • Lift the machine from the transport pallet. • Place the machine in position and set the adjusting screws of the feet to make the machine stand firm and level. -
Page 5: Wall-Mounted Model
Installation instructions Decomat 4656 Wall-mounted model • If the machine is fitted with two doors and is to be installed in a wall, the clearance between wall and machine must be at least 15 mm. • If several machines are mounted in-line, they must be adjusted to the same height when being installed (especially important when a loading trolley is used). - Page 6 Decomat 4656 Installation instructions • Check that the door and both side panels are parallel. If not: • Remove the lower front panel and adjust the machine. • Adjust the machine by turning the nuts to the left or right accordingly.
-
Page 7: Connection Of Electricity, Water, Steam And Drain
Installation instructions Decomat 4656 Connection of electricity, water, steam and drain Installation may be made by authorized personnel only. • The machine should be fitted with a power cut-off device with a 3 mm gap in the mains supply feed to facilitate maintenance and servicing. - Page 8 Decomat 4656 Installation instructions • Fit the connections for water, and steam if used, with separate shut-off cocks. Flush the water and any steam pipes that are to be connected to the machine so that they are clean and thus prevent clogging of filters and valves.
- Page 9 Installation instructions Decomat 4656 • Connect a de-aerator to the dryer (if the machine is fitted with one), diameter: 63 mm. Fig. 8. Connections for drain and evacuation from dryer Adjustable within this range V198 V196 Adjustable within this range...
-
Page 10: Functional Check
Decomat 4656 Installation instructions Functional check • Ensure that the machine is connected to the correct power supply and that the drain, water, steam and condensate connections are correctly made. Open the water and steam cocks. • Fill the detergent and rinsing agent bottles and place their level alarms in the bottles. -
Page 11: Technical Data
Installation instructions Decomat 4656 Technical data Weight: Machine without dryer 145 kg Machine with dryer 175 kg Width 650 mm Depth 690 mm Height: Single machine without dryer 1460 Single machine with dryer1860 Double machine 1860 mm Environmental requirements: Humidity, maximum 80% at 31 °C... - Page 12 Decomat 4656 Installation instructions Electric power- Japan Variant G2 200 V, 3+E, 50/60 Hz (TN) Fuse 3x30 A Rated power 9,0 kW Variant V2 without dryer 200 V, 3+E, 50/60 Hz (TN) Fuse 3x10 A Rated power 1,5 kW Variant V2 with dryer...
-
Page 13: Electric Circuit Diagram
Installation instructions Decomat 4656 Electric circuit diagram 9809... - Page 16 This product is manufactured by: GETINGE DISINFECTION AB, Ljungadalsgatan 11, Box 1505, 351 15 Växjö, Sweden...