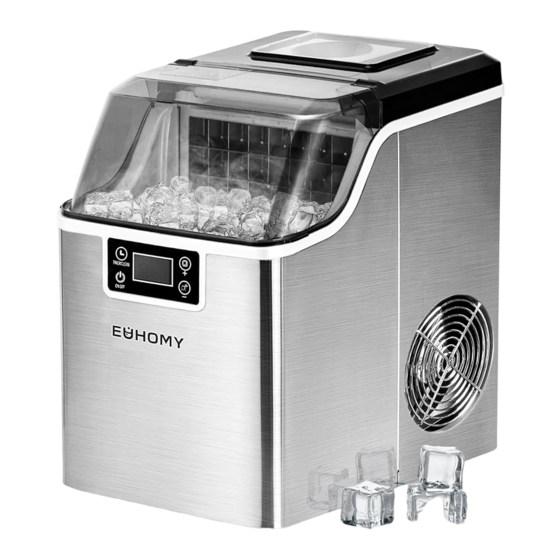
Summary of Contents for Euhomy IM-FP
- Page 1 Ice Maker Instruction Manual SKU:IM-FP Email:support@euhomy.com Facebook:@Euhomy.Official...
- Page 3 Email: support@euhomy.com. Facebook: @Euhomy.Official The Euhomy team is available 24/7 to address your questions, comments, and concerns. Your satisfaction is our ultimate goal. We want to make everything right so you'll share your positive experience with other shoppers on Amazon.
- Page 4 It may be that the PUA tube inside the machine fell off during transportation. You can remove the back cover of the machine and connect it by yourself. If you don't know how to operate, please contact the Euhomy team. We will give you a professional video to help you solve the problem.
-
Page 5: Table Of Contents
Contents Safety Precautions 02-03 Operation & Installation 03-07 Tips & Maintenance Specifications Warranty Troubleshooting (support@euhomy.com) -
Page 6: Safety Precautions
Safety Precautions IMPORTANT SAFETY TIPS When using electrical appliances, basic safety precautions should be followed to reduce the risk of fire, electric shock, and injury to persons or property. Read all instructions before using any appliance. Do not operate this or any other appliance with a damaged cord. If the supply cord is damaged, it must be replaced by the manufacturer, its service agent, or a similarly qualified person in order to prevent a hazard. - Page 7 Safety Precautions Note: The wires in this electrical cord are color-coded as follows: Green or Green with a strip COLOR WIRING Yellow Grounding White Neutral Black Live To prevent a hazard resulting from instability of the appliance, it must be placed on a flat, even surface.
-
Page 8: Operation & Installation
Operation & Installation ASSEMBLY AND PARTS 1.Control panel A.TIMER/CLEAN button Quickly press this button once to enter the timer settings. Press and hold the button for more than 5 seconds to enter the cleaning program. B.ON/OFF button Press this button to turn the unit on or off. When the unit is making ice cubes, press this button for more than 5 seconds to force the ice harvesting process. - Page 9 Operation & Installation UNPACKING YOUR ICE MAKER Remove the exterior and interior packaging. Check that the ice basket and ice scoop are included. If any parts are missing, please contact Customer Service. Clean the interior with a soft cloth dampened with plain lukewarm water. Take out the ice basket and scoop, and wash them in warm, soapy water.
- Page 10 Operation & Installation OPERATION PANEL AND DISPLAY AREA DISPLAY OPERATION OPERATION AREA AREA AREA 1.Remove the water tank cover and pour potable water into the tank. Be sure to keep the water level Water tank lid 1.below the maximum level (see FULL mark in the image below). Warning: Do not pour water into the internal water tank located underneath the ice basket.
- Page 11 Operation & Installation 4.When the Ice Full indicator < > is on, the unit will stop running. Take out the ice cubes and the unit will start working again. While the ice maker is running, press and hold the <ON/OFF> button for at least 5 seconds to force ice harvesting.
-
Page 12: Tips & Maintenance
Tips & Maintenance CLEANING AND MAINTAINING YOUR ICE MAKER Before using your ice maker, it is strongly recommended to clean it thoroughly. Take out the ice basket. Clean the interior with diluted detergent, warm water, and a soft cloth. Rinse the interior with clean water. Drain out the water through the drainage port by removing the drain cap on the back and taking out the silicone plug. -
Page 13: Specifications
Specifications TECHNICAL PARAMETERS IM-FP Protection Type Climate Type SN/N/ST Power 115V/60Hz Ice-Making Current 2.2A Ice-Harvest Current 2.5A Refrigerant R290/32g Net Weight 9.5kg Vesicant C5H10 Enclosure Plastic CIRCUIT DIAGRAM ELECTRICAL DIAGRAM Solenoid Valve magneticcontrol FOR ICE-MAKER Start switch Relay Overload for water temp... -
Page 14: Warranty
Warranty Euhomy offers a limited 1-year warranty (“ warranty period" ) on all of our products purchased new and unused from Euhomy company, with an original proof of purchase and where a defect has arisen, wholly or substantially, as a result of faulty manufacture, parts or workmanship during the warranty period. -
Page 15: Troubleshooting-Support@Euhomy.com
Troubleshooting-support@euhomy.com Possible Cause Problem Solution Check the main water supply pressure or check the water supply hose is blocked or No water supply. not, adding the water pressure or cleaning the hose necessary. Floating ball of the water level Clean the water tank and the water level "... - Page 16 Email:support@euhomy.com Facebook:@Euhomy.Official...


