Samsung DVD-VR325/ Manuals
Manuals and User Guides for Samsung DVD-VR325/. We have 6 Samsung DVD-VR325/ manuals available for free PDF download: Instruction Manual
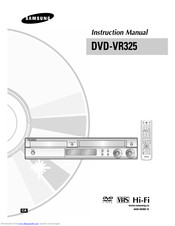
Samsung DVD-VR325/ Instruction Manual (89 pages)
Samsung DVD Player Instruction Manual
Brand: Samsung
|
Category: DVD VCR Combo
|
Size: 10.53 MB
Table of Contents
Advertisement
Samsung DVD-VR325/ Instruction Manual (89 pages)
Samsung DVD-HR720 DVD-VCR Instruction Manual
Brand: Samsung
|
Category: DVD VCR Combo
|
Size: 6.53 MB
Table of Contents
Samsung DVD-VR325/ Instruction Manual (110 pages)
Brand: Samsung
|
Category: DVD VCR Combo
|
Size: 10.7 MB
Table of Contents
Advertisement

Samsung DVD-VR325/ Instruction Manual (95 pages)
Brand: Samsung
|
Category: DVD Player
|
Size: 6.32 MB
Table of Contents

Samsung DVD-VR325/ Instruction Manual (94 pages)
Brand: Samsung
|
Category: DVD VCR Combo
|
Size: 8.59 MB
Table of Contents

Samsung DVD-VR325/ Instruction Manual (90 pages)
Brand: Samsung
|
Category: DVD VCR Combo
|
Size: 10.55 MB
Table of Contents
Advertisement