Daikin ERGA06EAV3 Manuals
Manuals and User Guides for Daikin ERGA06EAV3. We have 3 Daikin ERGA06EAV3 manuals available for free PDF download: Installer's Reference Manual
Daikin ERGA06EAV3 Installer's Reference Manual (268 pages)
Table of Contents
-
-
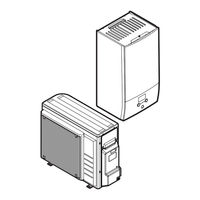
Outdoor Unit20
-
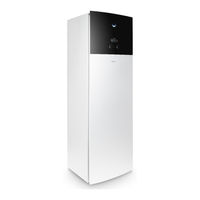
Indoor Unit22
-
-
-
-
-
10 Configuration
131-
Possible Screens135
-
Home Screen136
-
Main Menu Screen139
-
Menu Screen140
-
Setpoint Screen140
-
Settings Menu151
-
Malfunctioning151
-
Room151
-
Main Zone155
-
Additional Zone165
-
Tank179
-
User Settings186
-
Information191
-
Operation209
-
Wlan210
-
-
11 Commissioning
215 -
-
-
15 Disposal
246 -
17 Glossary
265
Advertisement
Daikin ERGA06EAV3 Installer's Reference Manual (264 pages)
Table of Contents
-
General7
-
Water10
-
Electrical11
-
Outdoor Unit20
-
Indoor Unit22
-
Single Room29
-
Configuration124
-
Possible Screens128
-
Home Screen129
-
Main Menu Screen132
-
Menu Screen133
-
Setpoint Screen133
-
2-Points Curve139
-
Settings Menu144
-
Malfunctioning144
-
Room144
-
Main Zone148
-
Additional Zone158
-
Tank172
-
User Settings179
-
Information183
-
Operation203
-
Wlan204
-
Commissioning207
-
Troubleshooting225
-
Disposal236
-
To Pump down236
-
Technical Data239
-
Glossary252

Daikin ERGA06EAV3 Installer's Reference Manual (256 pages)
Brand: Daikin
|
Category: Air Conditioner
|
Size: 14.74 MB
Table of Contents
-
-
-
-
-
-
10 Configuration
116-
Possible Screens120
-
Home Screen121
-
Main Menu Screen123
-
Menu Screen124
-
Setpoint Screen124
-
Settings Menu135
-
Malfunctioning135
-
Room135
-
Main Zone139
-
Additional Zone148
-
Space Heating153
-
Tank159
-
User Settings165
-
Information170
-
Operation188
-
-
11 Commissioning
193 -
-
-
15 Disposal
222 -
17 Glossary
242
Advertisement
Advertisement