Canon WUX450 Manuals
Manuals and User Guides for Canon WUX450. We have 5 Canon WUX450 manuals available for free PDF download: User Manual, User Commands, Specifications

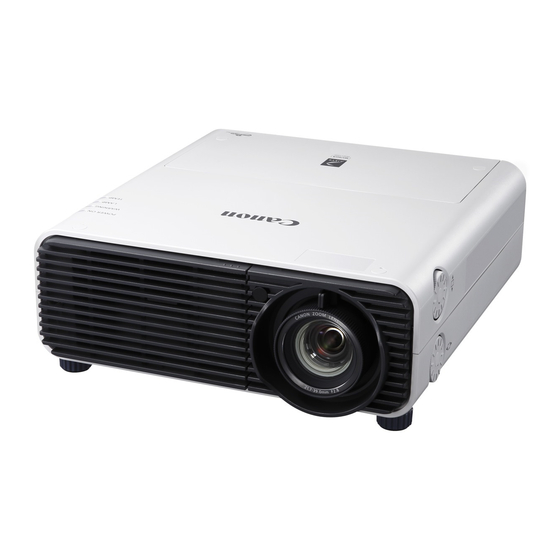
Canon WUX450 User Manual (314 pages)
Table of Contents
-
-
For Safe Use
28 -
Before Use
31-
Part Names
37-
-
Bottom Side37
-
Front Side37
-
Rear Side37
-
-
-
Bottom Side38
-
Front Side38
-
Rear Side38
-
-
Side Control42
-
-
Operation
49 -
-
-
-
Windows 755
-
Windows 855
-
Mac os X56
-
Windows XP56
-
-
-
Wux450/Wx52058
-
-
-
Using Menus
84 -
-
-
Correcting Gamma100
-
Adjusting Colors101
-
-
No Signal Screen109
-
-
Installation
125-
-
-
-
-
-
Ceiling Mounting147
-
Rear Projection147
-
-
-
-
-
-
Windows 7178
-
Windows Vista179
-
Mac os X180
-
Windows XP180
-
-
-
Maintenance
197 -
-
-
Installation211
-
Uninstallation213
-
Advertisement
Canon WUX450 User Manual (314 pages)
Table of Contents
-
-
For Safe Use
28 -
Before Use
31-
Part Names
37-
-
Front Side37
-
Rear Side37
-
Bottom Side37
-
-
-
Front Side38
-
Rear Side38
-
Bottom Side38
-
-
Side Control42
-
-
Operation
49 -
-
-
-
Windows 855
-
Windows 755
-
Windows XP56
-
Mac os X56
-
-
-
Wux450/Wx52058
-
-
-
-
Using Menus
84 -
-
-
Correcting Gamma100
-
Adjusting Colors101
-
-
No Signal Screen109
-
-
Installation
125-
-
-
-
-
-
Ceiling Mounting147
-
Rear Projection147
-
-
-
-
-
-
Windows 7178
-
Windows Vista179
-
Windows XP180
-
Mac os X180
-
-
-
Maintenance
197 -
-
Installation
210-
Installation211
-
Uninstallation
213

Canon WUX450 User Manual (308 pages)
Multimedia projector
Table of Contents
-
-
For Safe Use
28 -
Before Use
31-
Part Names
36-
Projector36
-
Front Side36
-
Rear Side36
-
Bottom Side37
-
-
Side Control40
-
-
Operation
47 -
-
-
Using Menus
82 -
-
-
-
No Signal Screen107
-
-
Installation
123-
-
-
-
-
-
Ceiling Mounting144
-
Rear Projection144
-
-
-
-
-
-
Windows 7174
-
Windows Vista175
-
Mac os X176
-
Windows XP176
-
-
-
Maintenance
193 -
-
-
Installation207
-
Uninstallation209
-
Advertisement
Canon WUX450 User Commands (61 pages)
MULTIMEDIA PROJECTOR
Table of Contents
-
-
Example14
-
-
-
6Axadj16
-
6Axr17
-
6Axg18
-
6Axb19
-
6Axc20
-
6Axm21
-
6Axy22
-
Ambadj23
-
Amblevel23
-
Ambtype24
-
Asela124
-
Asela225
-
Aselc25
-
Aseld26
-
Aselh26
-
Aspect27
-
Autopc27
-
Autosetexe28
-
Avol28
-
Blank29
-
Bri29
-
Color_Temp30
-
Comver30
-
Cont31
-
Dgamma31
-
Dzoom_Pos32
-
Dzoom_Rat33
-
Err34
-
Fine_Gamma_R35
-
Fine_Gamma_G36
-
Fine_Gamma_B37
-
Fltwrn38
-
Freeze38
-
Gamma39
-
Hdmi_In39
-
Hdmi_Ovscan40
-
Hue40
-
Image41
-
Imageflip42
-
Input42
-
Krep43
-
Lamp43
-
Lampcounter44
-
Lmpwrn44
-
Main45
-
Memf46
-
Memg46
-
Mems47
-
Mute47
-
Power49
-
Prodcode50
-
Rgbgain53
-
Rgboffset53
-
Romver54
-
Sat54
-
Saveimgprof55
-
Scrnaspect56
-
Sharp56
-
Signal_Info57
-
Signalstatus57
-
Temp58
-
Tptn59
-

Advertisement