Brother Innov-is QC1000 Manuals
Manuals and User Guides for Brother Innov-is QC1000. We have 4 Brother Innov-is QC1000 manuals available for free PDF download: Operation Manual, Manual, Reference Manual
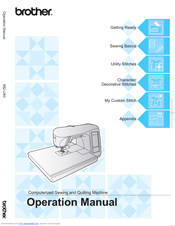
Brother Innov-is QC1000 Operation Manual (162 pages)
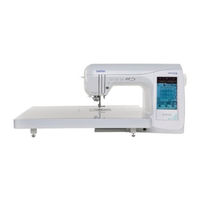
Computerized Sewing and Quilting Machine
Brand: Brother
|
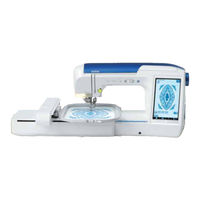
Category: Sewing Machine
|
Size: 5.57 MB
Table of Contents
Advertisement
Brother Innov-is QC1000 Operation Manual (162 pages)
Computerized Sewing and Quilting Machine
Brand: Brother
|
Category: Sewing Machine
|
Size: 4.64 MB
Table of Contents

Brother Innov-is QC1000 Reference Manual (16 pages)
Quick Setup Guide - French
Brand: Brother
|
Category: Sewing Machine
|
Size: 0.76 MB
Table of Contents
Advertisement
Brother Innov-is QC1000 Manual (42 pages)
Accessory Catalog
Brand: Brother
|
Category: Sewing Machine
|
Size: 9.48 MB