Table of Contents
Advertisement
Advertisement
Table of Contents

Related Manuals for Swann STM200N

Summary of Contents for Swann STM200N
- Page 1 STM200N Helpline 0121 327 6889 v1.0 STM200N_IM.indd 1 15/06/2015 11:52...
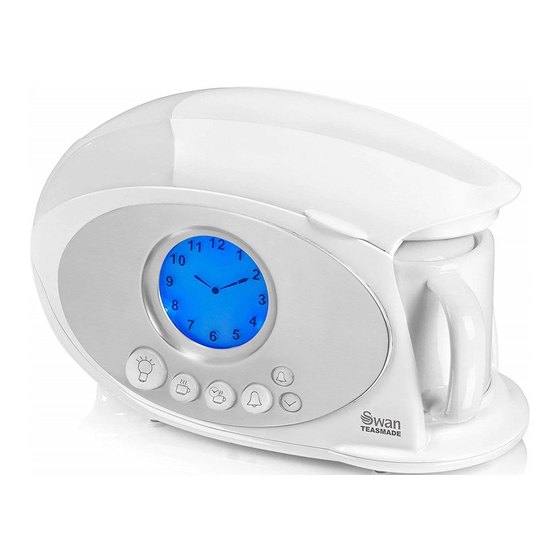
- Page 2 Always operate the appliance on a smooth, even, stable surface. Do not place the unit on a hot surface. • Ensure that the unit is switched off after use. • The manufacturer does not accept responsibility for any damage or injury caused by improper or incorrect use, or for repairs carried out by unauthorised personnel. • In case of technical problems, switch off the product and do not attempt to repair it yourself. Return the appliance to an authorised service facility for examination, adjustment or repair. Always insist on the use of original spare parts. Failure to comply with the above mentions precautions and instructions, could affect the safe operation of this product. • Your appliance must never be switched on through an external timer or any kind of separate remote control system Description: Teasmade Model: STM200N Input Voltage: 230-240V Frequency: 50Hz Power consumption: 780-850 Watts STM200N_IM.indd 2 15/06/2015 11:52...
-
Page 3: How To Use
HOW TO USE Remove all packaging. It is important to ensure the correct plug adaptor is used when operating in a country not using the UK 13 Amp socket system. If in doubt, consult a qualified electrician. • Do not remove the teapot from the base during the filling cycle as scolding water can be ejected. • After filling the tank, ensure the cap is properly secured. Do not open the cap during the boiling cycle • After the tea making cycle is complete, wait a few minutes before removing the filler cap as it will be hot. DO NOT OVERFILL 1. Fill the ceramic jug with water to 1” (25mm) below top. 2. Open the lid and remove the tank cap by turning it anti- clockwise 3. Pour the water from the jug into the tank and replace the tank cap by turning it clockwise. 4. Place the ceramic jug back on it’s stand on the TEASMADE, ensuring that it is resting firmly against the safety switch 5. Press the TEA NOW button and wait... -
Page 4: Alarm Button
HOW TO USE SETTING THE ALARM ONLY The dot on the clock face indicates the alarm time. To set the alarm time press the ALARM SET button. Each press will advance the alarm time by 1 minute. To fast forward the alarm time, press and HOLD the ALARM SET button. Once you release the ALARM SET button, the clock will revert back to the current time and the alarm dot will be displayed. ALARM SET BUTTON Note: there is no am or pm setting. The TEASMADE uses a 12 hour clock. Once the alarm time is set, press the ALARM button so that it lights up. The alarm is now set. Once the alarm time has been reached press the ALARM button to stop the beeps. MAKE SURE THE ALARM BUTTON IS LIT OR YOU MIGHT BE LATE FOR WORK! ALARM BUTTON TEA NOW! If you want the TEASMADE to make tea now, we have equipped it with a handy TEA NOW button! We hope you appreciate the thought and effort we put into naming that button. Fill the tank as described above, put 2 tea bags (or... -
Page 5: Reading Light
HOW TO USE READING LIGHT To use the reading light simply press the reading light button CLEANING & MAINTENANCE READING LIGHT BUTTON Ensure the product is unplugged from the mains and completely cooled before cleaning. The pot should be cleaned daily with warm soapy water, then rinsed with clean water. Do not leave water in the tank for long periods. Wait until the product has cooled before emptying the tank. The outside of the unit can be cleaned with a soft cloth moistened with a mild detergent solution. DO NOT USE CHEMICAL OR ABRASIVE CLEANERS. DO NOT IMMERSE THE UNIT IN WATER. -
Page 6: Warranty
DOCUMENTATION We Swan Products Ltd declare that this product conforms to the following product legislation in accordance with the following directive(s): 2004/108/EC The EMC Directive (the Electromagnetic Compatibility Directive). 2006/95EC. The LVD Directive (Low Voltage Directive). 2011-65-EU. The RoHS directive (Restriction of Hazardous Substances Directive) EC 1935/2004 Food Contact WARRANTY This product is guaranteed for 2 years from the date of original purchase. If any defect arises due to faulty materials of workmanship the faulty products must be returned to the place of purchase. Refunds or replacement is at the discretion of the store. The following conditions apply: •... -
Page 7: Disposal Of Unit
DISPOSAL OF UNIT Appliances bearing the symbol shown here may not be disposed of in domestic rubbish. You are required to dispose of old electrical and electronic appliances like this separately. Please visit www.recycle-more.co.uk or www.recyclenow.co.uk for access to information about the recycling of electrical items. Please visit www.weeeireland.ie for access to information about the recycling of electrical items purchased in Ireland. The WEEE directive, introduced in August 2006, states that all electrical items must be recycled, rather than taken to landfill. Please arrange to take this appliance to your local Civic Amenity site for recycling, once it has reached the end of its life. SWAN BRAND HERITAGE Camden St, Birmingham Did you know... Components for the Swan Teasmade were still being made at the original Bullpitt &... - Page 8 www.swan-brand.co.uk 2 year Est. 1 931 GUARANTEE Scan this QR code We love we’re proud Find us on Facebook to hear about what we do of our quality our story * on selected products Copyright © Swan Products Ltd. PO Box 3117, Stoke-on-Trent ST4 9GD STM200N_IM.indd 8 15/06/2015 11:52...