Table of Contents
Advertisement
Quick Links
Advertisement
Table of Contents

Related Manuals for Breville Technique


Summary of Contents for Breville Technique
- Page 1 ® instructions for use...
-
Page 2: Product Safety
product safety IMPORTANT SAFETY INSTRUCTIONS. READ CAREFULLY AND KEEP FOR FUTURE REFERENCE This product can be used by children aged 8 years and above, and persons who require supervision, provided: • they are familiar with the hazards associated with the product, and, • they receive instruction by a competent person on how to safely use the product. - Page 3 product safety ! Never use this appliance for anything other than its intended use. This appliance is for household use only. Do not use this appliance outdoors. ! Always ensure that hands are dry before handling the plug or switching on the appliance.
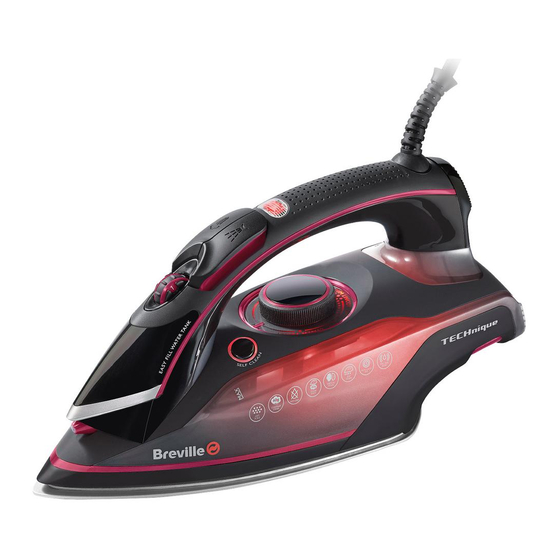
- Page 4 features er t Water tank inlet cover Cord wrap Steam control Ceramic finish soleplate Shot of steam button 10. Illuminated water tank Spray button 11. Temperature control index mark Temperature indicator light 12. Self clean button Temperature control 13. Water level maximum indicator Heel rest 14.
-
Page 5: Before First Use
before first use Remove all packaging including any soleplate protection before heating the iron. Wipe over the soleplate with a cloth moistened with methylated spirit. Remove the methylated spirit with a damp cloth then dry the soleplate thoroughly. Fill the water tank and then empty it. This will rinse out any foreign particles remaining in the water tank from the manufacturing process. - Page 6 filling your iron Never use fabric conditioner, starches or any other chemicals or additives. 1. Ensure the iron is switched off and unplugged from the mains supply socket. 2. Set the steam control to the no steam position (0). 3. Place the iron on its heel on a flat, stable, dry, heat resistant and level surface and open the water tank inlet cover.
-
Page 7: Using Your Iron
using your iron We recommend that you: • Start by ironing those items of laundry that require the lowest temperature (e.g. synthetics). Finish by ironing fabrics which respond best to higher temperatures and steam—such as cotton and linen. • If you iron a fabric made of a blend of fibres set the temperature of your iron to the most delicate fibre. -
Page 8: Ironing Without Steam
using your iron Ironing without steam If you intend to dry-iron fabrics there is no need to fill the water tank. However, if water is already in the water tank, you don’t need to empty it. 1. Set the steam control to the no steam position (0) position. 2. -
Page 9: Vertical Steam Ironing
using your iron Vertical steam ironing Never iron garments when they are being worn. Your iron can be used for vertical steam ironing curtains, dresses on hangers etc. 1. Fill your iron with water. 2. Plug your iron into the mains supply and switch on. 3. - Page 10 using your iron Dry water tank alert The water tank illumination will flash when the water tank needs refilling. Safety auto shut-off function ALWAYS disconnect your iron from the mains supply socket after use. NEVER leave the iron unattended with the Auto Shut-off function in operation. Your iron will shut off if it has not been used for 10 minutes when resting on its heel, or after 30 seconds if it is resting on its soleplate.
-
Page 11: Care And Cleaning
care and cleaning Do not use harsh abrasives, chemical cleaners or solvents to clean the exterior of your iron because they will damage the surface. Cleaning the soleplate of your Iron After each use, allow your iron to completely cool down before wiping the soleplate with a soft damp cloth. - Page 12 care and cleaning Cleaning the Steam Holes To remove build-up from the steam holes which may affect steam performance, use a cotton wool tip moistened in methylated spirits. Wipe over with a damp cloth. To clean the exterior of your iron, wipe over with a damp soft cloth and wipe dry. Ensure the soleplate is then dried thoroughly.
-
Page 13: Connection To The Mains Supply
connection to the mains supply This appliance must be earthed. This appliance is fitted with either a moulded or rewirable BS1363, 13 amp plug. The fuse should be rated at 13 amps and be ASTA approved to BS1362. If the fuse in a moulded plug needs to be changed, the fuse cover must be refitted. The appliance must not be used without the fuse cover fitted. -
Page 14: After Sales Service
after sales service These appliances are built to the very highest of standards. There are no user serviceable parts. Follow these steps if the unit fails to operate: 1. Check the instructions have been followed correctly. 2. Check that the fuse has not blown. 3. - Page 15 guarantee Please keep your receipt as this will be required for any claims under this guarantee. This appliance is guaranteed for 1 year after your purchase as described in this document. During this guaranteed period, if in the unlikely event the appliance no longer functions due to a design or manufacturing fault, please take it back to the place of purchase, with your till receipt and a copy of this guarantee.
- Page 16 The product you buy may differ slightly from the one shown on this carton due to continuing product development. One (1) Year Limited Warranty—see inside for details. Jarden Consumer Solutions (Europe) Limited is a subsidiary of Jarden Corporation (NYSE: JAH). Made in PRC www.breville.co.uk P.N. 172837 93648-0 UKPUL VIN336_Iss_1...