
Related Manuals for Zanussi ZWD 71460 W


Summary of Contents for Zanussi ZWD 71460 W
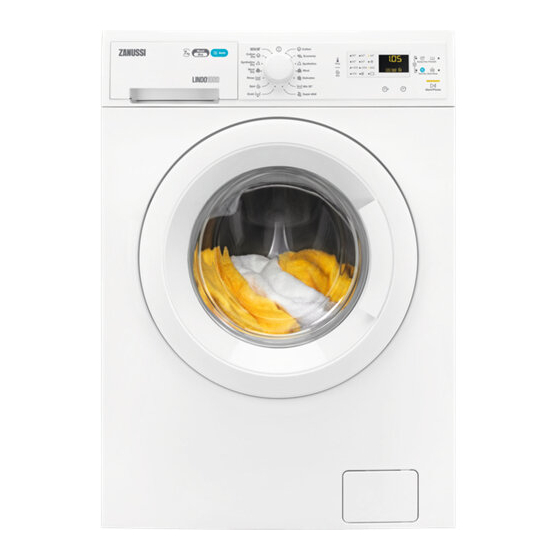
- Page 1 User Manual GETTING STARTED? EASY. ZWD 71460 W ZWD 71463 W EN User Manual Washer Dryer...
-
Page 2: Safety Information
SAFETY INFORMATION Before the installation and use of the appliance, carefully read the supplied instructions. The manufacturer is not responsible if an incorrect installation and use causes injuries and damages. Always keep the instructions with the appliance for future reference. CHILDREN AND VULNERABLE PEOPLE SAFETY WARNING! Risk of suffocation, injury or permanent disability. - Page 3 Connect the mains plug to the mains socket only at the end of • the installation. Make sure that there is access to the mains plug after the installation. The ventilation openings in the base (if applicable) must not be •...
-
Page 4: Safety Instructions
Never stop the wash dryer before the end of the drying cycle • unless all items are quickly removed and spread out so that the heat is dissipated. The final part of a wash dryer cycle occurs without heat (cool •... -
Page 5: Product Description
• Do not touch the glass of the door while a WARNING! Risk of injury or damage programme operates. The glass can be hot. to the appliance. • Do not dry the damaged items which contain padding or fillings. • Do not sit or stand on the open door. -
Page 6: Control Panel Description
To close the door, turn the device anticlockwise until the groove is vertical. CONTROL PANEL CONTROL PANEL DESCRIPTION Temp. Spin Programme knob Additional rinse (Extra Rinse) Spin reduction (Spin) Automatic drying level (Auto Dry) Temperature (Temp.) Start/Pause (Start/Pause) Display Delay start Drying time (Drying Time) Time save... - Page 7 The time area : The programme duration. Selected drying time. : The delay start. : The alarm codes. : The message of error. : The programme is completed. Time programme indicators : Normal duration indicator. : Quick indicator. : Super quick indicator. Delay start indicator.
-
Page 8: Programme Chart
PROGRAMMES PROGRAMME CHART Maximum load Programme Programme description Maximum spin Temperature range (Type of load and soil level) speed Washing programmes 7 kg White cotton and coloured cotton. Normal Cotton 1400 rpm soil and light soil. 90°C - (Cold) 7 kg White cotton and colour-fast cotton. - Page 9 Maximum load Programme Programme description Maximum spin Temperature range (Type of load and soil level) speed 1.5 kg A short cycle for synthetics and delicate Miniprogramme 800 rpm items with light soil level or for items to 30°C freshen up. 1) The washing programme Economy at 60ºC with a load of 7 kg and the drying programme Cotton Dry are the reference programmes for the data entered in the energy label, in compliance with EEC 92/75 standards.
-
Page 10: Programmes For Automatic Drying
Programme ■ ■ ■ ■ ■ ■ ■ ■ ■ ■ ■ ■ 1) Only the QUICK option is available. 2) Available only if the last spin speed step is lower than 800 rpm. PROGRAMMES FOR AUTOMATIC DRYING Dryness Level Type of fabric Load Cottons and Linen... -
Page 11: Consumption Values
Spin Suggested Dryness Level Type of fabric Load (kg) speed duration (rpm) (mins) Cupboard Dry Cottons and Linen 1400 180 - 200 For items to put away (bathrobes, bath towels, etc) 1400 105 - 125 1400 45 - 65 Cupboard Dry Synthetics and mixed fab- 1200 95 - 110... -
Page 12: Drying Time
Energy con- Approximate pro- Water con- Programmes Load (kg) sumption gramme duration (mi- sumption (litre) (kWh) nutes) Delicates 40 °C 0.53 Wool/Handwash 30 °C 0.25 1) «Cotton Energy Saving programme » at 60°C with a load of 7 kg is the reference programme for the data entered in the energy label, in compliance with EEC 92/75 standards. -
Page 13: Before First Use
• QUICK: to wash items with daily soil. Some programmes accept only one of • SUPER QUICK: to wash quickly items with these options. almost no soil. SETTINGS CHILD LOCK • To activate/deactivate this option press With this option you can prevent that the children at the same time until the indicator play with the control panel. -
Page 14: Detergent Compartments
USING DETERGENT AND ADDITIVES 4. Position B for liquid de- tergent. 1. Measure out the de- tergent and the fabric conditioner. 2. Put the detergent and the fabric condi- tioner into the com- partments. 3. Carefully close the detergent drawer. 5. -
Page 15: Interrupting A Programme And Changing The Options
• The drain pump can operate for a short time Before starting the new programme when the appliance fills water. the appliance could drain the water. In this case, make sure that the detergent After approximately 15 minutes from is still in the detergent compartment, if the start of the programme: not fill the detergent again. -
Page 16: Daily Use - Drying Only
To drain the water: The energy saving status decreases the energy consumption when the appliance is on the stand 1. If necessary, decrease the spin speed. If you , the appliance only drains. • All indicators and the display go off. 2. -
Page 17: Daily Use - Washing & Drying
calculates also the duration of the anti- • In the display comes on. crease and the cooling phases. • The indicator goes off. 2. Press to start the programme. • The last minutes of the drying cycle the • The display shows regularly a new time appliance performs a cooling and anti-crease value. -
Page 18: Hints And Tips
The released fluff could stick to the fabrics during shows the final time value , that is the total the next cycle. duration of the washing and drying cycles (washing This inconvenient increases with technical fabrics. + drying + anti-crease + cooling phases). To prevent the fluff in your laundry, we recommend If you set only 10 minutes of drying that you:... - Page 19 DETERGENTS AND ADDITIVES ITEMS NOT TO DRY • Only use detergents and additives specially Do not set a drying programme for this made for washing machines: laundry: – powder detergents for all types of fabric, • Very delicate items. – powder detergents for delicate fabrics (40 •...
-
Page 20: Care And Cleaning
When the drying programme is completed remove the laundry in a short time. CARE AND CLEANING MAINTENANCE WASH WARNING! Refer to Safety chapters. With the low temperature programmes it is possible that some detergent stays in the drum. Make regularly a maintenance wash. To do this: EXTERNAL CLEANING •... -
Page 21: Cleaning The Inlet Hose And The Valve Filter
CLEANING THE INLET HOSE AND THE VALVE FILTER 45° 20° EMERGENCY DRAIN FROST PRECAUTIONS Because of a malfunction, the appliance cannot If the appliance is installed in an area where the drain the water. temperature can be less than 0° C, remove the remaining water from the inlet hose and the drain If this occurs, do steps (1) through (9) of 'Cleaning pump. -
Page 22: Troubleshooting
WARNING! Make sure that the temperature is more than 0 °C before you use the appliance again. The manufacturer is not responsible for damages caused by low temperatures. TROUBLESHOOTING • - The appliance does not drain the water. WARNING! Refer to Safety chapters. •... - Page 23 Problem Possible solution Make sure that the connection of the water inlet hose is correct. The appliance does not fill Make sure that the drain hose is in the correct position. The hose may with water and drain imme- be too low. diately.
-
Page 24: Emergency Door Opening
Problem Possible solution The cycle is shorter than The appliance calculates a new time according to the laundry load. the time displayed. See the ‘Consumption Values’ chapter. The cycle is longer than An unbalanced laundry load increases the duration time. This is a nor- the time displayed. -
Page 25: Technical Data
To open the door, proceed as follows: 5. Take out the laundry and then close the appliance door. 1. Turn the selector to position to switch the 6. Close the filter flap. appliance off. 2. Disconnect the mains plug from the mains socket. - Page 28 WWW.ZANUSSI.COM/SHOP...