Table of Contents
Advertisement
Quick Links
Advertisement
Table of Contents

Related Manuals for Wharfedale Pro WCA7393F

Summary of Contents for Wharfedale Pro WCA7393F
- Page 1 WCA7393F STEREO CAR MP3 CD RECEIVER INSTRUCTION MANUAL EON • PTY • CT...
-
Page 2: Installations
INSTALLATIONS • Use only the supplied mounting hardware for a safe and secure installation. Supporter x 1 Nut x 1 Installation sleeve x 1 Screw x 1 Washer x 2 Spring washer x 2 Lever x 2 PRECAUTIONS • This unit is designed for negative ground 12-V DC operation only. •... - Page 3 INSTALLATIONS Mount the unit Fire wall Supporter Washer Spring washer Screw Note Bend the claws Spring washer according to the Washer thickness of the dashboard. Installation sleeve Dashboard When removing the unit from the installation sleeve If you need to remove the unit from the installation sleeve, proceed as follows: 1.
- Page 4 CONNECTIONS This unit is designed for negative ground 12-V DC operation CONNECTION DIAGRAM only. NEVER! Connect the cord of each speaker in common From Antenna to ground. To the ISO connector of vehicle (power supply) Note If you want to use the leads with the ISO connector removed, make sure to connect each lead to the correct terminal according to the list of colours of leads below.
-
Page 5: Before Use
BEFORE USE NOTE INCORRECT WIRING. In addition to this operating instructions manual, The manufacturer is not responsible for any be sure to refer to the labels on the unit as well. defect that may occur due to incorrect wiring of this product. PRECAUTIONS Never connect the cord of each speaker in... -
Page 6: Names Of Controls
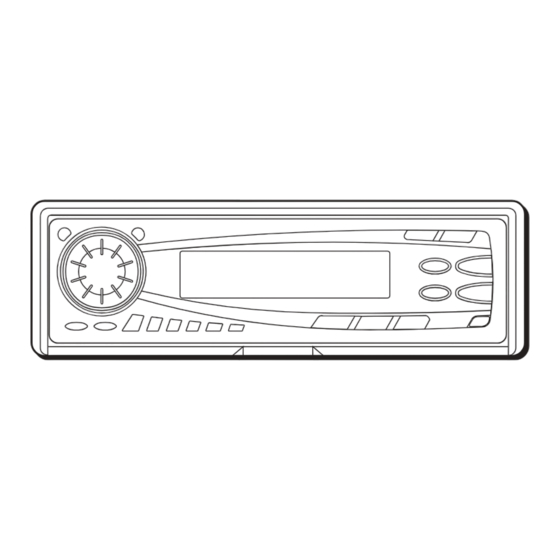
NAMES OF CONTROLS MAIN UNIT 5 6 7 DISPLAY WINDOW 28 29 30 31 32 33 34 35 LOCAL REG LOUD AF TA TP EON PTY OPEN button (for disc compartment) 20. INT (intro-scan) button 2. VOLUME control 21. RPT (repeat) button 22. -
Page 7: Detaching And Attaching The Front Panel
DETACHING AND ATTACHING THE FRONT PANEL TO DETACH THE FRONT PANEL • Do NOT touch the connector on the reverse side of the front panel, as doing so may Before detaching the panel, remove the disc to contaminate the connector and cause a poor prevent possible damage to the unit. -
Page 8: Setting The Clock
SETTING THE CLOCK Each time you press DISP, the display changes as Switch on. follows. Radio mode: Press DISP to select clock mode and then hold Frequency DISP for more than 2 seconds. PS indication (option) Clock CD mode: Clock CD Track no. -
Page 9: Radio Operation
RADIO OPERATION LISTENING TO THE RADIO STORING THE STATIONS IN MEMORY AUTOMATICALLY Switch on. Switch on. Press BAND button to select band. Select band. Press and hold BAND/AMS button for more than 2 Band Frequency seconds to activate the automatic store function. FM1, FM2, FM3 have the same frequency range. -
Page 10: Manual Station Preset
RADIO OPERATION MANUAL STATION PRESET PRESET STATION TUNING Switch on. Switch on. Press BAND button to select band. Press BAND button to select band. Press to seek frequency up. Tune. Press to seek frequency Press the desired preset station button less 2 down. -
Page 11: Using Rds Features
USING RDS FEATURES What's RDS? Displaying the station name Developed by the European Broadcasting Union If the received station has a program service name, (EBU), the Radio Data System (RDS) offers the station name is displayed. listeners various information services, such as •... - Page 12 USING RDS FEATURES Receiving traffic announcements • Press TA to turn off traffic announcements and Once the unit is set in the TA (traffic announcement) return to CD. This clears the TA mode and Standby mode, you can hear traffic announcements returns to the CD mode.
-
Page 13: Adjusting The Sound Characteristics
ADJUSTING THE SOUND CHARACTERISTICS MUTE button Switch on. Press the MUTE button to temporarily cut the volume. "MUTE ON" appears. Press it again to restore the SEL (select) button previous volume. "MUTE Select the control mode with OFF" appears for a few the SEL button. -
Page 14: Playing Compact Discs
PLAYING COMPACT DISCS Press MODE button to select CD mode. Random play (Playing the selections in random order) • Press 4/RND (random play) button to start random play. "RDM ON" is displayed for a few seconds. Pressing 4/RND button again will cease random play. -
Page 15: Troubleshooting
MP3 FILE DISC PLAYBACK TROUBLE SHOOTING RESET BUTTON Insert a MP3 file disc. The unit starts to read the The Reset button is visible when you detach the disc. After reading disc, track no. & playing time are shown and playing starts. MP3 indicator will front panel. -
Page 16: Specifications
SPECIFICATIONS RADIO SECTION (FM) Frequency Range: 87.5 MHz - 108 MHz (50-kHz step) 50 dB Quieting Sensitivity: 17.2 dBf IF Rejection: 80 dB Frequency Response: 30 Hz-15,000 Hz S/N Ratio: 63 dB Stereo Separation: 35 dB at 1 kHz Alternate Channel Selectivity: 70 dB Capture Ratio: 3 dB...