Table of Contents
Advertisement
Advertisement
Table of Contents

Summary of Contents for La Crosse Technology WS-7159U
- Page 1 WS-7159U Wireless 433 MHz Radio-controlled Weather Station Instruction Manual...
-
Page 2: Table Of Contents
TABLE OF CONTENTS Topic Inventory of Contents/Additional Equipment About WWVB Quick Set-Up Guide Detailed Set-Up Guide Battery installation Program Mode Program Sequence and Default Settings Function Keys Setting the LCD Contrast Setting the Time Zone Daylight Saving Time Setting Radio-controlled Time Setting 12/24-hour Time Setting Setting the Time Setting the Year, Day and Month... -
Page 3: Inventory Of Contents/Additional Equipment
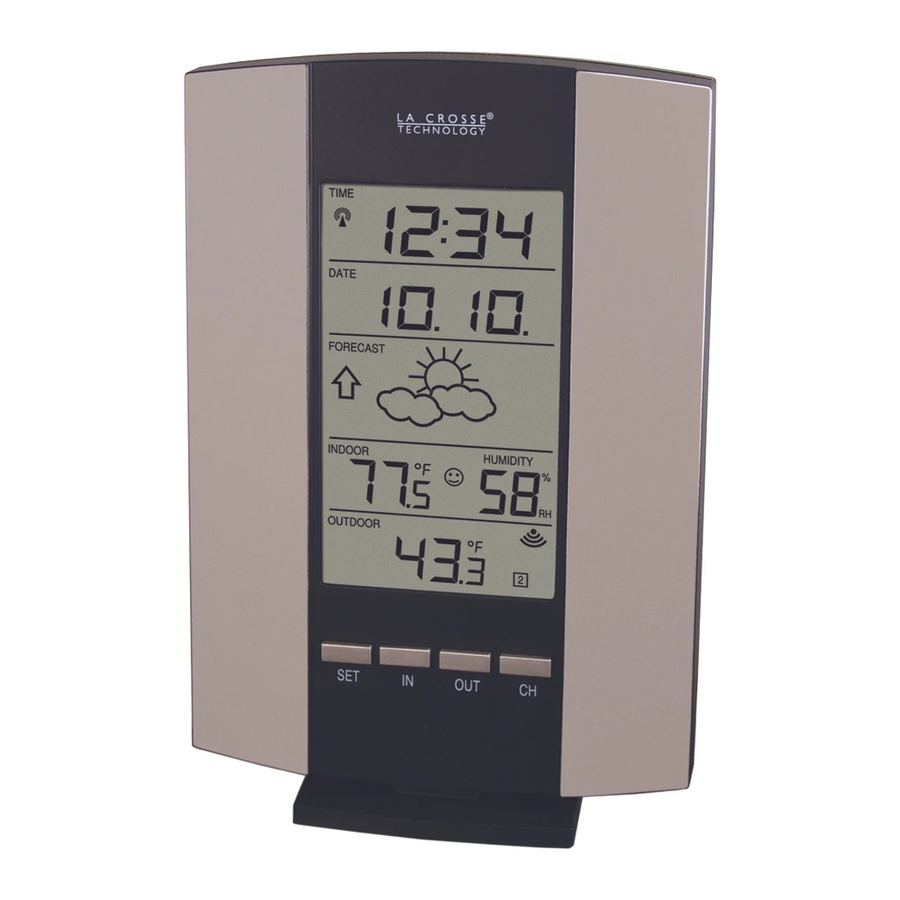
INVENTORY OF CONTENTS 1. The indoor weather station (Figure 1). 2. One remote temperature sensor with mounting bracket (Figure 2). 3. Three each, ½” Philips screws. 4. One strip double-sided adhesive tape. 5. Instruction manual and warranty card. Time LCD Date LCD Forecast LCD Indoor LCD... -
Page 4: Quick Set-Up Guide
QUICK SET-UP GUIDE Hint: Use good quality Alkaline Batteries and avoid rechargeable batteries. 1. Have the indoor weather station and remote temperature sensor 3 to 5 feet apart. 2. Batteries should be out of both units for 10 minutes. 3. Place the batteries into the remote temperature sensor first then into the indoor weather station. -
Page 5: Program Mode
A. REMOTE TEMPERATURE SENSOR 1. Remove the mounting bracket. bracket snaps on and off easily. 2. Remove the battery cover, by sliding the cover down. 3. Observing the correct polarity install 2 AA batteries. The batteries will fit tightly (to avoid start-up problems make sure they do not spring free). -
Page 6: Function Keys
time-date readings. If you don’t leave the program mode during the programming of sections IV through XI, you can advance to step 4 of the next program setting. If you do leave the program setting (or want to program a specific setting) follow each instructional step to program that setting. - Page 7 Note: There are 8 LCD contrast levels to choose from—“Lcd 0” is the lightest, and “Lcd 7” is the darkest. 3. Press and release the IN button to select the level you desire. 4. Press and release the SET button to confirm and advance to the Time Zone setting.
-
Page 8: Daylight Saving Time Setting
HAW; 6. Press and release the SET button to confirm and advance to the Daylight Saving Time setting. DAYLIGHT SAVING TIME (DST) SETTING 1. Press and hold the SET button for 5 seconds. 2. “LCD” will show in the time LCD and the number setting will flash. - Page 9 VII. 12 OR 24 HOUR TIME SETTING 1. Press and hold the SET button for 5 seconds. 2. “LCD” will show in the time LCD and the number setting will flash. 3. Press and release the SET button four times. 4.
-
Page 10: Setting The Year, Day And Month
may manually set the time or leave the time function alone (reception will occur regardless). B. MANUAL TIME SETTING Note: When in the 12-hour format “P.M.” will appear to the left of the hour in the time LCD between the hours of noon and midnight. 1. -
Page 11: Setting The Snooze
10. Press and release the SET button to confirm and advance to the snooze setting. SETTING THE SNOOZE Note: This is an unused function of the indoor weather station and should be disregarded. The setting has no bearing on the operation. Please press and release the SET button to advance to select the temperature format. - Page 12 The weather forecasting feature is estimated to be 75% accurate and is for the next 12 to 24 hours. The weather forecast is based solely upon the change of air pressure over time. The WS-7159U averages past air-pressure readings to provide an accurate forecast—creating a necessity to disregard all weather forecasting for 12-24 hours after the unit has been set-up, reset, or moved from one altitude to another (i.e.
- Page 13 another floor). In areas where the weather is not largely affected by the change of air pressure, the sensitivity setting should be set to 1. A. WEATHER ICONS There are 3 possible weather icons that will be displayed in the FORECAST LCD: Sunny—indicates that the weather is expected to improve (not that the weather will be sunny).
-
Page 14: Indoor Temperature, Humidity, & Comfort
V—Adding Remote Temperature Sensors). IV. MINIMUM AND MAXIMUM TEMPERATURE RECORDS The WS-7159U keeps a record of the MINIMUM and MAXIMUM temperature, and the time and date of their occurrence—for both the indoor and outdoor modes. - Page 15 2. Press the IN button again (once while “MIN” is still displayed, twice otherwise). temperature and the LCD will flash, indicating that the maximum temperature (along with the humidity measured at that time) and the time and date of occurrence are displayed. 3.
- Page 16 WS-7014SU. These extra sensors can be purchased through the same dealer as this unit, or by contacting La Crosse Technology directly. A TX6U will monitor temperature only, a TX3U will monitor temperature and display the temperature on its LCD, and the TX3UP will monitor the temperature via a probe for use in pools, spas, etc.
-
Page 17: Mounting
2. To view the Minimum/Maximum temperature: first select which remote temperature sensor to read data from (indicated by the “boxed” number), then press the OUT button. Pressing this button once will display the minimum temperature, and the date and time the data was recorded. Pressing this button a second time (while “MIN”... - Page 18 2) Place the mounting bracket over the desired location. 3) Through the three screw holes of the bracket, mark the mounting surface with a pencil. 4) Screw mounting bracket onto the mounting surface. Ensure that the screws are flush with the bracket. 5) Insert the remote temperature sensor into the bracket.
-
Page 19: Troubleshooting
TROUBLESHOOTING NOTE: For problems not solved, please contact La Crosse Technology. Problem: No reception of WWVB time signal. Solution: 1) Wait overnight for signal. 2) Be sure Weather Station is at least 6 feet from any electrical devices, such as televisions, computers, or other radio-controlled clocks. -
Page 20: Specifications
• Immediately remove all low powered batteries to avoid leakage and damage. • Opening the casings invalidates the warranty. Do not try to repair the unit. Contact La Crosse Technology for repairs. SPECIFICATIONS Temperature measuring range: Indoor: Outdoor: Indoor relative humidity... -
Page 21: Warranty Information
Technology, Ltd’s authorized service center. La Crosse Technology, Ltd will repair or replace this product, at our option and at no charge as stipulated herein, with new or reconditioned parts or products if found to be defective during the limited warranty period specified above. - Page 22 States do no allow the exclusion of consequential or incidental damages therefore the above exclusion of limitation may not apply to you. For warranty work, technical support, or information contact: La Crosse Technology, Ltd 2809 Losey Blvd. S. La Crosse, WI 54601 Phone: 608.782.1610...