
Related Manuals for Aquapro Fish Feeders ADF-150DX

Summary of Contents for Aquapro Fish Feeders ADF-150DX
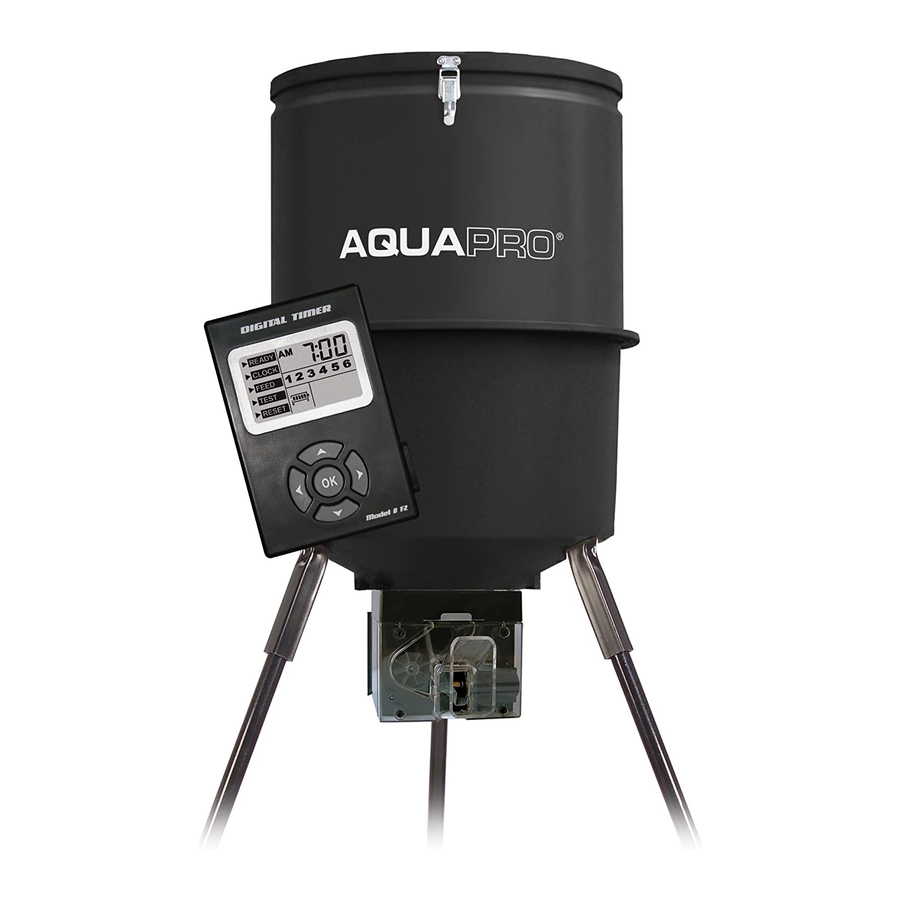
- Page 1 Model# AdF-150dX 40 Gallon DIRECTIONAL fIsh fEEDER sYsTEM Product InformatIon GuIde...
-
Page 2: Included Parts
INCLUDED PARTS 1) Hopper Assembly including Lid (3 Pieces) Poly Barrel Lid Poly Barrel Upper Poly Barrel Funnel 2) Directional Power Control Unit - assembly and programming instructions for this unit are contained within its box (1 piece) 3) Leg Kit (15 pieces) Poly Barrel Leg/ Hardware/Bolt Kit PAge 2... -
Page 3: Required Tools
POLy BARREL BOLT KIT (1 KIT) 5/32” Nylon 1⁄4” Nylon Lock Nut Lock Nut (7 pieces) (10 pieces) 5/32”x15/32” 1⁄4” x 1” Bolt (7 pieces) Bolt (10 pieces) Production Information guide (1 Piece) Product Decal (1 Piece) Trophy Hunter Banner (Part#: RM-LABL-00040) Hinge with pole and... - Page 4 ASSEMBLy INSTRUCTIONS Verify the contents of the package against the included parts list. If you are missing any parts from the list, please contact BA Products immediately at the toll-free number provided. First, remove the lid and two hopper assembly pieces and then place the three pieces on the ground.
- Page 5 Locate the hinge and install it with the rounded loops facing away from the feeder. Use the 5/32” x 15/32” Bolts and 5/32” Washers. Place the bolt head on top and the thread portion toward the bottom on the inside of the hopper. Install the 5/32”...
- Page 6 Close the lid and then locate the latch and striker. First, take the striker portion and install it onto the lid with the j-lip facing upward. These holes are already in place on the lid so install the 5/32” x 15/32” Bolts and the 5/32” Washers with the heads on the outside of the hopper and the threads facing into the hopper.
- Page 7 Once the hopper is assembled, make sure that the latch is closed and lay the hopper on its side. Next, locate the square tubing stub leg kit (3 pieces) and unwrap. Take one stub leg and locate the recessed cavities on the funnel portion of the hopper.
- Page 8 With the hopper lying on its side, take one full extension leg section and slide it into the square stub leg that you have already installed on the hopper (Illustration J). Repeat step #14 for the remaining two extension leg sections. Once all extension leg sections are installed into the stub legs, locate a second person to help raise the unit.
-
Page 9: General Safety
OPERATING INSTRUCTIONS Once a suitable, level location for the feeder is identified and the unit is properly erected, open lid and fill container with feed/seed to desired capacity, never to exceed 150 lbs. Once done, close the lid and lock the latch securely to insure it does not come off in the event of high winds, etc. -
Page 10: Warranty
BA Products is not responsible for damage, expense or injury caused by the unauthorized use of, alterations to, improper connection of and abuse or neglect of the BA Products’ feeder system. Never lean a ladder against the feeder when filling. You must always use an alternative method to fill your feeder. - Page 11 The AquaPro Model #ADF-150 is loaded with ® features that you can not find anywhere else, such as a domed lid to effectively shed water, a built-in funnel to more efficiently focus feed to the power control unit, a unique low-profile design to protect against the feeder being top-heavy once filled, Polypropylene enforced construction for durability in the field, sturdy power coated leg kit, large lockable...
- Page 12 BA Products 602 Fountain Parkway, Grand Prairie, Texas 75050 Telephone: (800) 847-8269. Fax: (972) 352-6633 www.aquaprofishfeeders.com...