Advertisement
Available languages
Available languages
Quick Links
WARNING
This product should be used only in connection with
CAUTION
garage door openers equipped with photo-eye
safety sensors. If your garage door opener does not
STOP
have photo-eye safety sensors, you should consider
a replacement garage door opener. Please go to
www.liftmaster.com to find a local LiftMaster
dealer or call 1-800-528-9131.
INSTALLATION
1. Disconnect power to the garage door opener.
2. OPEN RECEIVER: Insert a small screwdriver in slot on receiver front
panel as shown. Twist up actuator cover (Figure 1).
3. CONNECT RECEIVER AND GARAGE DOOR OPENER: Remove 1/4"
(6 mm) of insulation from each end of the 2-strand bell wire. Connect
one end of the wire to the receiver screw terminals (polarity is not
required). Route the wire along the channels and through the bottom
(Figure 2).
4. Connect the other end of the bell wire to the two opener terminals
labeled "2" (white) and "1" (red), "common" and "command" or the
terminals used for the push button control.
5. Use insulated staples to secure bell wire between the receiver and the
garage door opener. The length of bell wire depends on where the
receiver will be installed. Replace actuator cover.
6. Choose a 120 Vac polarized outlet for the receiver which is OUT OF
THE REACH OF CHILDREN. Plug receiver into selected outlet.
7. Reconnect power to the garage door opener.
PROGRAMMING THE REMOTE CONTROL TO THE RECEIVER
®
With Security✚
, the code between the remote control and the receiver
changes with each use, accessing over 100 billion new codes.
You can activate your garage door opener with up to 8 Security✚
remote controls and one Security✚
1. Pry open the front panel of receiver case with a screwdriver.
Reconnect power to the garage door opener.
2. Press and release the "SMART" actuator on the receiver. The
"SMART" indicator light will glow steadily for 30 seconds.
3. Within 30 seconds, press and hold the button on the hand-held
remote control that you wish to operate your garage door.
The garage door opener will now operate when either the receiver
actuator or the remote control push button is pressed.
Repeat steps 2 and 3 for each remote control that will be used to operate
the garage door opener.
TO ERASE ALL REMOTE CONTROL CODES
Press and hold the "SMART" actuator on the receiver panel until the
indicator light turns off (about 6 seconds). All remote control codes are
now erased. Then follow the steps above to reprogram each remote
control.
AVERTISSEMENT
AVERTISSEMENT
ATTENTION
AVERTISSEMENT
®
Keyless Entry.
FOR SERVICE DIAL OUR TOLL FREE NUMBER: 1-800-528-9131
To prevent possible SERIOUS INJURY or DEATH from electrocution:
• Be sure power is not connected BEFORE installing the receiver.
To prevent possible SERIOUS INJURY or DEATH from a moving gate
or garage door:
• ALWAYS keep remote controls out of reach of children. NEVER
permit children to operate, or play with remote controls.
• Activate gate or door ONLY when it can be seen clearly, is properly
adjusted, and there are no obstructions to door travel.
• ALWAYS keep gate or garage door in sight until completely closed.
NEVER permit anyone to cross path of moving gate or door.
Figure 1
Actuator Cover
®
Security✚
Remote Control
®
NOTICE: To comply with FCC and or Industry Canada (IC) rules, adjustment or modifications of this
receiver and/or transmitter are prohibited, except for changing the code setting or replacing the
battery. THERE ARE NO OTHER USER SERVICEABLE PARTS.
Tested to Comply with FCC Standards FOR HOME OR OFFICE USE. Operation is subject to the
following two conditions: (1) this device may not cause harmful interference, and (2) this device
must accept any interference received, including interference that may cause undesired operation.
Visor clip . . . . . . . . . . . . . . . . . . . . . . . . . . . . . . . . . . . . . . . . . 29C137
3V2032 Lithium battery . . . . . . . . . . . . . . . . . . . . . . . . . . . . . . . 10A20
Series 300. . . . . . . . . . . . . . . . . . . . . . . . . . . . . . . . . . . . . . . Model 365LM
Series 900. . . . . . . . . . . . . . . . . . . . . . . . . . . . . . . . . . . . . . . Model 635LM
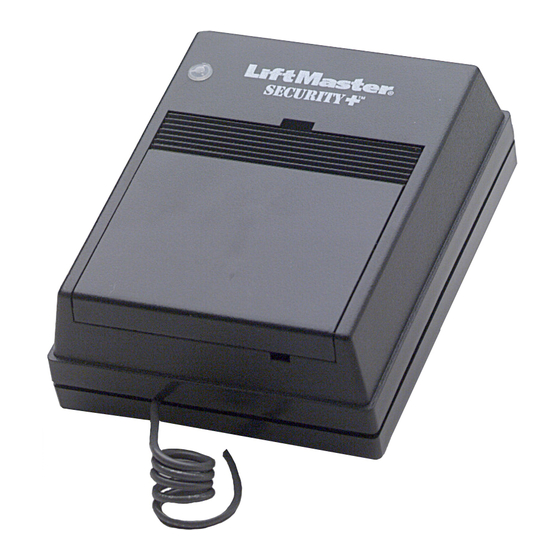
UNIVERSAL RECEIVER
MODEL 365LM (315 MHz) &
WARNING
WARNING
WARNING
Figure 2
Power Indicator Light
Terminals
"SMART"
Indicator
Light
"SMART"
Actuator
Universal
Receiver
Select a
push button
Indicator Light
ADVERTENCIA
ADVERTENCIA
REPLACEMENT PARTS
ACCESSORY REMOTE CONTROLS
635LM (390 MHz)
Bell Wire
Channels
Connect Bell Wire
To Garage Door
Opener Terminals
Bell Wire
"SMART"
Actuator
Advertisement


