Table of Contents
Advertisement
Quick Links
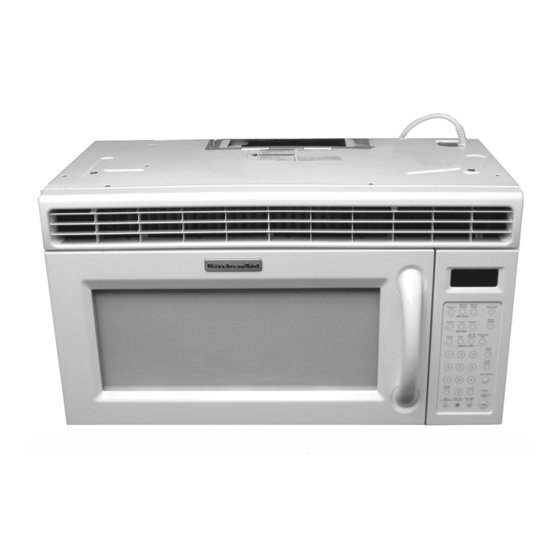
MICROWAVE HOOD COMBINATION
Use & Care Guide
For questions about features, operation/performance, parts accessories or service, call: 1-800-422-1230
www.kitchenaid.com
Table of Contents............................................................................................................ 2
Model KHMS175M
8185204/4619-652-62191
Advertisement
Table of Contents

Related Manuals for KitchenAid KHMS175M


Summary of Contents for KitchenAid KHMS175M
- Page 1 MICROWAVE HOOD COMBINATION Use & Care Guide For questions about features, operation/performance, parts accessories or service, call: 1-800-422-1230 www.kitchenaid.com Table of Contents... 2 Model KHMS175M 8185204/4619-652-62191...
-
Page 2: Table Of Contents
TABLE OF CONTENTS MICROWAVE OVEN SAFETY ... 3 Electrical Requirements ...5 PARTS AND FEATURES...5 Microwave System...5 Oven Cavity Coating ...6 Turntable ...6 Cooking Rack...6 Browning Pan and Handle ...6 OVEN CONTROL ... 7 Display...7 Progress Bar...7 Number Codes...7 Start ...7 Add a Minute ...7... -
Page 3: Microwave Oven Safety
Use the microwave oven only for its intended use as described in this manual. Do not use corrosive chemicals or vapors in the microwave oven. This type of oven is specifically designed to heat, cook, or dry food. -
Page 4: Precautions To Avoid Possible Exposure To Excessive Microwave Energy
Clean Ventilating Hoods Frequently - Grease should not be allowed to accumulate on hood or filter. Oversized foods or oversized metal utensils should not be inserted in the microwave oven as they may create a fire or risk of electric shock. SAVE THESE INSTRUCTIONS... -
Page 5: Electrical Requirements
Typically, microwave ovens operate on HIGH power only. For example, to achieve a 50% power level (“medium”) in a typical microwave oven, the oven operates 50% of the time at HIGH power and 50% of the time OFF. In contrast, microwave ovens utilizing this microwave system deliver the selected power level continuously. -
Page 6: Oven Cavity Coating
The Browning Pan, with a nonstick surface and detachable handle, has been specially designed for microwave use, and is ideal for pan-frying (pan-browning) foods in the microwave oven. See “Browning Pan Use” section for more information. Use the handle to grasp the pan. Place gripping end on the edge of pan, squeeze handle and lift pan. -
Page 7: Oven Control
Touching ADD A MINUTE when the microwave oven is not in use, or after a cook cycle has ended, will start the microwave oven for 1 minute of cook time at 100% cook power. -
Page 8: Tones
99 seconds, and counts down the set time. The Timer does not start or stop the microwave oven. When the Timer is in use, the microwave oven can also operate. To see the time countdown for 5 seconds when the microwave oven is in use, touch TIMER SET/OFF. -
Page 9: Microwave Oven Use
Clothes, flowers, fruit, herbs, wood, gourds, paper, including brown paper bags and newspaper should not be dried in the oven. Do not use the microwave oven for canning, sterilizing or deep frying. The oven cannot maintain appropriate temperatures. Paraffin wax will not melt in the oven because it does not absorb microwaves. -
Page 10: Cookware And Dinnerware
Follow manufacturer’s recommendations. Earthenware Melamine Follow manufacturer’s recommendations. Paper Towels, Use nonrecycled and those approved by Dinnerware, the manufacturer for microwave oven use. Napkins Plastic Wraps, Use those approved by the manufacturer Bags, Covers, for microwave oven use. Dinnerware, Containers Pottery and Clay Follow manufacturer’s recommendations. -
Page 11: Cooking
Before using, make sure the microwave oven has been plugged in for at least 2 minutes, the room temperature is not above 95°F (35°C) and the outside of the container and microwave oven cavity are dry. 1. Touch one of the ONE TOUCH pads. -
Page 12: Beverage
5. Touch OFF or open the door to clear the display and/or stop reminder tones. Beverage Beverages may be heated in the microwave oven by touching the BEVERAGE pad. One or two 8-oz (250 mL) cups can be heated automatically using this function. -
Page 13: Defrosting
Two or More Plates Two 10 -in. (26 cm) plates may be heated side by side, or one dish larger than the turntable, plus 2 plates on the cooking rack. For best results, halfway through heating, turn the plates (or larger dish) halfway around, and switch plates between top and bottom (if heating more than 2 plates). -
Page 14: Soften
4. Touch OFF or open the door to clear the display and/or stop reminder tones. Melt The microwave oven uses low power to melt certain foods. The foods may not be completely melted when the program ends, but stirring the food will complete the melting. Use the following chart as a guide. -
Page 15: Browning Pan Use
Do not use metal utensils, as they can scratch the pan. Do not use the pan in any other microwave oven or in a thermal oven. Always use the turntable as a support for the pan. -
Page 16: Microwave Oven Care
Replacing Filters The grease filters should be removed and cleaned at least once a month. Do not operate the microwave oven or vent fan without the grease filters in place. The 3M FILTRETE** charcoal odor filter cannot be cleaned and should be replaced every 6 to 12 months. -
Page 17: Replacing Cooktop Light
6. Plug in oven or reconnect power. Replacing Oven Light The microwave oven light is a 10W low-voltage halogen capsule bulb. It will automatically come on when the door is opened and when the oven is operating. See “Assistance or Service” section to reorder. -
Page 18: Troubleshooting
Radio or TV Interference Is the microwave oven plugged into the same outlet? Try a different outlet. Is the radio or TV receiver near the microwave oven? Move the receiver away from the microwave oven, or adjust the radio or TV antenna. -
Page 19: Assistance Or Service
To locate the KitchenAid designated service company in your area, you can also look in your telephone directory Yellow Pages. For further assistance If you need further assistance, you can write to KitchenAid with any questions or concerns at: KitchenAid Brand Home Appliances Customer Interaction Center... -
Page 20: Warranty
In the second through tenth years from date of purchase, when this appliance is operated and maintained according to instructions attached to or furnished with the product, KitchenAid will pay for factory specified parts for the stainless steel oven cavity/inner door if the part rusts through due to defects in materials or workmanship.