Table of Contents
Advertisement
Operating instructions
EN
LBF 51
LKF 720
Contents
Installation, 2-3
Start-up and use, 6-7
Wash cycles, 8
Table of wash cycles
Shutting off the water and electricity supplies
Cleaning the dishwasher
Preventing unpleasant odours
Cleaning the sprayer arms
Cleaning the water inlet filter
Disposal
Troubleshooting, 12
Assistance,12-13
Before contacting Assistance
Ariston Priority Service
Genuine Accessories & Spare Parts
DISHWASHER
Advertisement
Table of Contents

Related Manuals for Ariston LBF 51


Summary of Contents for Ariston LBF 51
-
Page 1: Table Of Contents
Loading the racks, 5 Lower rack Cutlery basket Upper rack Start-up and use, 6-7 Starting the dishwasher LBF 51 Measuring out the detergent Wash options LKF 720 Wash cycles, 8 Table of wash cycles Rinse aid and refined salt, 9... -
Page 2: Installation
Installation Positioning and levelling see Assistance see adjacent information see the Assembly instruction sheet New Acqua Stop Connecting the water and electricity supplies see figure... -
Page 3: Advice Regarding The First Wash Cycle
Advice regarding the first wash cycle chapter entitled Rinse aid and refined salt see chapter entitled Rinse aid and refined salt see figure Technical data width 60 cm Dimensions height 85 cm see chapter entitled Description of depth 60 cm the appliance Capacity 14 standard place-settings... -
Page 4: Description Of The Appliance
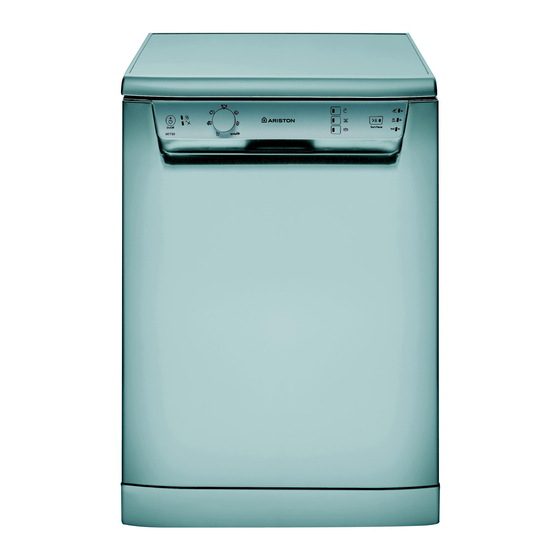
Description of the appliance Overall view Upper rack Upper sprayer arm Tip-up compartments Rack height adjuster Lower rack Lower sprayer arm Cutlery basket Washing filter Salt dispenser Detergent and rinse aid dispensers Data plate Control Panel Control panel Washing and 3h. Half load Low Salt Delayed start... -
Page 5: Loading The Racks
Loading the racks After loading the appliance, check that the sprayer arms can rotate freely. The height of the upper rack should ideally be adjusted Lower rack WHEN THE RACK IS EMPTY. Never lift or lower the rack on one side only. Loading examples. -
Page 6: Start-Up And Use
Start-up and use Starting the dishwasher Measuring out the detergent 1. Turn the water tap on. 2. Press the ON/OFF button: all the indicator lights on the control panel will light up for a few seconds. 3. Open the door and pour in a suitable amount of detergent (see below). -
Page 7: Wash Options
Wash options* The OPTIONS may only be set, modified or reset after This option optimises washing and drying results. the wash cycle has been selected and before the When using multi-functional tablets, press the MULTI- Start/Pause button has been pressed. FUNCTIONAL TABLETS button. -
Page 8: Wash Cycles
Wash cycles Detergent Wash Wash cycle (A) = compartment A cycles duration Wash cycle selection Wash cycle Options (B) = compartment B which (tolerance instructions include ±10%) Powder Liquid Tablets drying Hrs. Min. Heavily soiled dishes and pans (not to be used for 30 g (A) 30 ml (A) 1 (A) -
Page 9: Rinse Aid And Refined Salt
Rinse aid and refined salt Only use products which have been specifically designed for dishwashers. Do not use table salt or industrial salt, or washing up liquid. we recommend that you add salt, especially if you live in an area where the water is hard or very hard. -
Page 10: Care And Maintenance
Care and maintenance Clean the water inlet filter at the tap outlet regularly. - Turn off the water tap. - Unscrew the end of the water inlet hose, remove the filter and clean it carefully under running water. - Replace the filter and screw the water hose back into position. -
Page 11: Precautions And Advice
Precautions and advice Saving energy and respecting the environment General safety see Wash cycles Table of wash cycles see Start-up and use see Start-up and use Disposal... -
Page 12: Troubleshooting
Troubleshooting Whenever the appliance fails to work, check for a solution from the following list before calling for Assistance. Problem: Possible causes / Solutions: The dishwasher does not start. • T h e p l u g h a s n o t b e e n i n s e r t e d i n t o t h e e l e c t r i c a l s o c k e t p r o p e r l y , o r t h e r e i s n o p o w e r i n t h e h o u s e . - Page 13 • The type of malfunction. • The appliance model (Mod.). • The serial number (S/N). This information can be found on the appliance data plate (see Description of the appliance). ARISTON GENUINE ACCESSORIES PRIORITY SERVICE & SPARE PARTS If you are not completely satisfi ed...
- Page 16 195072766.00 09/2008 - Xerox Business Services...