Advertisement
Advertisement
Table of Contents

Related Manuals for Salton SFP600

Summary of Contents for Salton SFP600
- Page 1 INSTRUCTIONS AND WARRANTY MODEL NO. SFP600 SALTON FOOD PROCESSOR...
-
Page 2: Important Safeguards
Congratulations on purchasing our Salton Food Processor. Each unit is manufactured to ensure safety and reliability. Before using this appliance for the first time, please read the instruction manual carefully and keep it for future reference. IMPORTANT SAFEGUARDS When using any electrical appliance, basic safety precautions should always be followed including the following: 1. - Page 3 14. Do not let the cord hang over the edge of a table or counter. Ensure that the cord is not in a position where it can be pulled on inadvertently. 15. Do not allow the cord to touch hot surfaces and do not place on or near a hot gas or electric burner or in a heated oven.
-
Page 4: Speed Guide
Should you use the unit for longer than 1 (one) minutes, the unit will cease to operate. Wait for a period of 30 (thirty) minutes before operating the unit again. This prevents the unit from overheating. 27. Never fill the bowl or jug over the maximum marks. Do not put any liquids in the bowl or jug exceeding a temperature of 75˚C. -
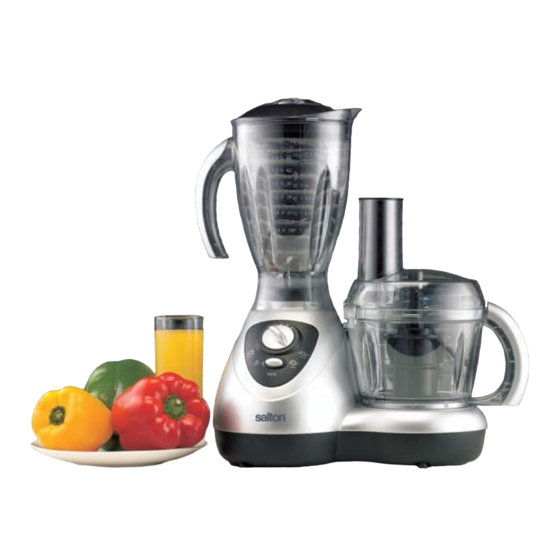
Page 5: Parts Diagrams
PARTS DIAGRAMS 1. Blender jug measuring cup and lid 12. Shredding knife 2. Blender jug cover 13. Slicing knife 3. Blender jug 14. Knife support 4. Switch connector 15. Whisking blade 5. Speed control 16. Chopping blade 6. Power unit 17. -
Page 6: Operating Instructions
OPERATING INSTRUCTIONS A. MIXING FUNCTIONS: 1. Chopping function: Place the protection cover onto the blender switch connector. Place the mixing bowl on the bowl axis and turn clock-wise to lock it in place. Place the blade support on the axis in the middle of the bowl and press downwards until it locks into place. -
Page 7: Cleaning And Maintenance
4. JUICING FUNCTION: Place the mixing bowl on the power unit and turn clock-wise to lock it in place. Attach the juice filtration plate and juice drill to the mixing bowl by inserting the juice filtration plate onto the axis of the mixing bowl. ... -
Page 8: Storing The Appliance
Do not immerse the mixer in water or any other liquid, or hold it under a running tap to clean. To remove stubborn spots/marks, wipe the surfaces with a cloth slightly dampened in soapy water or mild non-abrasive cleaner. Rinse and dry a clean, dry, soft cloth. -
Page 9: Changing The Plug
CHANGING THE PLUG The unit is supplied with a 2 pin VDE plug. If you wish to change the plug to a 3 pin, round pin plug, please connect as follows: Green/Yellow = Earth Blue = Neutral Brown = Live... - Page 10 PLEASE AFFIX YOUR PROOF OF PURCHASE/RECEIPT HERE IN THE EVENT OF A CLAIM UNDER WARRANTY THIS RECEIPT MUST BE PRODUCED. W A R R A N T Y Tedelex Trading (Pty) Limited (“Tedelex”) warrants to the original purchaser of this product (“the customer”) that this product will be free of defects in quality and workmanship which under normal personal, family or household use and purpose may manifest within a period of 1 (one) year from the date of purchase (“warranty period”).