Table of Contents
Advertisement
Quick Links
Advertisement
Table of Contents

Related Manuals for AOC 203P


Summary of Contents for AOC 203P
- Page 1 41G2001-615-1A 英文...
-
Page 2: Table Of Contents
FOR YOUR SAFETY -------------------------------------------------- 1 SAFETY PRECAUTIONS -------------------------------------- 2 SPECIAL NOTES ON LCD MONITORS ------------------- 3 BEFORE YOU OPERATE THE MONITOR --------------------- 3 FEATURES -------------------------------------------------------- 3 PACKING LIST --------------------------------------------------- 3 INSTALLATION INSTRUCTIONS --------------------------- 4 CONTROLS AND CONNECTORS -------------------------- 5 ADJUSTING THE VIEWING ANGLE ----------------------- 6 OPERATING INSTRUCTIONS ------------------------------------- 7 GENERAL INSTRUCTIONS ---------------------------------- 7 HOW TO ADJUST A SETTING ------------------------------ 9... -
Page 3: For Your Safety
Before operating the monitor, please read this manual thoroughly. This manual should be retained for future reference. FCC Class B Radio Frequency Interference Statement WARNING: (FOR FCC CERTIFIED MODELS) NOTE: This equipment has been tested and found to comply with the limits for a Class B digital device, pursuant to Part 15 of the FCC Rules. -
Page 4: Safety Precautions
PRECAUTIONS Do not use the monitor near water, e.g. near a bathtub, washbowl, kitchen sink, laundry tub, swimming pool or in a wet basement. Do not place the monitor on an unstable cart, stand, or table. If the monitor falls, it can injure a person and cause serious damage to the appliance. Use only a cart or stand recommended by the manufacturer or sold with the monitor. -
Page 5: Special Notes On Lcd Monitors
SPECIAL NOTES ON LCD MONITORS The following symptoms are normal with LCD monitor and do not indicate a problem. NOTES • Due to the nature of the fluorescent light, the screen may flicker during initial use. Turn off the Power Switch and then turn it on again to make sure the flicker disappears. -
Page 6: Installation Instructions
INSTALLATION INSTRUCTIONS SWIVEL BASE Install Figure 1 POWERCORD Power Source: 1. Make sure that the power cord is the correct type required in your area. 2. This LCD monitor has an External universal power supply that allows operation in either 100/120V AC or 220/240V AC voltage area (No user adjustment is required.) 3. -
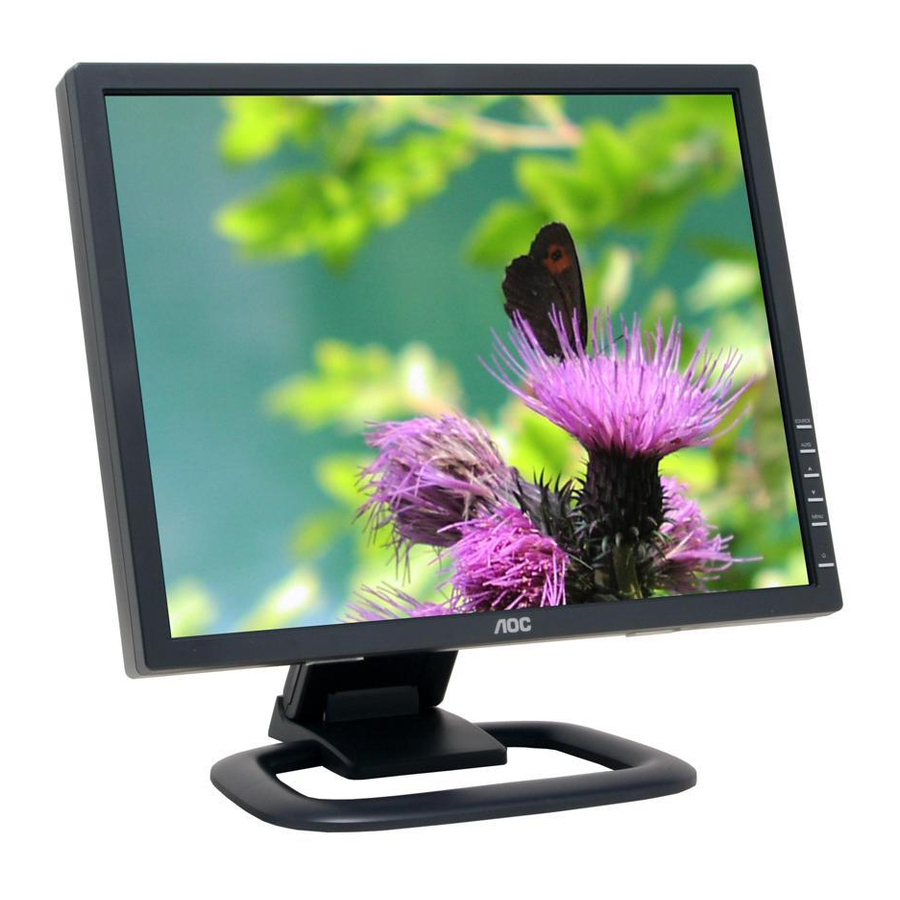
Page 7: Controls And Connectors
CONTROLS AND CONNECTORS VIDEO CABLE Connecting the signal Cable: Connect one end of the 15-pin D-Sub cable to the back of the monitor and connect the other end to the computer’s D-Sub port. Connect one end of the 24-pin DVI cable to the back of the monitor and connect the other end to the computer’s DVI port. -
Page 8: Adjusting The Viewing Angle
ADJUSTING THE VIEWING ANGLE • For optimal viewing it is recommended to look at the full face of the monitor, then adjust the monitor’s angle to your own preference. • Hold the stand so you do not topple the monitor when you change the monitor’s angle. -
Page 9: Operating Instructions
OPERATING INSTRUCTIONS GENERAL INSTRUCTIONS Press the power button to turn the monitor on or off. The other control buttons are located on the front panel of the monitor (See Figure 4). By changing these settings, the picture can be adjusted to your personal preferences. •... - Page 10 FRONT PANEL CONTROL • Power Button / Power Indicator: Press this button to turn the monitor ON or OFF. Blue — Power On mode. Orange — Off mode. • MENU / ENTER : Activate OSD menu when OSD is OFF or activate/de-activate adjustment function when OSD is ON or Exit OSD menu when in Volume Adjust OSD status.
-
Page 11: How To Adjust A Setting
HOW TO ADJUST A SETTING 1. Press the MENU-button to activate the OSD window. 2. Press < or > to navigate through the functions. Once the desired function is highlighted, press the MENU-button selected has a sub-menu, press < or > again to navigate through the sub- menu functions. -
Page 12: Adjusting The Picture
ADJUSTING THE PICTURE The descriptions for function control LEDS Main Main Sub Menu Menu Menu Item Item Icon Lumina Contrast Brightness Image Focus Setup Clock Image H. Position Position V. Position Color Temp. sRGB User Analog Input Select Digital 41G2001-615-1A 英文 Menu Description Icon... - Page 13 H. Position Setup V. Position Timeout Langua English Deutsch Français Español Italiano 简体中文 Informat Information Reset Exit 41G2001-615-1A 英文 Adjust the horizontal position of the OSD. Adjust the verticalposition of the OSD. Adjust the OSD timeout. Set OSD display language to English. Set OSD display language to German.
-
Page 14: Plug And Play
PLUG AND PLAY Plug & Play DDC2B Feature This monitor is equipped with VESA DDC2B capabilities according to the VESA DDC STANDARD. It allows the monitor to inform the host system of its identity and, depending on the level of DDC used, communicate additional information about its display capabilities. -
Page 15: Technical Support(Faq)
TECHNICAL SUPPORT (FAQ) Problem & Question Power LED is not on No Plug & Play Picture is fuzzy Picture bounces or a wave pattern is present in the picture The power LED is ON but there’s no video or no picture. Missing one of the primary colors (RED,... - Page 16 Screen image is not centered or sized properly. Picture has color defects (white does not look white) Horizontal disturbances on the screen CLOCK (pixel frequency) controls the number of pixels scanned by one horizontal sweep. If the frequency is not correct, the screen shows vertical stripes and the picture has not correct width.
-
Page 17: Error Message & Possible Solution
ERROR MESSAGE & POSSIBLE SOLUTION CABLE NOT CONNECTED : Check that the signal-cable is properly connected , If the connector is loose, tighten the connector’s screws. Check the signal-cable’s connection pins for damage. INPUT NOT SUPPORTED : Your computer has been set to unsuitable display mode ,set the computer to display mode given in the following table (See page 19). -
Page 18: Appendix
APPENDIX SPECIFICATIONS LCD Panel Display Colors Dot Clock Max. Resolution Plug & Play Power Consumption Input Connector Input Video Signal Maximum Screen Size Power Source Environmental Considerations Dimensions Weight (N. W.) 41G2001-615-1A 英文 Driving system TFT Color LCD Size 51cm(20") Pixel pitch 0.255mm( H )x 0.255mm( V ) Viewable angle 170°... - Page 19 External Controls: Power Consumption Regulatory Compliance 41G2001-615-1A 英文 • Switch Source • Auto Config / Exit • ∧ / Brightness • ∨ / Contrast • Menu / Enter • Power Button • Functions Contrast • Brightness • Focus • Clock •...
-
Page 20: Preset Display Modes
STANDARD RESOLUTION 720 × 400 640 × 480 640 × 480 800 × 600 SVGA 800 × 600 1024 × 768 VESA 1024 × 768 1024 x 768 1024 x 768 1024 x 768 1280 × 1024 SXGA 1280 × 1024 UXGA 1600 x 1200 41G2001-615-1A 英文... -
Page 21: Connector Pin Assignment
CONNECTOR PIN ASSIGNMENT 15 - Pin Color Display Signal Cable PIN NO. DESCRIPTION Video-Red Video-Green Video-Blue Ground GND-R GND-G GND-B PIN NO. DESCRIPTION TMDS Data 2- TMDS Data 2+ TMDS Data 2/4 Shield TMDS Data 4- TMDS Data 4+ DDC Clock DDC Data TMDS Data 1- TMDS Data 1+... - Page 22 41G2001-615-1A 英文...