Table of Contents
Advertisement
Quick Links
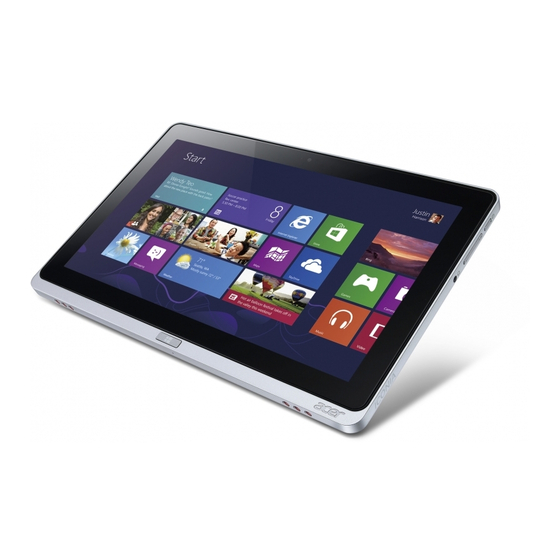
Acer ICONIA W7
Quick Guide
Product registration
When using your product for the first time, it is recommended that you immediately
register it. This will give you access to some useful benefits, such as:
• Faster service from our trained representatives.
• Membership in the Acer community: receive promotions and participate in customer
surveys.
• The latest news from Acer.
Hurry and register, as other advantages await you!
How to register
To register your Acer product, please visit www.acer.com. Select your country, click
PRODUCT REGISTRATION and follow the simple instructions.
You will also be asked to register your product during the setup process, or you can
double-click the Registration icon on the desktop.
After we receive your product registration, you will be sent a confirmation email with
important data that you should keep in a safe place.
Obtaining Acer accessories
We are happy to inform you that Acer's warranty extension program and Notebook
accessories are available online. Come and visit our online shop and find what you need
at store.acer.com.
The Acer store is being progressively rolled out, and, unfortunately may not be available
in some regions. Please check back regularly to see when it will be available in your
country.
Advertisement
Table of Contents

Related Manuals for Acer ICONIA W7


Summary of Contents for Acer ICONIA W7
-
Page 1: Quick Guide
Come and visit our online shop and find what you need at store.acer.com. The Acer store is being progressively rolled out, and, unfortunately may not be available in some regions. Please check back regularly to see when it will be available in your... - Page 2 © 03/2013. All Rights Reserved. Acer ICONIA W7 Quick Guide This revision: 28 March 2013 Model number: Serial number: Date of purchase: Place of purchase:...
-
Page 3: First Things First
First things first We would like to thank you for making an Acer notebook your choice for meeting your mobile computing needs. Your guides To help you use your Acer notebook, we have designed a set of guides: First off, the Setup Poster helps you get started with setting up your computer. -
Page 4: Your Acer Computer Tour
Your Acer computer tour Your Acer computer tour After setting up your device as illustrated in the setup poster, let us show you around your new Acer computer. You can enter information into you new computer via the touchscreen. Computer Your device contains two optional components: the keyboard cover and cradle. -
Page 5: Back View
Back view Item Description Integrated webcam Web camera for video communication. Camera indicator light Lights up when camera is active. Top view Icon Item Description Accepts a 3G micro SIM card for 3G connectivity. Micro SIM card Insert a 3G SIM card to enable 3G slot (optional) communication. -
Page 6: Bottom View
Your Acer computer tour Bottom view RESET Item Description Insert a paperclip into the hole and press for four Reset seconds to reset the computer (simulates removing and reinstalling the battery). Speakers Delivers stereo audio output. Left/right views Icon Item... -
Page 7: Led Indicators
Icon Item Description Press to turn the computer on; press again Power button to place the computer in Sleep mode. Press and hold to turn the computer off. Indicates the computer's battery status. See Battery LED table below. Volume key Press to increase or decrease volume. -
Page 8: Installing A Sim Card
Your Acer computer tour Installing a SIM card Note: This section depends on model. This computer includes a micro SIM slot for Internet access. To take full advantage of your computer’s Internet capabilities, you should install a micro SIM card with data subscription before turning on your computer. -
Page 9: Keyboard Cover
Keyboard cover The following section describes the bundled keyboard cover. Note: The keyboard cover’s tablet holder is made out of moldable rubber. As such, small warped areas may occur with use. This does not affect the holder’s effectiveness. Keyboard front view Icon Item Description... -
Page 10: Function Led
Inserting the computer into the keyboard cover Note: Always use caution when using and transporting the keyboard cover. Acer recommends using two hands when holding the keyboard case. 1. Open the keyboard case on a flat surface. 2. Place the bottom part of the computer into the holder’s bottom section. -
Page 11: Removing The Computer From The Keyboard Cover
Using the keyboard Your Bluetooth keyboard comes pre-paired with the ICONIA W7. You only need to turn on the keyboard and the ICONIA W7 Bluetooth function by doing the following: 1. Tap the Settings charm > Change PC settings > Wireless. -
Page 12: Charging The Keyboard
1. Tap the Settings charm > Change PC settings > Devices 2. Tap the Acer Aspire ICONIA W7 Bluetooth Keyboard option and then tap the minus sign to the right to remove the device (it may take a moment for the keyboard to be removed from the device list.) - Page 13 the keyboard. Press and hold the keyboard's Power button again until the function LED comes on. 2. The keyboard may be out of charge. See "Charging the keyboard" on page 12. Cradle The following set of images show you the optional cradle. Front view Icon Item...
-
Page 14: Back View (Stand Not Shown)
Your Acer computer tour Back view (stand not shown) Item Description Portrait view slot Insert the stand here to rest the computer in portrait view. Landscape view Insert the stand here to rest the computer in landscape slot view. -
Page 15: Left View (Stand Not Shown)
Left view (stand not shown) Icon Item Description Connect to USB devices. A USB 3.0 port can be distinguished by its USB 3.0 ports blue connector (see below). To use the cradle’s USB ports, you must plug in the power adapter. DC-in jack Provides power to the cradle. - Page 16 Your Acer computer tour To insert the computer into the cradle, do the following: 1. Place the cradle in landscape view. Place the computer into the cradle’s channel with the Windows key at the bottom. The cradle’s USB connector and DC-out jack are now aligned with the computer’s USB port and DC-in jack.
- Page 17 2. Ensure the computer has cleared the cradle’s USB connector and lift the computer out of the cradle. Ver.: 01.01.02...