Panasonic AG-HMC150 Basic Instructions
Video camera set-up with sound devices mix pre audio mixer and tascam dr-40 recorder
Hide thumbs
Also See for AG-HMC150:
- User manual (35 pages) ,
- Product manual (22 pages) ,
- Menu information (20 pages)

Related Manuals for Panasonic AG-HMC150


Summary of Contents for Panasonic AG-HMC150
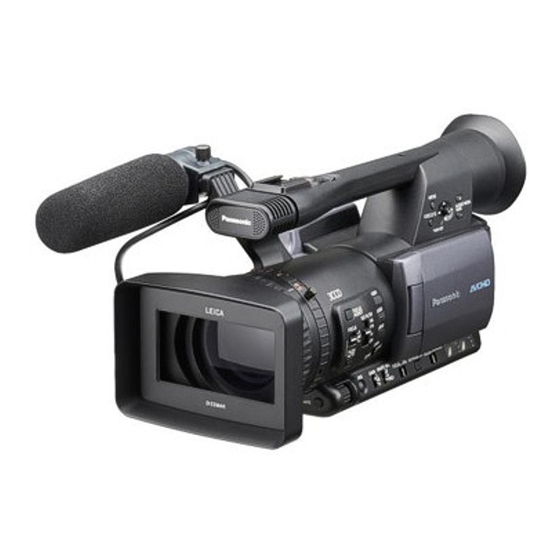
- Page 1 BASIC INSTRUCTIONS ON THE SET-UP OF THE PANASONIC AG-HMC150 VIDEO CAMERA SOUND DEVICES MIX PRE AUDIO MIXER TASCAM DR-40 RECORDER SCHOOL OF FILMMAKING 1533 S. Main Street Winston-Salem, North Carolina 27127...
-
Page 2: Table Of Contents
BASIC INSTRUCTIONS ON THE SET-UP OF THE PANASONIC AG-HMC150 HD VIDEO CAMERA SOUND DEVICES MIX PRE AUDIO MIXER TASCAM DR-40 RECORDER Table of Contents Panasonic AG-HMC-150 HD Video Camera Procedure to White Balance the Camera Formatting SD Cards Setting the Time Code Basic Playback Operation Sound Devices Mix Pre Audio Mixer &... -
Page 3: Panasonic Ag-Hmc-150 Hd Video Camera
1533 S. Main Street Winston-Salem, North Carolina 27127 SET-UP OF PANASONIC AG-HMC150P VIDEO CAMERA The following pages contain basic instructions on the setup of the video camera that you will be using on your fall and spring semester projects. If you follow these instructions carefully you should have no problem with the setup and use of this equipment. - Page 4 In order to shoot in the “NORMAL” mode, set the Scene File switch to F1. Set Audio Input Switches to “LINE” INPUT 1 – Set to “LINE” INPUT 2 – Set to “LINE”...
- Page 5 Set switches on camera left side as follows: IRIS – Pressing this button switches between Auto Iris and Manual Iris Use the Wheel to the left of the Iris button to adjust the F-Stop when in Manual Mode GAIN – Set to “L” WHITE BAL –...
- Page 6 FOCUS – Set to “A” for Auto Focus Set to “M” for Manual Focus FOCUS ASSIST – Pressing this enlarges the center of the frame allowing easier eye focusing. ND Filter – Set to OFF USER BUTTONS – You can assign specific features to each button using the MENU selection SW MODE.
- Page 7 • Insert SD card into slot on back of camera and format card according to the following instructions. 1. Turn camera power switch to OFF. 2. Tilt viewfinder upwards and open the SD Memory Card Slot by sliding the cover to the left. 3.
-
Page 8: Procedure To White Balance The Camera
• Check SD card after shooting your first shot to be sure you have picture. NOTE: The native recording format for the camera is 1080/24P The Panasonic HMC-150 contains many menus which can be set for various shooting situations. For more information you may check the full manual of the camera at... -
Page 13: Sound Devices Mix Pre Audio Mixer & Tascam Dr-40 Recorder Setup
IMPORTANT - THE SOUND CART SHOULD COME PRE-WIRED. IN THE EVENT IT IS NOT PLEASE FOLLOW THE FOLLOWING INSTRUCTIONS. SOUND DEVICES MIX PRE AUDIO MIXER & TASCAM DR-40 RECORDER SETUP Sound Devices Mixer Left Side – Input Panel 1. Plug microphone XLR plug into Mic Input 1 •... - Page 14 Sound Devices Mixer Right Side – Output Panel 5. Plug 1/8” TRS 1/8” TRS into Tape Return on Mixer (other side connect to Tascam Recorder Headphone out – See Next Step) Tascam Recorder 6. Plug 1/8” TRS 1/8” TRS into Recorder Headphone Out (other side connect to Tape Return on Sound Devices Mixer –...
- Page 15 Sound Devices Mixer Front • Assign Channel 1 to Center (middle of LCR) • Set Power to EXTernal • Plug phone splitter into PHONES jack (for mixer & boom operator’s headphones) • Adjust Mic 1 gain for correct recording level •...
-
Page 16: Tascam Dr-40 Recording Instructions
TASCAM DR-40 RECORDER RECORDING INSTRUCTIONS BEFORE you turn the DR-40 on, check: 1. On left side of unit (near headphone jack), EXT IN should be set to LINE (far left) 2. HOLD switch should be set to right (otherwise you can’t use any buttons) SET TO LINE SET TO THE RIGHT 3. - Page 17 5. Check input & output levels: 6. On left side of unit, press the “Input level” – key until input level is set to minimum value of 0. The screen temporarily reads 1 / 2 input level: 0 INPUT LEVEL KEY 7.
-
Page 18: Copying Sound Files To Laptop Computer
Screen Display (when in record ready): BWF 24 / 48K MONO •|| 00:00:00 “””””””””””””””^””””” lowcut effect --db UNCSA1_0001.wav What this means is the files are 24 bit/48k broadcast wave files, we are using the MONO EXTernal line input, and the file about to be recorded is called UNCSA1_0001.wav. We are in record-ready with the file length counter reset to 00:00:00 (hrs:min:sec). -
Page 19: Quick Formatting The Sd Card
Quick Formatting SD card (And Initializing FileCounter) Once you’re SURE you have safely copied your audio files from the SD card to your laptop (and a safety jump drive), you should Quick Format the card as follows: • Press Menu (on front) •... -
Page 20: Importance Of Slating
Importance of Slating After the lighting, blocking, rehearsals, etc., you are finally ready to “Take One”. The point of slating is to give a visual and aural starting mark to the camera and sound recorder. To make sure everyone is on the same page, a simple set of call-outs lets everyone know you’re ready. The sequence is roughly: “Quiet on Set”...