Scientific Atlanta Explorer 8300HDC Connecting Manual
Digital video recorder
Hide thumbs
Also See for Explorer 8300HDC:
- Connecting manual (28 pages) ,
- User manual (86 pages) ,
- Connecting (2 pages)
Table of Contents
Advertisement
Advertisement
Table of Contents

Related Manuals for Scientific Atlanta Explorer 8300HDC


Summary of Contents for Scientific Atlanta Explorer 8300HDC
- Page 1 Connecting the Explorer 8300HDC ® Digital Video Recorder...
-
Page 2: What's On The Front Panel
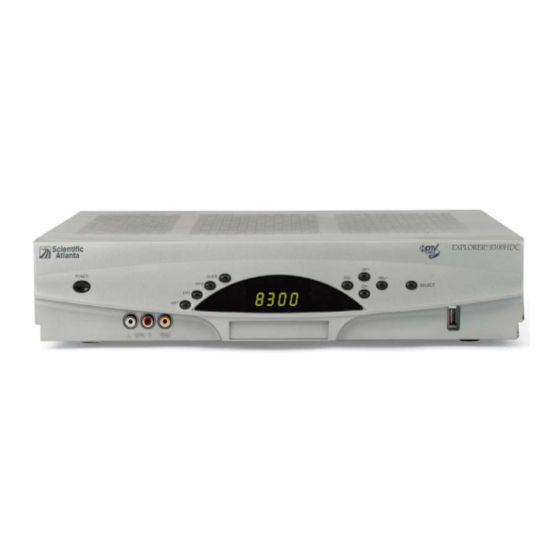
What’s on the Front Panel? EXPLORER ® 8300HDC CH + GUIDE POWER VOL - VOL + INFO CH - SELECT EXIT LIST INPUT AUDIO VIDEO 3 4 5 T12141 1 Power Turns the 8300HDC on and off 2 Video and Connects to video and left/right (L/R) audio outputs of an external device Audio Input to deliver the audio and video to a TV or other device... -
Page 3: What's On The Back Panel
What’s on the Back Panel? 1 Cable In Connect the coaxial cable that delivers the signal from your cable service provider 2 Cable Out Connect a coaxial cable to send analog audio and video signals to a TV or VCR. These signals are standard-definition TV (SDTV) video and stereo audio 3 PrPbY/V Connect the 8300HDC (in HD mode) to the component video input... -
Page 4: Connecting The 8300Hdc
Connecting the 8300HDC To connect your 8300HDC to your entert ainment devices, complete these steps. Determine if your TV is HD or SD and whether it is wide screen (16:9) or standard screen (4:3). See page 8 for more information. Make the connections for your TV and VCR as follows: •... -
Page 5: Connections For An Hdtv And Vcr
Connections for an HDTV and VCR To use the 8300HDC with an HDTV, you must make one of the following connections to view the HD content. In addition, you can make connections to a digit al or analog VCR to archive recordings to a VCR tape. -
Page 6: Troubleshooting
Troubleshooting If the 8300HDC does not perform as expected, the following tip s may help. If you need further assistance, contact your cable service provider. No Picture • Verify that the power to your TV is turned on. • Verify that your HDTV is in HD mode. If necessary, run the HD Setup Assistant to select HD mode. -
Page 7: Frequently Asked Questions About Hdtv
Frequently Asked Questions About HDTV What is Digital Television? Digital television (DTV) is a huge leap forward in television technology comp ared to analog television that has been widely available since the 1940s. DTV is delivered and displayed using digital encoding, similar to the way a PC operates. By using digit al technology, there is no variation in picture and sound quality from the origination point until it is displayed on your television. -
Page 8: Picture Formats
Picture Formats What is the Difference Between a Standard-Screen and a Wide-Screen HDTV The type of screen your HDTV has (wide screen or st andard screen) determines how the 8300HDC displays programs on the screen. The picture format for an HDTV is a combination of aspect ratio and screen resolution and is different for standard-screen and wide-screen HDTVs. -
Page 9: Connecting The 8300Hdc To An Hdtv With An Hdmi Connector
Connecting the 8300HDC to an HDTV with an HDMI Connector WARNING: Electric shock hazard! Unplug all electronic devices before connecting or disconnecting any device cables to the 8300HDC. Required cables: • 1 HDMI-to-HDMI cable Important Notes Regarding the HDMI Interface on the 8300HDC The HDMI interface automatically configures the audio output for a format supported by the television. -
Page 10: Connecting The 8300Hdc To An Hdtv With A Dvi Connector
Connecting the 8300HDC to an HDTV with a DVI Connector WARNING: Electric shock hazard! Unplug all electronic devices before connecting or disconnecting any device cables to the 8300HDC. Required cables: • 1 HDMI-to-DVI or 1 HDMI-to-HDMI cable and 1 DVI adapter •... -
Page 11: Connecting The 8300Hdc To An Hdtv With Component Input (Prpby/V)
Connecting the 8300HDC to an HDTV with Component Input (PrPbY/V) WARNING: Electric shock hazard! Unplug all electronic devices before connecting or disconnecting any device cables to the 8300HDC. Required cables: • 1 set component video cables (PrPbY/V) • 1 audio Left/Right cable... -
Page 12: Connecting The 8300Hdc To A Home Theater System With Component Input (Prpby/V)
Connecting the 8300HDC to a Home Theater System with Component Input (PrPbY/V) Required cables: • 3 sets component video cables (PrPbY/V) • 2 coaxial digital audio cables WARNING: Electric shock hazard! Unplug Back of Home Theater Receiver all electronic devices before DIGITAL connecting or disconnecting any TV/CABLE... - Page 13 Connecting the 8300HDC to a Stereo VCR and HDTV (optional) WARNING: Electric shock hazard! Unplug all electronic devices before connecting or disconnecting any device cables to the 8300HDC. Required cables: • 1 RF coaxial cable • 2 sets composite A/V cables Note: This connection allows for archiving to the VCR and for watching VCR tapes on your...
-
Page 14: Connecting The 8300Hdc To An External Sata Hard Disk Drive (Optional)
Connecting the 8300HDC to an External SATA Hard Disk Drive (optional) Complete the following steps to install a SATA drive. 1. Make sure that both the 8300HDC and the external WARNING: SATA drive are unplugged from power. Electric shock hazard! Unplug 2. - Page 15 Setting up the Set-Top Box for High Definition Viewing ................. To run the High Definition Setup Assistant: The first time the viewer turns on the power to the set-top box, Passport Echo presents the HD Wizard. 1 If the message is clearly visible, press the RIGHT ARROW to begin the High Definition setup.
- Page 16 ......................... After Passport Echo cycles through four output formats, it displays a message indicating the formats that you indicated were clearly visible on your television. 4 Press the RIGHT ARROW. Passport Echo displays the Screen Type tab. 5 Do one of the following: •...
- Page 17 Setting up the Set-Top Box for High Definition Viewing ................. 7 Read the Aspect Ratio tab, then press the RIGHT ARROW to continue. 8 Do one of the following: • To center the screen image and display sidebars on each side, press the A key. •...
- Page 18 ......................... 10 Review the summary. • If the summary does not reflect your preferences, press the LEFT ARROW to start the procedure over. • If the summary reflects your preferences, press the A key. If you do not follow the High Definition Setup Assistant procedure, Passport Echo will display a message indicating that the setup was skipped and that default settings will be...