
Related Manuals for Jensen JHD905


Summary of Contents for Jensen JHD905
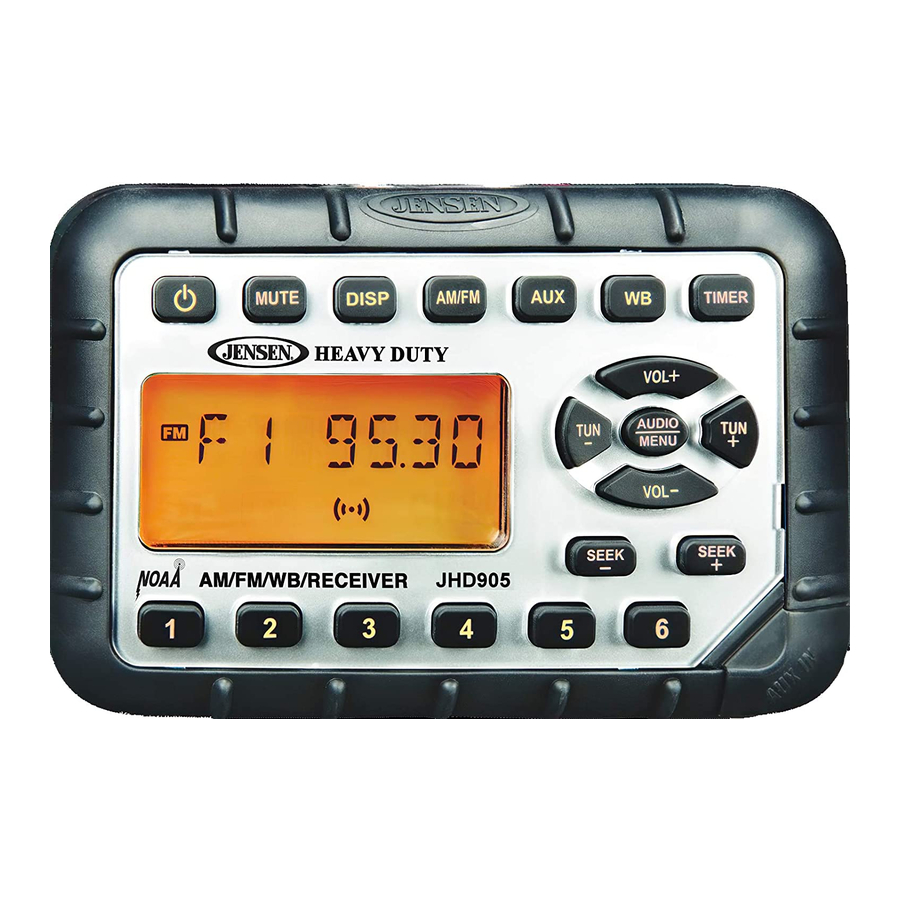
- Page 1 JHD905 Owner’s Manual JENSEN MUTE DISP AM/FM TIMER HEAVY DUTY JENSEN VOL+ AUDIO MENU VOL- SEEK SEEK AM/FM/WB RECEIVER JHD905...
-
Page 2: Table Of Contents
Thank You! Thank you for choosing a Jensen product. We hope you will find the instructions in this owner’s manual clear and easy to follow. If you take a few minutes to look through it, you’ll learn how to use all the features of your new Jensen receiver for maximum enjoyment. -
Page 3: Package Contents
Thank You! Thank you for choosing a Jensen product. We hope you will find the instructions in this owner’s manual clear and easy to follow. If you take a few minutes to look through it, you’ll learn how to use all the features of your new Jensen receiver for maximum enjoyment. -
Page 4: Installation
CAUTION! Do not over tighten the 4 mounting screws. Hand tighten only. Regular Mounting Machine Screws with Nuts (Hole size 7/32") JHD905 Mounting Stack Mounting machine screw Bracket metal Vehicle mounting surface Washer Overhead... -
Page 5: Wiring
JHD905 Wiring The wiring diagram depicts all the wiring connections required for proper operation of the unit. 9-Pin Connector (Male) Antenna Connector (Black Wire) NOTE: Do not connect the red wire to a constant power connection. It should be connected to a vehicle connection with switched power, such as IGN or ACC. -
Page 6: Basic Operation
(showing the time). 4. Liquid Crystal Display The Liquid Crystal Display (LCD) panel (4) displays the frequency, time and activated functions. MUTE JENSEN AM/FM/WB RECEIVER Basic Operation JENSEN DISP AM/FM HEAVY DUTY TIMER JHD905 TIMER VOL+ AUDIO MENU VOL- SEEK SEEK JHD905... -
Page 7: Setting The Clock
To connect a portable audio device (MP3 player, iPOD, etc.) to the JHD905, connect the headphone or line level output of the device to the 1/8" auxiliary input jack of the JHD905 (5b) using the audio patch cord (included). Press AUX (5a) to select auxiliary input mode. -
Page 8: Tuner Operation
JHD905 Tuner Operation 10. Select a Band Press AM/FM (10) momentarily to directly access tuner mode from any other function mode. When the unit is already in tuner mode, briefly press AM/FM to change between two AM bands (AM1 and AM2) and three FM bands (FM1, FM2 and FM3). -
Page 9: Preset Stations
JHD905 13. Preset Stations Six numbered preset buttons (13) store and recall stations for each AM and FM band. To store a station, select a band (if needed) and then select a station. Hold a preset button for three seconds. The current station will be stored, and the corresponding preset number will appear in the display. -
Page 10: Troubleshooting
Weather alert programmed to function “off” NOTE: Proper care and cleaning is essential to optimal operation. The JHD905 may be cleaned with mild detergent/water mixture and a soft cloth to remove grease and grime. Do not pressure wash directly on the radio. -
Page 11: Specifications
JHD905 Specifications General Power Supply Requirements........DC 12 Volts, Negative Ground Chassis Dimensions .