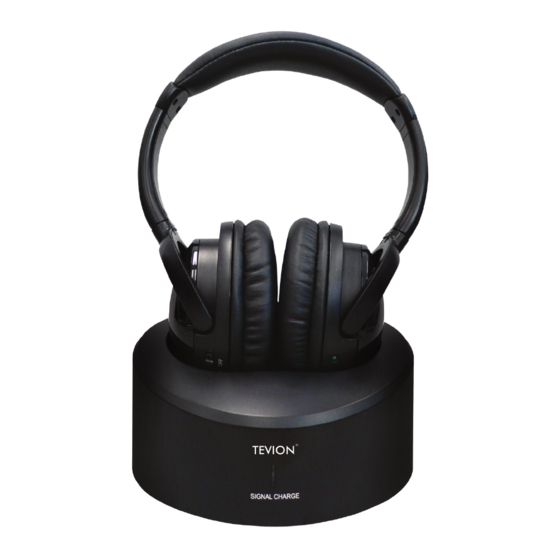
Summary of Contents for ALDI Tevion JS-W002
- Page 1 Wireless Headphone Set Instruction Manual • Model Number JS-W002 1300 886 649 N13275...
-
Page 2: Table Of Contents
Contents Warranty Welcome General Safety Instructions Assembly and Parts List Getting Started Instructions Frequently Asked Questions Other Useful Information After Sales Support Telephone: 1300 886 649... - Page 3 Wireless Headphone Set Warranty Details The product is guaranteed to be free from defects in workmanship and parts for a period of 12 months from date of purchase. Defects that occur within this warranty period, under normal use and care, will be repaired, replaced or refunded at our discretion, solely at our option with no charge for parts and labour.
-
Page 4: Welcome
Welcome Congratulations on choosing to buy a TEVION product. ® All products brought to you by TEVION are manufactured to the highest ® standards of performance and safety and, as part of our philosophy of customer service and satisfaction, are backed by our comprehensive Year Warranty. -
Page 5: General Safety Instructions
General Safety Instructions Read this manual thoroughly before first use and keep it in a safe place for future reference, along with the completed warranty card, purchase receipt and carton. • Do not let the headphone set get wet. • Do not place the headphone set near a water source. •... -
Page 6: Assembly And Parts List
Assembly and Parts List Headphone set Transmitter / charging base Red LED (signal indicator) Green LED (charge indicator) Power ON/OFF switch Battery cover Power indicator Battery cover release Volume +/- Transmitter / charging base Auto scan indicator RCA audio cable Auto scan button 10 Power adaptor After Sales Support... -
Page 7: Getting Started
Getting Started Before first use • Remove all packaging materials from the product and dispose of them responsibly. Plastic wrapping can be a suffocation hazard for babies and young children, so ensure all packaging materials are out of their reach. •... - Page 8 Getting Started (Cont.) Charging batteries • Switch off the receiver headphone set. • Place the headphone set on the transmitter, taking care to ensure that the charge contacts touch the transmitter’s charge pins and the green charging indicator is on. •...
-
Page 9: Instructions
Instructions • Set up the unit as described in the “Getting Started” section on page 6. • Turn on the audio source (TV set, hi-fi system or any other audio device) that is connected to the transmitter. • Switch on the headphone set. •... -
Page 10: Frequently Asked Questions
Frequently Asked Questions No sound • Ensure that the plug of the mains adaptor is pushed fully into the power outlet and that its output jack is properly connected to the DC IN 6V socket at the back of the transmitter. •... -
Page 11: Other Useful Information
Other Useful Information Features • 900 MHz RF technology • Auto scanning system on headphone • Phase Lock Loop (PLL) transmission system on transmitter • Automatic battery recharging • RF technology leaves you completely free to move around • Transmission is not restricted solely to line of sight •... - Page 12 After Sales Support Telephone: 1300 886 649...

