Table of Contents
Advertisement
Quick Links
Download this manual
See also:
User Manual
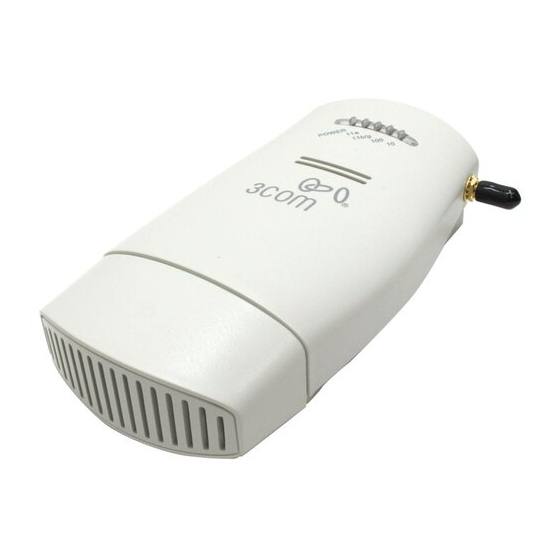
11a/b/g Wireless Workgroup Bridge
3CRWE675075
The 3Com 11a/b/g Wireless Workgroup Bridge combines high-performance, interoperability, and ease-
of-use to join isolated wired networks into a cohesive wireless local area network (WLAN). Instead of
traveling over wires, data is transmitted across the WLAN using radio waves.
The 3Com 11a/b/g Wireless Workgroup Bridge includes a robust suite of standards-based security
features, and supports wireless network standards including 802.11a and 802.11g. For a complete list of
the Bridge's features, see the 3Com 11 a/b/g Wireless Workgroup Bridge User Guide located on the
3Com Installation CD.
11 a / b / g W ireless
W orkgroup B ridge
P ow er P ort
S erial P ort
This Quick Start Guide describes the basic installation of the Bridge. It covers the following topics:
Unpacking the Bridge
■
Deciding Where to Place the Bridge
■
Connecting the Bridge
■
Checking the LED Indicators
■
Attaching An External Antenna
■
Determining if you Need to Configure the Bridge
■
Using the 3Com Installation CD
■
For complete instructions on using the Bridge, see the 3Com 11 a/b/g Wireless Workgroup Bridge
User Guide located on the 3Com Installation CD.
E thernet P ort
C radle
Quick Start Guide
Advertisement
Table of Contents

Related Manuals for 3Com 3CRWE675075


Summary of Contents for 3Com 3CRWE675075
-
Page 1: Quick Start Guide
The 3Com 11a/b/g Wireless Workgroup Bridge includes a robust suite of standards-based security features, and supports wireless network standards including 802.11a and 802.11g. For a complete list of the Bridge’s features, see the 3Com 11 a/b/g Wireless Workgroup Bridge User Guide located on the 3Com Installation CD. -
Page 2: Observing Safety Precautions
CAUTION: The 3Com power supply (part number 61-0107-000) input relies on a 16A rated building fuse or circuit protector for short circuit protection of the line to neutral conductors. -
Page 3: Wall-Mounting The Bridge
Wall-mounting the Bridge The Bridge comes equipped with a cradle for mounting on a wall. For additional security, the Bridge also comes with a locking bar, which can be used with a security lock (not provided) to lock the Bridge to the cradle after the Bridge is mounted to the wall. -
Page 4: Connecting The Bridge
Connecting the Bridge Before connecting the Bridge to an Ethernet client, connect the power supply. The figure below shows the ports for connecting the power and Ethernet cables. P ower C able E thernet C able The bridge can also be connected to a serial device. Serial cables come with a variety of connector sizes. If your connector is large and prevents the cradle from being attached to the Bridge, remove the end cap on the cradle. -
Page 5: Connecting To A Network Printer
CAUTION: You can directly connect the Bridge to a hub that does not have an uplink (MDIX) port, without the need of an Ethernet crossover cable. Connecting to a Network Printer You can connect a network printer directly to the Bridge or to a hub that is connected to the Bridge. Used this way, the Bridge allows you to place network printers in areas that are not wired for Ethernet. -
Page 6: Checking The Led Indicators
The Bridge has two internal diversity dual-band antennas. If you want to increase the range of the Bridge, an external antenna can be attached to the external antenna connector on the Bridge. The 3Com-approved external antenna for this Bridge is the 3Com 2.4/5 GHz Omnidirectional Workgroup Bridge Antenna (3CWE501). For more information, go to www.3Com.com... -
Page 7: Networks With A Dhcp Server
If your network has a DHCP server, an IP address is automatically assigned to the Bridge. It takes about one to two minutes for the Bridge to determine if there is a DHCP server on the network. Use the 3Com Wireless Infrastructure Device Manager (Widman) included on the 3Com Installation CD to locate the Bridge on the network and view its IP address. -
Page 8: Using The 3Com Installation Cd
■ SysLog Server, an optional TFTP Client, or an optional FTP Server. To use the 3Com Installation CD, you need a computer running Internet Explorer (latest version is recommended) and one of the following operating systems: Windows XP, Windows 2000, Windows NT 4.0, Windows Me, or Windows 98.