Table of Contents
Advertisement
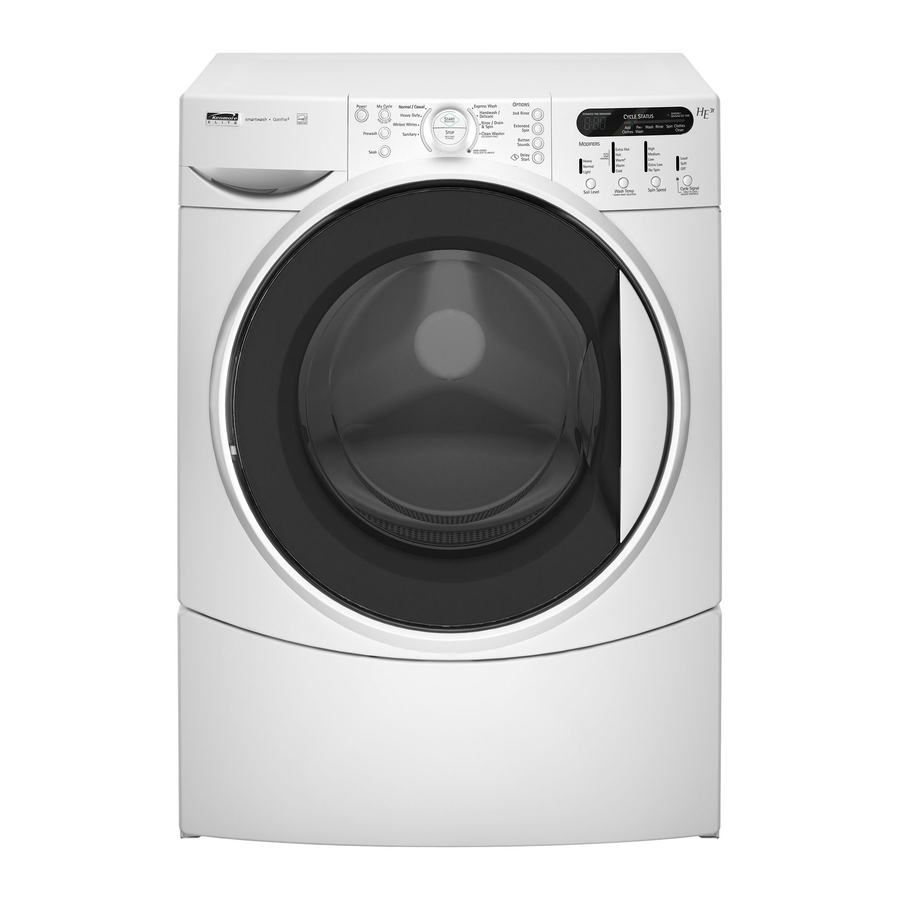
Front-Loading Automatic Washer
Use and Care Guide
Lavadora automática de carga frontal
Manual de Uso y Guidado
Laveuse automatique à chargement frontal
Guide d'utilisation et d'entreien
Models/Modelos/Modèles 110.4996 , 4997
= color number, número de color, numéro de couleur
Designed to use only HE High
Efficiency detergent
Diseñado para utilizar solamente
detergente de alta eficacia
Conçu pour l'utilisation d'un
détergent haute efficacité
seulement
461970235731
8183013
®
Sears Roebuck and Co., Hoffman Estates, IL 60179, U.S.A
Sears Canada Inc., Toronto, Ontario, Canada M5B 2B8
.
www.sears.com
www.sears.ca
Advertisement
Table of Contents

Related Manuals for Kenmore 110.4996


Summary of Contents for Kenmore 110.4996
- Page 1 Lavadora automática de carga frontal Manual de Uso y Guidado Laveuse automatique à chargement frontal Guide d’utilisation et d’entreien Models/Modelos/Modèles 110.4996 , 4997 = color number, número de color, numéro de couleur Designed to use only HE High Efficiency detergent Diseñado para utilizar solamente...
-
Page 2: Table Of Contents
In the U.S.A...................2 In Canada ..................2 “No-lemon” guarantee – replacement of your covered product if four or more product failures occur within twelve KENMORE ELITE ® APPLIANCE AND OPTIONAL PEDESTAL months WARRANTY..................3 Product replacement if your covered product can’t be fixed WASHER SAFETY................4... -
Page 3: Kenmore Elite
Deleted Pedestal Warranty ® KENMORE ELITE APPLIANCE WARRANTY ONE YEAR LIMITED WARRANTY THIS WARRANTY COVERS ONLY DEFECTS IN MATERIAL AND WORKMANSHIP. SEARS WILL NOT PAY FOR: When installed, operated and maintained according to all instructions supplied with the product, if this appliance fails due 1. -
Page 4: Washer Safety
WASHER SAFETY Your safety and the safety of others are very important. We have provided many important safety messages in this manual and on your appliance. Always read and obey all safety messages. This is the safety alert symbol. This symbol alerts you to potential hazards that can kill or hurt you and others. All safety messages will follow the safety alert symbol and either the word “DANGER”... -
Page 5: Installation Requirements
INSTALLATION REQUIREMENTS Tools and Parts Options Gather the required tools and parts before starting installation. Pedestal The parts supplied are in the washer drum. Tools needed for connecting the water inlet hoses You have the option of purchasing pedestals of different heights Pliers (that open to 1⁹⁄₁₆"... -
Page 6: Location Requirements
Location Requirements Selecting the proper location for your washer improves Recommended installation spacing for custom performance and minimizes noise and possible washer “walk.” undercounter installation Your washer can be installed under a custom counter, or in a basement, laundry room, closet, or recessed area. See “Drain The dimensions shown are for the recommended spacing. -
Page 7: Drain System
Recommended installation spacing for recessed or Drain System closet installation, with stacked washer and dryer The washer can be installed using the standpipe drain system (floor or wall), the laundry tub drain system, or the floor drain The dimensions shown are for the recommended spacing. system. -
Page 8: Electrical Requirements
Electrical Requirements Do not ground to a gas pipe. WARNING Check with a qualified electrician if you are not sure the washer is properly grounded. Do not have a fuse in the neutral or ground circuit. GROUNDING INSTRUCTIONS For a grounded, cord-connected washer: Electrical Shock Hazard This washer must be grounded. -
Page 9: Installation Instructions
INSTALLATION INSTRUCTIONS Remove Transport System Connect the Inlet Hoses Make sure the washer drum is empty. WARNING 1. Attach the hose with the red color indicator to the Hot (left) inlet valve. Attaching the red coupling first makes it easier to tighten connection with pliers. -
Page 10: Route The Drain Hose
Route the Drain Hose Secure the Drain Hose Proper routing of the drain hose protects your floors from 1. Drape the power cord over the washer top. damage due to water leakage. Read and follow these 2. Secure the drain hose to the laundry tub leg or standpipe with instructions. -
Page 11: Complete Installation
Auto Water Level Complete Installation Adjusting to the size of the load, this feature allows the washer to use the minimal amount of water needed to clean and rinse the 1. Check the electrical requirements. Be sure that you have the clothes. -
Page 12: Washer Use
WASHER USE First Wash Cycle Without Laundry Starting Your Washer Before washing clothes for the first time, if not completed during WARNING the final installation step, choose the Normal/Casual cycle and run it without clothes. Use only HE High Efficiency detergent. Use ¹⁄₂... -
Page 13: Using The Dispenser
5. Select the desired OPTIONS. Not all Options are available 9. To begin the wash cycle later with all cycles. See “Options.” Select DELAY until the desired delay time (in hours) shows in the Estimated Time Remaining display. Select START. The 6. -
Page 14: Pausing Or Restarting
Liquid detergent: Pausing or Restarting 1. To pause the washer at any time, select STOP. 2. To continue the cycle, select and hold START (for approximately 1 second). Changing Cycles, Options and Modifiers Not all Options and Modifiers are available with all Cycles. Available modifier selections will glow amber. -
Page 15: Cycles
Adding clothes Cycles This washer allows an 8-minute period in which other garments Wash Cycles may be added to the load. You can add items to the washer if the ADD CLOTHES status light is glowing. Choose Wash Cycles by turning the selector knob. The cycle To add items when Add Clothes light is glowing indicator light will glow when selected. -
Page 16: Normal Washer Sounds
Normal/Casual Drain & Spin Use this cycle to wash loads of no-iron fabrics such as sport Use this cycle to drain your washer or to drain and spin your shirts, blouses, casual business clothes, permanent press wash load. The spin speed is preset to high. If desired, you can blends, cottons and linens, and synthetic fabrics. -
Page 17: Options
Options You can customize your wash by adding options to your cycle Normal Rinse selections. You can add or change an option after starting a cycle anytime before the selected option begins. Not all Options are available with all cycles. Current selections will glow green. If an Consists of a two phase rinsing process that is effective for option is unavailable with a selected cycle, the light will not everyday laundry. -
Page 18: Modifiers
Modifiers Preset cycle settings of Water Temperature, Spin Speed, and Wash Temp Rinse Options can be changed. You can change a modifier after starting a cycle anytime before the selected Modifier begins. Not all Modifiers are available with all options and cycles. Available Select a water temperature based on the type of load you are modifier settings will glow amber. -
Page 19: Laundry Tips
LAUNDRY TIPS Preparing clothes for washing Sorting Follow these recommendations to help you prolong the life of Separate heavily soiled items from lightly soiled ones, even if your garments. they would normally be washed together. Separate lint-givers (towels, chenille) from lint-takers (corduroy, synthetics, Use only High Efficiency detergents. -
Page 20: Washer Care
WASHER CARE Cleaning Your Washer The Washer Maintenance Procedure should be performed on a Begin procedure monthly basis. 1. Open the washer door and remove any clothing or items from the washer. Cleaning the door seal 2. Close the washer door. 3. -
Page 21: Water Inlet Hoses
To use washer again: Water Inlet Hoses 1. Flush water pipes. Reconnect water inlet hoses to faucets. Turn on both water faucets. Replace inlet hoses after 5 years of use to reduce the risk of hose failure. Periodically inspect and replace inlet hoses if bulges, WARNING kinks, cuts, wear or leaks are found. -
Page 22: Troubleshooting
TROUBLESHOOTING First try the solutions suggested here to possibly avoid the cost of a service call... Washer displaying code message and tone sounds Washer won’t start “FH” (Water Inlet Problem—no water or insufficient water supply) WARNING Select STOP twice to cancel the cycle. Unplug washer or disconnect power. - Page 23 Washer won’t drain or spin Washer odor Is the drain hose clogged, or the end of the drain hose See “Cleaning Your Washer.” more than 96" (2.4 m) above the floor? Are you using HE detergent? Is your voltage low? Use of non-HE detergent can cause a film residue which can Check electrical source or call electrician.
- Page 24 Stains on load Cycle too long Did you add detergent to the dispenser? Did you choose the Sanitary cycle? For best results, add detergent to the detergent In this cycle, the heater will be activated to provide maximum compartment. Do not add detergent to the washer drum. cleaning performance.
- Page 25 ®Registered Trademark/ Trademark/ Service Mark of Sears Brands LLC, under licensee by Sears Canada. 9/06 ®Marca registrada/ Marca de comercio/ Marca de servicio de Sears Brands LLC, usada bajo licencia por Sears Canada. Printed in Germany 461970235731 Impreso en Alemania ®...