Table of Contents
Advertisement
Quick Links
Installation Instructions
for Frontload Washers
Inside.....................................
Washer Dimensions...........................................................
Before You Start................................................................
Installation.........................................................................
Installer Checklist..............................................................
Para bajar una copia de estas instrucciones en español, visite www.speedqueen.com.
Keep these instructions for future reference.
(If this machine changes ownership, this manual must accompany machine.)
Date Purchased ________________
Model Number ________________
Serial Number ________________
www.speedqueen.com
2
2
3
Back Cover
Part No. 802758R4
April 2012
Advertisement
Table of Contents

Related Manuals for Speed Queen 802758R4


Summary of Contents for Speed Queen 802758R4
-
Page 1: Installation Instructions
Para bajar una copia de estas instrucciones en español, visite www.speedqueen.com. Keep these instructions for future reference. (If this machine changes ownership, this manual must accompany machine.) Date Purchased ________________ Model Number ________________ Serial Number ________________ Part No. 802758R4 April 2012 www.speedqueen.com... -
Page 2: Washer Dimensions
Washer Dimensions 22.38 in. (56.8 cm) 24 in. (61 cm) 13.1 in. (33.3 cm) 28 in. (71.1 cm) 26.875 in. (68.3 cm) 2 in. (5.1 cm) FLW2224N 1.5 in. (3.8 cm) FLW2224N Figure 1 Before You Start Parts Included An accessories bag has been shipped inside your Supplies washer. -
Page 3: Step 1: Position Washer Near Installation Area
Installation Step 1: Position Washer Near Installation Area Move washer as close to the desired area of installation as possible. NOTE: For best performance and to minimize vibration or movement, install washer on a solid, sturdy and level floor. Some floors may need to be reinforced, especially on a second floor or over a basement. -
Page 4: Water Supply
Water Supply Screw hose couplings from other end of hoses onto the water mixing valve until they are finger-tight. Then, Water supply faucets must fit standard 3/4 inch using a pliers, screw approximately 1/4 turn. Refer to (19.1 mm) female garden hose couplings. DO NOT Figure 5. -
Page 5: Step 4: Connect Drain Hose To Drain Receptacle
FLW1992N FLW1992N FLW1990N FLW1990N 24 in. to 36 in. (91.44 cm recommended Water Faucets height) Cold Water Connection Standpipe - 2 in. (5.08 cm) or 1-1/2 in. (4 cm) Hot Water Connection Beaded Strap Fill Hoses Figure 6 Figure 5 Wall Installation: Step 4: Connect Drain Hose to Drain Receptacle... -
Page 6: Laundry Tub Installation
Laundry Tub Installation: For this type of installation, the drain hose MUST be secured to the stationary tub to prevent hose from dislodging during use. Refer to Figure 8. Use the beaded strap (supplied in accessories bag) to secure hose. FLW2270N Figure 10 3. -
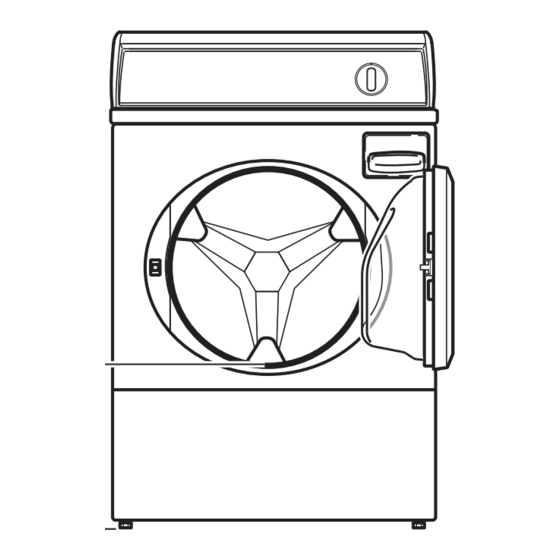
Page 7: Step 6: Wipe Out Inside Of Washer Drum
Step 7: Plug in the Washer Washer requires 120 Volt, 60 Hertz electrical supply and comes equipped with a 3-prong grounding plug. Refer to serial plate for specific electrical requirements. 120±12 0 V.A.C. V.A.C. FLW2268N FLW2268N Figure 13 120±12 V.A.C. IMPORTANT: The shipping brace, bolts, lockwashers and shock sleeves should be saved and Standard 120 Volt, 60 Hertz... -
Page 8: Grounding Information
The washer is designed to be operated on a separate WARNING branch, polarized, three-wire, effectively grounded, 120 Volt, 60 Hertz, AC (alternating current) circuit protected by a 15 Amp fuse, equivalent fusetron or This unit is equipped with a three-prong (grounding) plug for your protection circuit breaker. -
Page 10: Installer Checklist
Installer Checklist Fast Track for Installing the Washer (Refer to the manual for more detailed information) • Position Washer Near • Remove the Shock Sleeves Installation Area. and Shipping Brace. FLW2124N CHECK CHECK FLW2124N • Wipe Out Inside of • Position and Washer Drum Level the Washer.