Advertisement
TROUBLESHOOTING
Problem
Problem cause
No power or the machine
·Batteries are installed
runs slowly
incorrectly
·Batteries are low
·Adaptor power inadequate ·Use compatible adaptor
Skipping stitches
·Needle eye not in the
middle
·Needle bent
·Presser foot too loose
Bobbin thread cannot be
·Lower thread has been
drawn up
used up
·Needle threaded incorrectly
Thread keeps breaking
·Needle bent
·Needle shank not properly
seated
·Thread tension dial, thread
guide or thread pulling bar
too tight
Stitches too loose or
·Thread blocked by upper
uneven
bobbin
·Upper thread too loose
Needle breaks
·Needle bent or deformed
Amendment
·Reinstall the batteries
making sure they are the
correct way around
·Use new batteries
·Remove and re-insert the
needle with the flat side of
the needle to the back
·Remove and re-insert a
new needle
·Tighten the presser foot
·Replace with new full
bobbin
·Re-thread the needle,
making sure it is threaded
from the front to the back
·Remove and re-insert a
new needle
·Remove and re-insert a
new needle
·Loosen the thread tension
between 3-5 number
·Pull out the spool pin and
make the bobbin or thread
run smoothly
·Remove and re-insert a
new needle
10
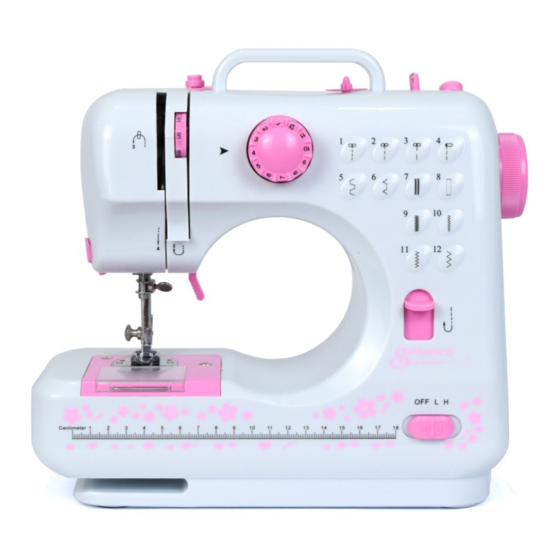
Mini multi-purpose sewing machine
Model: FHSM-505
Please read the instruction book carefully
before operating the sewing machine.
Please save this manual in a safe place.
This sewing machine is for Household Use.
Instruction Manual
Advertisement

Related Manuals for Tivax FHSM-505

Summary of Contents for Tivax FHSM-505
-
Page 1: Instruction Manual
Needle breaks ·Needle bent or deformed ·Remove and re-insert a new needle Model: FHSM-505 Please read the instruction book carefully before operating the sewing machine. Please save this manual in a safe place. This sewing machine is for Household Use. - Page 2 FEATURES ADJUSTING STITCHING 1. As shown in the picture A, normal stitching shall have top and bottom threading neither over tight or loose. Top thread Cloth Bottom thread Fig.A 2. If the bottom threading looks like a straight line, which indicates the top thread is too loose.
- Page 3 Please read all instructions before using this appliance carefully FEATURES and keep them in a safe place for future use. IMPORTANT SAFETY INSTRUCTION DRAWER On the side of the sewing machine (towards the rear) This sewing machine is only suitable for domestic use. is a drawer for the handy storage of accessories Do not use outdoors.
- Page 4 NAME OF PARTS FEATURES 8 STITCH FUNCTIONS 1. The sewing machine has a choice of 8 different stitch Front view types /lengths. To select the stitch you require, look at the diagrams numbered 1-8 on the front of the Take up lever sewing machine, choose the corresponding number Upper thread on the dial is lined up with the arrow.
- Page 5 SEWING CONNECTING THE SEWING MACHINE TO THE MAINS POWER SUPPLY 1. Make sure the “power off/speed switch on the front of the sewing 1. Turn the hand wheel on the side of the sewing machine anticlockwise machine is in the OFF position. to raise the needle to its highest position.
- Page 6 THRENDING THE SEWING MACHINE REPLACING THE BOBBIN 1. Turn the hand wheel counter clockwise until the needle is in the Threading upper thread highest position. Raise presser foot lifter. Caution: When threading the sewing machine make sure that the“power 2. Pull the slide plate forward and remove the empty bobbin 3.