Table of Contents

Related Manuals for Bissell 2012 3 series


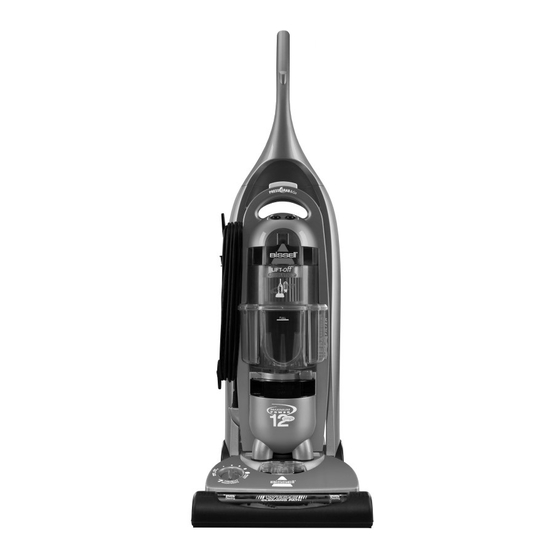
Summary of Contents for Bissell 2012 3 series
- Page 1 Lift-Off ® R E V O L U T I O N ™ U S E R ’ S G U I D E 3760/4220/6850/6860 SERIES Safety Instructions Product View Assembly Operations 10-15 Maintenance and Care 16-17 Troubleshooting Consumer Services Replacement Parts Warranty...
- Page 2 hank you for buying a BISSELL Lift-Off ® Revolution ™ We’re glad you purchased a BISSELL vacuum. Everything we know about floor care went into the design and construction of this powerful, high-tech home vacuuming system. Your BISSELL vacuum is well made, and we back it with a limited one year warranty.
-
Page 3: Important Safety Instructions
MPORTANT SAFETY INSTRUCTIONS When using an electrical appliance, basic Keep hair, loose clothing, fingers, and all parts of ■ precautions should be observed, including body away from openings and moving parts. the following: Turn off all controls before plugging or unplugging ■... -
Page 4: Product View
roduct view Handle Release Button Brush On/Off Switch Power Switch Detachable Canister Clean Filter Comfort Grip Power Indicator (Select Cord Models Only) Louvers/ Dirt Filter Frame Cord Clip Container Upper Tank Filter (Inside Louvers) Upper Tank Dusting Brush/ Dust Chamber Upholstery Tool with Screens Pre-Motor... -
Page 5: How To Use This Guide
ow to use this guide This user’s guide has been designed to help you WARnInG: get the utmost satisfaction from your bISSEll vacuum. you’ll find assembly and operating Plastic film can be instructions, safety precautions, as well as dangerous. To avoid maintenance and troubleshooting instructions. -
Page 6: Operation
ssembly Combination Attach vacuum hose and tools continued Tool Snap the telescoping extension wand, crevice tool, and combination tool into storage clips as shown. On board TurboBrush (select models only) ® The TurboBrush bracket slides onto the hanger on the front of the handle. Attach Crevice Tool Telescoping the bracket by aligning the slots with the... -
Page 7: Special Tools
peration Tip: Power height adjustment Before cleaning under The powerfoot on your vacuum can be low furniture, check area first for objects adjusted to clean several floor surfaces. that might harm the nOTE: for optimal cleaning performance, unit or block the adjust to the lowest practical setting. - Page 8 peration Special tools continued ® (select models) : Turbobrush Use rotating brush action for small areas such as stairs and upholstery. note: Press gently when using Turbobrush to gain maximum cleaning. Too much pressure could cause the brush to stop rotating. ®...
-
Page 9: Shoulder Strap
peration Buckle Clean filter indicator Select Models Only The clean filter Indicator tells you when airflow in the vacuum is reduced due to dirty filters or a clog in the hose. The clean filter Indicator will remain green until the airflow is reduced. At that time, it begins to change to red. -
Page 10: Maintenance And Care
aintenance and care To maintain maximum cleaning performance, the following maintenance steps must be performed: WARnInG: Empty the dirt container when the dirt reaches the “Full” line on the front. To reduce the risk of electric shock, turn Power Switch Off Check the upper tank and pre-motor filters and disconnect polarized plug at least once a month and clean and replace... - Page 11 aintenance and care Cleaning the upper tank & filter Unplug the cleaner from electrical outlet. The upper tank filter can be reached by removing the dirt container, reaching underneath the upper tank and turning the rim of the filter frame to unlock.
- Page 12 aintenance and care Rotating brush and drive belt maintenance Check your vacuum cleaner’s rotating floor Caution: brush and drive belt regularly for debris, wear or damage. Debris can wrap around the brush and To reduce the risk of injury hamper its ability to effectively clean your carpet. from moving parts, turn Unplug cleaner from electrical outlet.
-
Page 13: Belt Cover
aintenance and care Replace light bulb WARnInG: Unplug cleaner from electrical outlet. Remove detachable canister and recline To reduce the risk of electric handle of vacuum. shock, turn Power Switch Off and disconnect polarized plug Using a screwdriver, remove the one screw from electrical outlet before performing maintenance or as shown and lift off the lens. - Page 14 aintenance and care Cleaning clogs low suction or poor pickup may be due to a clog in the vacuum cleaner. If you notice a change in the sound of the motor or a reduction in the spinning action, check for clogs. Unplug cleaner from electrical outlet.
- Page 15 aintenance and care Thermal protector An internal thermal protector has been designed Caution: into your cleaner to protect it from overheating. When the thermal protector activates, the main To reduce the risk of vacuum motor will stop operating. If this injury from moving happens, proceed as follows: parts, turn off vacuum...
-
Page 16: Troubleshooting
roubleshooting WARnInG: To reduce the risk of electric shock, turn power Off and disconnect polarized plug from electrical outlet before performing maintenance or troubleshooting. Vacuum cleaner won’t run Possible causes Remedies 1. Power cord not firmly plugged in 1. Check electrical plug 2. - Page 17 roubleshooting Visible dirt escaping from cleaner Possible causes Remedies 1. Dirt container full 8. Empty dirt container 2. Filter missing or installed incorrectly 2. Check upper tank, pre-motor and post-motor filter for correct installation 3. Dirt container installed incorrectly 3. Pull out and re-insert dirt container correctly Other maintenance or service not included in the manual should be performed by an authorized service representative.
- Page 18 ISSELL consumer service For information about repairs or replacement parts, or questions about your warranty, call: bISSEll Consumer Services 1-800-237-7691 Monday - Friday 8 a.m. — 10 p.m. ET Saturday 9 a.m. — 8 p.m. ET Or write: BISSELL Homecare, Inc. PO Box 3606 Grand Rapids, MI 49501 ATTN: Consumer Services...
- Page 19 eplacement parts – BISSELL Lift-Off Revolution series You may purchase replacement parts from your retailer, by calling BISSELL Consumer Services or by visiting our website. To locate a retailer near you, or to place an order using Visa, MasterCard, Discover or American Express, call bISSEll Consumer Services 1-800-237-7691...
-
Page 20: Limited One-Year Warranty
arranty This warranty gives you specific legal rights, and you may also have other rights which may vary from state to state. If you need additional instruction regarding this warranty or have questions regarding what it may cover, please contact BISSELL Consumer Services by E-mail, telephone, or regular mail as described below.