
Related Manuals for Axis 24889


Summary of Contents for Axis 24889
- Page 1 C O M M U N I C A T I O N S PRODUCT INSTRUCTIONS MODEL: 24889, 29892 Before attempting to connect or operate this product, 81-IN6209R1 please read these instructions completely.
-
Page 2: Important Safeguards
TECHNICAL SUPPORT If technical support is needed, Axis has set-up a technical support In the event of a breach of the above warranty, Axis shall, line for their customers. at its option, repair or replace said product. This is Axis's sole obligation under this warranty. -
Page 3: Electrical Specifications
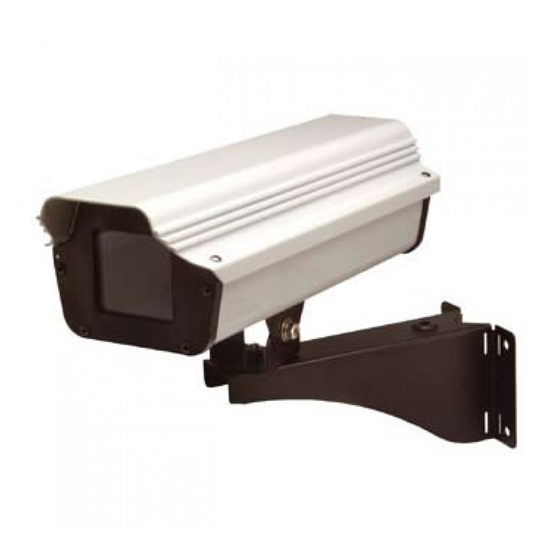
Electrical Specifications Unpacking the Product 24889 Input Power: 24 VAC Power Consumption: 1.45Amp Total Consumption Power Output: 27 Watts Heater/Blower Up to 8 Watts Camera Power Tools Required: Phillips Screwdriver 7/16 Wrench or Socket 24VAC 50Watts Wire Gauge Distance Energía De Entrada: 24 VAC De Consumo De Energía:... - Page 4 Attach the bracket to the wall and secure Remove the tilt mechanism from the bracket. appropriately. Una el soporte a la pared y asegúrelo apropia- Quite el mecanismo de la inclinación del • • soporte. damente. Attachez la parenthèse au mur et la fixez conve- Enlevez le mécanisme d'inclinaison de la •...
-
Page 5: Rear Panel
REAR PANEL External Microphone/ Line Input Audio Output DC-Iris Control Cable Sled Screw Network Terminal Connector Power Connector Camera Sled and PoE Connector Place camera on sled and align mounting holes on Feed the wiring through the conduit plugs and make each. - Page 6 Adjust Lens Here If desired, use the security screws in place of hex Adjust the focus and focal length until the desired field of view and focus is obtained. For the 29892 wireless, attach the antenna screws. lead to the camera. •...
- Page 7 (For Wireless Unit 29892) Align to fit grove Slide Sunshield over first grove of housing Connect antenna to antenna plug. top. • Resbale arboleda del excedente de Sunshield la • Conecte la antena con el enchufe de antena. primera de la tapa de la cubierta. •...
-
Page 8: Replacement Parts List
• Allinei i fori e fissi con il bullone ed il dado. Replacement Parts List Item Comments Comments Number 24889, 29892 Front End Cap RPACH010 Lower Housing RPACH070 Body Rear End Cap...