Table of Contents
Advertisement
Advertisement
Table of Contents

Related Manuals for Hotpoint HTN40


Summary of Contents for Hotpoint HTN40
- Page 1 COOKER HOOD USER HANDBOOK FOR INSTALLATION AND OPERATION MODEL HTN40...
-
Page 2: Electrical Requirements
Your new Cooker Hood Using your new Cooker Hood is very simple. Nevertheless, to get the best results it is important that you read this handbook thoroughly before installing and using your appliance for the first time. Electrical Requirements Any permanent electrical installation must comply with the latest I.E.E. Regulations and local electricity company regulations. -
Page 3: Table Of Contents
Contents Electrical Requirements Get to know your Cooker Hood Installing your Cooker Hood Installation for Recirculation Installation for Extraction Mounting Height Mounting between Cabinets Fitting the Decor Panel Operating your Cooker Hood The Controls Do’s and Don’ts Caring for your Cooker Hood Filters and their Replacement Cleaning How to Replace the Light... -
Page 4: Get To Know Your Cooker Hood
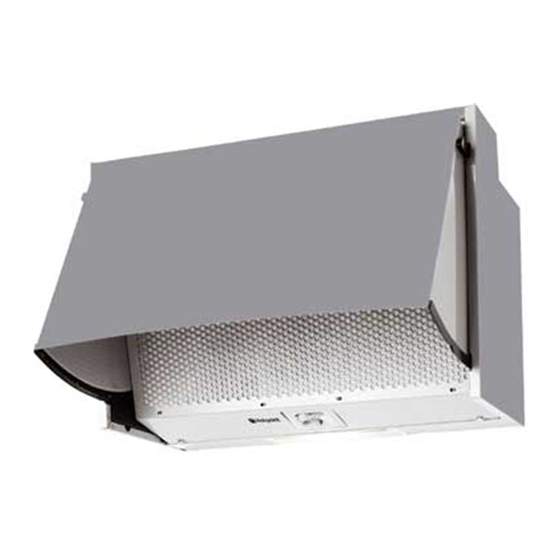
Get to know your Cooker Hood. Unpacking Before installation, ensure that you have removed all packing pieces. Fitted Door (not supplied Filter Grille Dimensions Height 400mm (15 Width 600mm (23 Depth adjustable from: 270mm (10 excluding the decor panel thickness. All measurements are in millimetres. -
Page 5: Installing Your Cooker Hood
Installing your Cooker Hood Your new Cooker Hood can be installed either for recirculation or extraction through an outside wall. (All fitting supplied) Installation for Recirculation: If it is not possible to exhaust to the outside, the hood can be used to filter and recirculate the air (Fig.1). - Page 6 Installing your Cooker Hood Top or Rear Extraction Fig.4 Connect the ducting material onto the flange: blank off the aperture which is not required. The charcoal filter is not required when the hood is installed in the ducting cycle. To remove the grille turn the locks (Fig.5 B) and pull the grille out and downwards.
-
Page 7: Mounting Height
Installing your Cooker Hood MOUNTING Your Cooker Hood is designed to fit between two wall cupboards 600mm apart and to take a door panel measuring 400mm (min) to 600mm (max) in height, to match the adjacent cupboards, Mounting Height: The bottom of the hood should be no less than 650mm above an electric hob, 750mm above a gas hob or mixed fuel cooker, 400-450mm above a high level grill/top oven. - Page 8 Installing your Cooker Hood Fixing the Hood to the Cupboards: Place the template on the side of the right cupboard, so that the letter B aligns with the front part of the cupboard (disregard the thickness of the door) and drill two holes 2.5mm diameter at points B1 and B2 (Fig.
-
Page 9: Fitting The Decor Panel
Installing your Cooker Hood Fitting the Decor Panel: The hood is designed to be fully integrated into the kitchen by fitting a decor panel onto the visor to match the adjoining kitchen cabinets. To fit the decor panel remove the complete visor assembly from the hood. -
Page 10: Operating Your Cooker Hood
Operating your Cooker Hood The Controls Make sure that the Cooker Hood is wired in and the power supply is switched on. The Cooker Hood functions are controlled by two slide switches located on the right hand side behind the visor. Fan Speed The top slider enables you to select the fan speed. -
Page 11: Caring For Your Cooker Hood
Caring for your Cooker Hood Before doing any cleaning or replacing the fil- ters or light bulb, always ensure that the elec- tricity supply to the Cooker Hood is switched ‘OFF’ . Filters and their replacement: THE GREASE FILTER - Your Cooker Hood is fitted with a grease filter which absorbs grease, dust etc. -
Page 12: Cleaning
Caring for your Cooker Hood Cleaning: The exterior of the Cooker Hood should be cleaned regularly to keep it looking like new. Wipe over with a soft cloth, wrung out in warm water and dry with a clean soft cloth. Wear protective gloves. -
Page 13: Troubleshooting
Troubleshooting. First, don’t panic! There may be nothing wrong at all. Look for your problem below, then check the things we suggest. More often than not, this will give you the answer to your problem, and you’ll be able to carry on without having to telephone your Service Office. -
Page 16: Key Contacts
Genuine Parts & Accessories Republic of Ireland: (01) 842 6836 For further product information All Hotpoint Services are offered as an extra benefit and do not affect your statutory rights. General Domestic Appliances Limited, Morley Way, Peterborough, PE2 9JB Part No. FP077-01...