DeLonghi Pinguino CF 210 Use And Maintenance Manual
Hide thumbs
Also See for Pinguino CF 210:
- Use and maintenance manual (15 pages) ,
- Instructions for use manual (15 pages)
Table of Contents
Advertisement
Advertisement
Table of Contents

Related Manuals for DeLonghi Pinguino CF 210


Summary of Contents for DeLonghi Pinguino CF 210
- Page 1 CF 210 CF 210 • Use and maintenance manual ..pag. 4 • Mode d’emploi et d’entretien ..pag. 15 • Instrucciones de uso ..pag.
- Page 2 I m p o r t a n t s a f e g u a rd s • Read all instructions. • Use this appliance only as described in this instruction manual. As with any electrical appliance, the instructions aim to cover as many eventualities as possi- ble.
-
Page 3: Tips For Energy Saving
Introduction The portable air conditioner is a compact unit for regulating air temperature and humidity. Its extremely flexible characteristics make it easy to use at any time and in any room. It can be operated in multiple modes including cooling, dehumidifying and ventilating. The appliance has been designed for dome- stic use and may be used in the home, office, etc. -
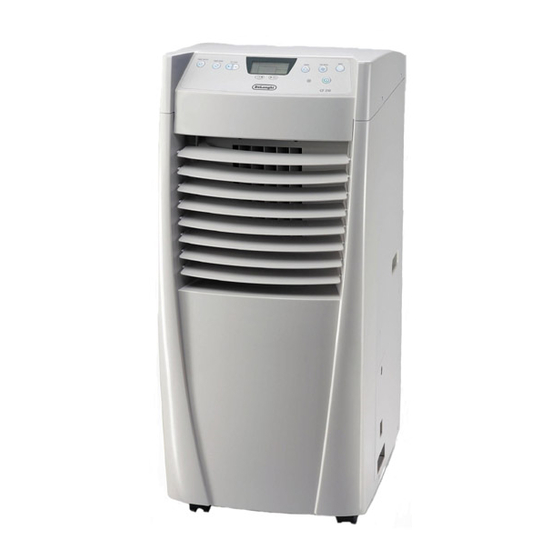
Page 4: Description Of Parts
Description DESCRIPTION OF PARTS Front Control panel Air flow direction fins (right hand – left hand) Air outlet Air flow direction fins (high – low) Handle Water tank Castors Back Top air intake grille for cooling, dehumidifying and ventilating. Hot air outlet Connector for supplementary water tank Bottom air intake grill... -
Page 5: Control Panel
Control panel All functions of the unit can be controlled from the control panel or the remote control unit (certain models only). SET TEMP buttons MODE KEY TIMER ON/OFF These buttons can FAN SPEED button SWING button Press this button to button be used to set the Press this button to... - Page 6 Description Display SET TEMP buttons Use these buttons to set the required room tempe- rature between 17°C °F (63°F) and 31°C (88° F). ON/OFF button The temperature set is Press this button to turn the increased or reduced by air conditioning unit on or 1°C (1°...
-
Page 7: Operating Range
O p e ra t i o n SETTING THE REMOTE CONTROL CLOCK Remove the cover of the battery compartment on the back of the remote control unit. After inserting two 1.5 V alkaline batteries in the compartment, the clock is automatically set at 12:00. If you want to set the time to 10:30, proceed as follows: Press the CLK button (in the battery compart- ment) with a pointed object such as a pencil. -
Page 8: Timer Function
O p e ra t i o n TIMER FUNCTION When the air conditioning unit is off (but plug- ged into the outlet), to turn it on at the required time press the "TIMER ON/OFF" button (" " will appear on the display), then press the " TIMER HOUR"... -
Page 9: Choosing The Installation Site
I n s t a l l a t i o n CHOOSING THE INSTALLATION SITE INSTALLING THE AIR EXHAUST HOSE Position the air conditioning unit on a flat sur- 1. Open out the end of the hose and screw the face where the air outlet grilles cannot be two adapters on counterclockwise (see figure). - Page 10 I n s t a l l a t i o n If the flange hose must be curved to expel the MOUNTING THE ADJUSTABLE WINDOW CLOSU- air, you should follow the measurements given RE CROSSPIECE ( Only for some models ) in the figure: The appliance is provided with an adjustable bracket.
-
Page 11: Condensation Drainage
I n s t a l l a t i o n CONDENSATION DRAINAGE 3. Do not remove the cap of the tube in the When the air conditioning unit is operating in water tank compartment (present in certain air conditioning or dehumidifying mode, the models only) while the unit is operating with condensation is collected in a special tank. -
Page 12: Maintenance
M a i n t e n a n c e MAINTENANCE END OF SEASON PROCEDURE • Turn the appliance off and unplug from 1. Turn the appliance off and disconnect the outlet before cleaning. from the outlet by unplugging from the •... -
Page 13: Troubleshooting
Tr o u b l e s h o o t i n g Before contacting an authorized technical service center, check the following: Problem Check Solution The appliance does not • Check it no longer occurs • If there is a power outage work. - Page 14 Please contact our toll free hotline at 1-800-322-3848 or log onto our website at www.delonghi.com. For all accessories, spare parts or replacement parts, please contact our parts division at 1-800- 865-6330. CANADA Residents: Please contact our toll free hotline at 1-888-335-6644 or log onto our website at www.delonghi.com. Other countries: Please visit: www.delonghi.com.