Advertisement
Quick Links
ASSEMBLY & INSTALLATION
INSTRUCTIONS
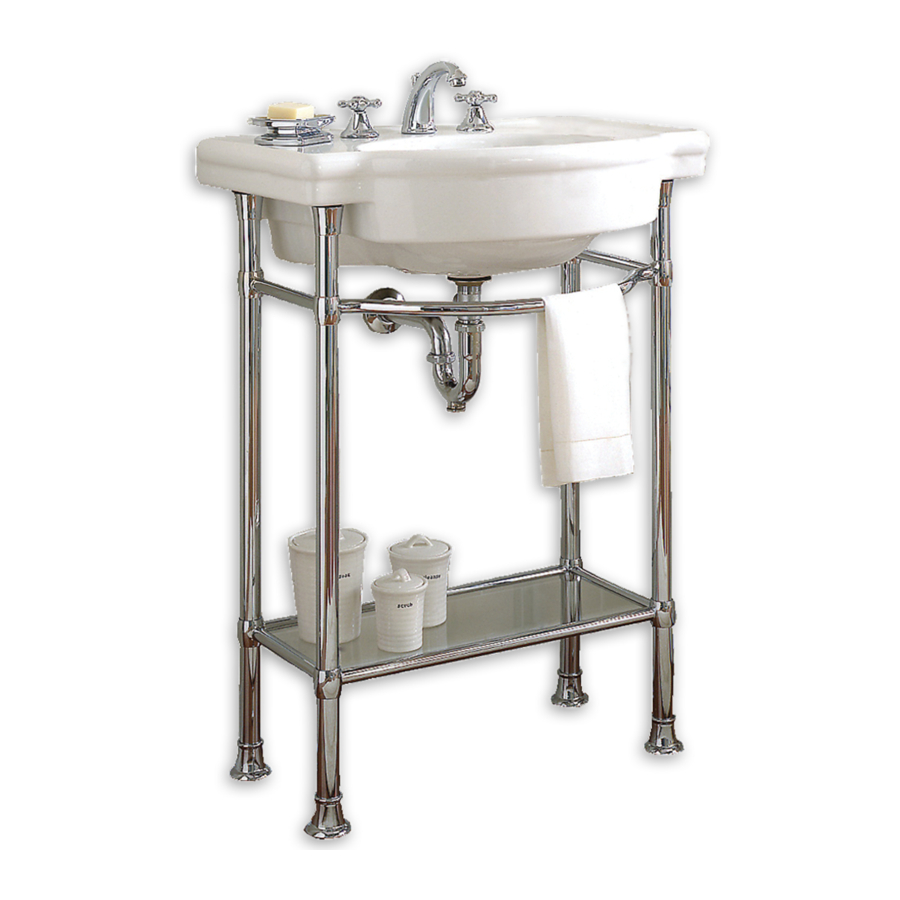
RETROSPECT® CONSOLE TABLE
7812.002
7812.295
Thank you for selecting our products...products which have been the benchmarks of fine quality for over 100 years.
To help insure that the installation process will proceed smoothly, please read these instructions carefully before you
begin. Also, review the recommended tools and materials list; carefully unpack and examine your new plumbing fixture.
Recommended Tools & Materials
Adjustable Wrench
Channel Locks
Plumbers' Putty or
Caulking
Phillips Screwdriver
Regular Screwdriver
Tape
Measure
Pipe Wrench
Hacksaw
Drill
P r o d u c t n a m e s l i s t e d h e r e i n a r e t r a d e m a r k s o f A m e r i c a n S t a n d a r d I n c .
© A m e r i c a n S t a n d a r d I n c . 2 0 0 3
0282.008
8711.000.002
8711.000.295
Level
FINISHED
WALL
Putty Knife
(279mm)
7-1/2"
(191mm)
RETROSPECT® CONSOLE PEDESTAL TOP
CONSOLE TABLE LEGS (Chrome)
CONSOLE TABLE LEGS (Satin)
FINISHED WALL
9"
(229mm)
1-3/4" DIA.
STD. DRAIN
OUTLET
7-1/4"
(184mm)
3/8" (10mm) DIA.
SINK ANCHOR
SCREW HOLES
ON 13-3/4" (349mm)
CENTERS
11"
FINISHED
FLOOR
- 1 -
13-3/4"
3 Holes
(349mm)
1-3/8" (35mm) Dia.
8"
(203mm)
27"
(686mm)
8-1/8" TO
BOTTOM OF
DRAIN OUTLET
8"
(203mm)
SUPPLIES
AS REQ'D
1-1/4 O.D.
WASTE
*
24"
1-1/4" O.D.
(610mm)
TAILPIECE
*
22"
(559mm)
22"
(559mm)
3-3/8"
(86mm)
15"
(381mm)
19-3/4"
(502mm)
(206mm)
36"
(914mm)
73 07 5 7- 1 00 REV. B
Advertisement

Related Manuals for American Standard Retrospect Console Table 7812.002


Summary of Contents for American Standard Retrospect Console Table 7812.002
- Page 1 ASSEMBLY & INSTALLATION INSTRUCTIONS RETROSPECT® CONSOLE TABLE 7812.002 7812.295 Thank you for selecting our products...products which have been the benchmarks of fine quality for over 100 years. To help insure that the installation process will proceed smoothly, please read these instructions carefully before you begin.
- Page 2 Run the two front leg sub-assemblies (Item #1) through the two front holes of the towel bar (Item #2). Do the same with the two rear leg assemblies (Item #3). Adjust the hex nut at the end of each rear leg such that 5/8" of thread is exposed. Turn the unit upside down.
- Page 3 1) Move console table legs into approximate position near the wall. 2) Place sink on console, aligning the rubber grommets on the top of the front legs with the recesses in the underside of the front of the sink. 3) Place a level on the shelf support and use the four independently adjustable console feet to level the assembly both side-to-side and front-to-back.
- Page 4 This warranty shall be void if the product has been moved from its initial place of installation; if it has been subjected to faulty maintenance, abuse, misuse, accident or other damage; if it was not installed in accordance with American Standard's instructions; or if it has been modified in a manner inconsistent with the product as shipped by American Standard.