Electrolux EOB3450AAX User Manual
Oven
Hide thumbs
Also See for EOB3450AAX:
- User manual (28 pages) ,
- User manual (60 pages) ,
- User manual (28 pages)

Related Manuals for Electrolux EOB3450AAX


Summary of Contents for Electrolux EOB3450AAX
- Page 1 ..................... EOB3450AAX EN OVEN USER MANUAL EOB3450AOX...
-
Page 2: Table Of Contents
13. INSTALLATION ............24 WE’RE THINKING OF YOU Thank you for purchasing an Electrolux appliance. You’ve chosen a product that brings with it decades of professional experience and innovation. Ingenious and stylish, it has been designed with you in mind. -
Page 3: Safety Information
ENGLISH 1. SAFETY INFORMATION Before the installation and use of the appliance, carefully read the supplied instructions. The manufacturer is not responsible if an incorrect installation and use causes in- juries and damages. Always keep the instructions with the appliance for future reference. 1.1 Children and vulnerable people safety WARNING! Risk of suffocation, injury or permanent disability. -
Page 4: Safety Instructions
• Do not use harsh abrasive cleaners or sharp metal scrapers to clean the glass door since they can scratch the surface, which may result in shattering of the glass. • To remove the shelf supports first pull the front of the shelf support and then the rear end away from the side walls. -
Page 5: Internal Light
ENGLISH • Use this appliance in a household envi- • Use a deep pan for moist cakes. Fruit ronment. juices cause stains that can be perma- nent. • Do not change the specification of this appliance. 2.3 Care and Cleaning •... -
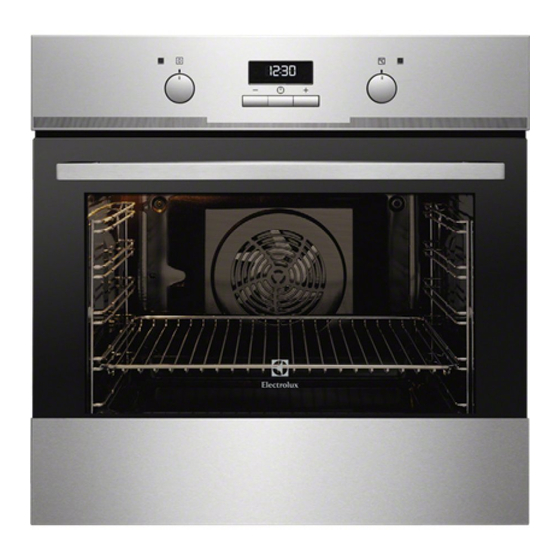
Page 6: Product Description
• Disconnect the appliance from the • Remove the door catch to prevent chil- mains supply. dren and pets to get closed in the ap- pliance. • Cut off the mains cable and discard it. 3. PRODUCT DESCRIPTION Grill... -
Page 7: Daily Use
ENGLISH To change the time, press Set the function and the maximum again and again until the indicator temperature. for the Time of Day function flash- Let the appliance operate for ten mi- es. You must not set the Duration nutes. -
Page 8: Clock Functions
Oven function Application To grill flat food items in large quantities. To make Fast Grilling toast. The full grill element operates. To cook large pieces of meat. The grill element and Turbo Grilling the oven fan operate one after the other and circulate hot air around the food. -
Page 9: Using The Accessories
ENGLISH Press the Selection button again and and an acoustic signal sounds for two again until the indicator for the neces- minutes. sary clock function flashes. With the Duration and End functions, the appliance deacti- vates automatically. Press a button to stop the signal. hr min hr min Turn the knob for the oven functions... -
Page 10: Additional Functions
10 www.electrolux.com Put the wire shelf on the telescopic runners and carefully push them into °C the appliance. Make sure you push back the tele- scopic runners fully in the appliance before you close the oven door. Keep the installation instructions... -
Page 11: Cooking Times
ENGLISH • Do not put the objects directly on the • Leave the meat for approximately 15 appliance floor and do not put alumini- minutes before carving so that the juice um foil on the components when you does not seep out. cook. - Page 12 12 www.electrolux.com Conventional True Fan Cook- Cooking Cooking TYPE OF time Notes DISH Shelf Temp Shelf po- Temp [min] position [°C] sition [°C] Small cakes 140 - 20 - 30 In a baking - one level tray Small cakes 2 and 4...
- Page 13 ENGLISH BREAD AND PIZZA Conventional True Fan Cook- Cooking Cooking TYPE OF time Notes DISH Shelf Temp Shelf po- Temp [min] position [°C] sition [°C] White bread 60 - 70 1 - 2 pieces, 500 gr per piece Rye bread 30 - 45 In a bread tin Bread rolls...
- Page 14 14 www.electrolux.com Conventional True Fan Cook- Cooking Cooking TYPE OF time Notes DISH Shelf Temp Shelf po- Temp [min] position [°C] sition [°C] Veal 90 - 120 On a wire shelf English roast 50 - 60 On a wire beef, rare...
-
Page 15: Turbo Grilling
ENGLISH Quantity Grilling Cooking time [min] TYPE OF DISH Pieces Shelf po- Temp 1st side 2nd side sition [°C] Fillet steaks max. 12 - 15 12 - 14 Beef steaks max. 10 - 12 6 - 8 Sausages max. 12 - 15 10 - 12 Pork chops max. - Page 16 16 www.electrolux.com Veal TYPE OF Quantity Shelf posi- Temperature Time [min] DISH tion [°C] Roast veal 1 kg 160 - 180 90 - 120 Knuckle of 1.5 - 2 kg 160 - 180 120 - 150 veal Lamb TYPE OF...
- Page 17 ENGLISH Further de- TYPE OF Defrosting frosting time Notes DISH time [min] [min] Meat 1000 100 - 140 20 - 30 Turn halfway through. Meat 90 - 120 20 - 30 Turn halfway through. Trout 25 - 35 10 - 15 Strawberries 30 - 40 10 - 20...
-
Page 18: Care And Cleaning
18 www.electrolux.com 9.9 Drying - True Fan Cooking Cover the oven shelves with baking parchment. VEGETABLES Shelf position TYPE OF Temperature Time [hr] DISH [°C] 1 level 2 levels Beans 60 - 70 6 - 8 Peppers 60 - 70... -
Page 19: Shelf Supports
ENGLISH 10.2 Shelf supports You can remove the shelf supports to clean the side walls. Removing the shelf supports Pull the front of the shelf support away from the side wall. Pull the rear end of the shelf support away from the side wall and remove Installing the shelf supports Install the shelf supports in the opposite sequence. -
Page 20: Oven Lamp
20 www.electrolux.com Clean the glass cover. 10.4 Oven lamp Replace the oven light bulb with an WARNING! applicable 300 °C heat-resistant oven Be careful when you change the light bulb. oven lamp. There is a risk of elec- Use the same oven lamp type. - Page 21 ENGLISH Identify the hinge to the left side of the door. Lift and turn the lever on the left hinge. Close the oven door to the first open- ing position (halfway). Then pull for- ward and remove the door from its seat.
- Page 22 22 www.electrolux.com Put the door on a soft cloth on a sta- ble surface. Release the locking system to re- move the internal glass panel. Turn the two fasteners by 90° and re- move them from their seats. 90° Carefully lift (step 1) and remove (step 2) the glass panel.
-
Page 23: What To Do If
ENGLISH Installing the door and the glass panel When the cleaning is completed, install the glass panel and the oven door. Do the above steps in the opposite sequence. The screen-printing zone must face the inner side of the door. Make sure that af- ter the installation the surface of the glass panel frame on the screen-printing zones is not rough when you touch it. -
Page 24: Technical Data
24 www.electrolux.com 12. TECHNICAL DATA Voltage 230 V Frequency 50 Hz 13. INSTALLATION WARNING! Refer to the Safety chapters. 13.1 Building In min. 550 min. 560 13.2 Electrical installation min. 550 WARNING! Only a qualified person must do min. 560 the electrical installation. -
Page 25: Environment Concerns
ENGLISH For the section of the cable refer to the Section of the ca- total power (on the rating plate) and to the Total power table: maximum 3680 3 x 1.5 mm² Section of the ca- Total power The earth cord (green / yellow cable) must maximum 1380 3 x 0.75 mm²... - Page 26 26 www.electrolux.com...
- Page 27 ENGLISH...
- Page 28 www.electrolux.com/shop...