Table of Contents
Advertisement
Quick Links
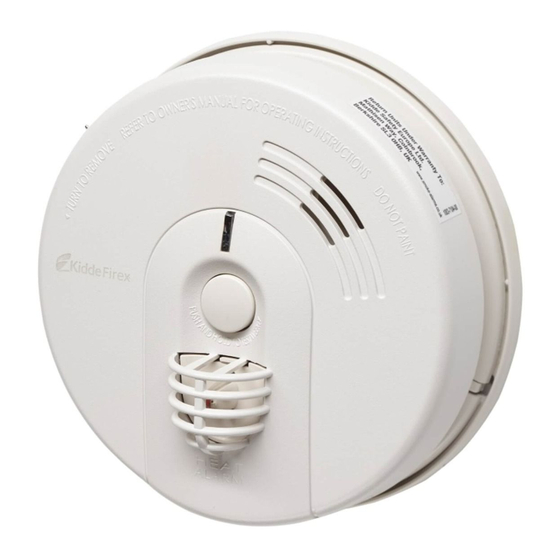
230V AC
9V Battery
with
Back-up
CONTENTS
p.1-2
Heat Alarm Features
p.2
Specifications
p.2-3
Important Safety Information
p.4
Heat Alarm Location
p.5
Heat Alarm Siting
p.5-6
How To Install This Heat Alarm
p.7
Interconnecting Heat Alarms
p.7
Red and Green Led Indicators
p.8
Testing the Heat Alarm
p.8-9
Maintenance and Cleaning, Battery Replacement, Repair
p.10
Fire Safety Rules and Preventing Hazardous Situations
p.10-11
Fire Procedure
p.11
What to Do in Case of Fire
p.11-12
Troubleshooting
p.12
Guarantee
!WARNING: H
EAT ALARMS ALONE ARE NOT SUFFICIENT FOR LIFE SAFETY AS THEY ARE NOT
DESIGNED TO DETECT SMOKE
PROVIDE AN ADDITIONAL SOURCE OF INFORMATION THAT IS SUPPLEMENTARY TO THAT PRO
VIDED BY SMOKE ALARMS TO INCREASE THE PROBABILITY THAT AN EARLY WARNING WILL BE
PROVIDED AND SO ENHANCE LIFE SAFETY AND PROPERTY PROTECTION
L
"
IMITATIONS
IN THE
HEAT ALARM FEATURES
• This heat alarm is powered from a 230V AC supply, and has
a 9V DC battery back-up source. AC/DC heat alarms offer added
protection in the event of a power failure or a flat battery.
• Unique power connector prevents interconnecting with incompati-
ble heat alarms, smoke alarms, or security systems.
• This Model H230 heat alarm can be interconnected with as many as
35 other heat alarms of the same model, or Firex 230V AC smoke
alarms. Interconnectable Firex smoke alarms include: GC240, I240C,
IAR230C, PG240, PAD240, PADC240 and PAR230.
Heat Alarm
. T
HEY ARE INTENDED TO DETECT TEMPERATURES OF
IMPORTANT SAFETY INFORMATION
57°C FIXED TEMPERATURE
MODEL H230
PLEASE READ AND SAVE
THIS MANUAL
Installer: Please leave this manual with
the occupier (or, in the case of a house
in multiple operation, with the owner)
1
©1998 Maple Chase Company
57°C
.
"H
A
SEE
EAT
LARMS
SECTION OF THIS MANUAL
®
110-607
TO
-
H
AVE
.
Advertisement
Table of Contents

Related Manuals for Firex H230


Summary of Contents for Firex H230
- Page 1 • Unique power connector prevents interconnecting with incompati- ble heat alarms, smoke alarms, or security systems. • This Model H230 heat alarm can be interconnected with as many as 35 other heat alarms of the same model, or Firex 230V AC smoke alarms.
-
Page 2: Specifications
AC supply, is working normally, or is in alarm. • Loud alarm sounder – 85 decibels [dB(A)] at 3m – will sound to alert you of an emergency. • Test button checks heat alarm operation. SPECIFICATIONS H230 ODEL UMBER 230V AC, 9 V LECTRICAL... - Page 3 Advice from your local distributor or Fire Brigade should be obtained when installing a heat alarm on a ceiling higher than 6m. • This heat alarm should be installed only by a qualified electrician. The installation should comply with BS 7671 and all prevailing local, regional and national codes.
- Page 4 HEAT ALARM LOCATION Heat alarms give an audible warning when the temperature at the alarm reaches 57°C. Heat alarms are ideal for kitchens, garages, cellars, boiler rooms, attics and other areas where there are normally high levels of fumes, smoke or dust which preclude the use of smoke alarms due to the risk of false alarms.
-
Page 5: How To Install This Heat Alarm
Install heat alarm on a standard electrical box or surface mount pattress (Firex Model PAT or PATR) as close to the centre of the ceiling as possi- ble. If the centre is not practical, mount the heat alarm no closer than 300mm away from a wall or corner. - Page 6 Firex Pattress or recess into the electrical accessory box. 6. Pass the connector plug through the mounting plate of the heat alarm, align slots and fasten mounting plate securely to the Firex Pattress or electrical accessory box. NOTE: If this is to be a single-station heat alarm, cover the orange wire with electrical tape and tuck it into the electrical box or pattress.
- Page 7 This heat alarm may be interconnected with as many as 35 other Firex Model H230 heat alarms or model GC240, I240C, IAR230C, PG240, PAD240, PADC240 or PAR230 smoke alarms. DO NOT connect to any other type of model of heat alarm or smoke alarm. If interconnecting to Firex Pattress with Relay (Model PATR) only 12 total Firex models may be interconnected.
-
Page 8: Maintenance And Cleaning
TESTING THE HEAT ALARM !WARNING: T EST EACH HEAT ALARM AND SMOKE ALARM TO BE SURE THAT EACH IS INSTALLED CORRECTLY AND IS OPERATING PROPERLY ’ TAND AT ARM S LENGTH FROM THE HEAT ALARM WHEN TESTING HE ALARM SOUNDER IS LOUD TO ALERT YOU TO AN EMERGENCY AND CAN BE HARMFUL TO HEARING EST THE HEAT ALARM WEEKLY AND UPON RETURNING FROM HOLIDAY OR WHEN THE... - Page 9 Pack it in a well-padded carton and send it, postage prepaid, to one of the addresses given at the end of this manual. If the heat alarm is no longer under guarantee, have a qualified electri- cian replace the heat alarm immediately with a comparable Firex brand heat alarm.
- Page 10 FIRE SAFETY RULES AND PREVENTING HAZARDOUS SITUATIONS Siting, testing, and taking care of heat and smoke alarms is just one step in helping to protect your family and home from fires. You must also reduce the chance that fires will start in your home and increase your chances of escaping if a fire does start.
-
Page 11: What To Do In Case Of A Fire
• Hold fire drills every six (6) months to make sure everyone, even small children, know what to do to escape safely. • Know where to go to call the Fire Brigade from outside your house. • Provide emergency equipment, such as fire extinguishers, and teach your family how and when to use this equipment. - Page 12 PROBLEM SOLUTION Heat alarm beeps about 1. Turn off AC power and once a minute. replace battery. See “Battery Replacement” in the “MAINTENANCE AND CLEANING” section. Heat alarm sounds 1. Hire an electrician to move unwanted alarms. heat alarm to a new location. See the “HEAT ALARM PLACEMENT”...