Canon PowerShot G12 Basics Manual
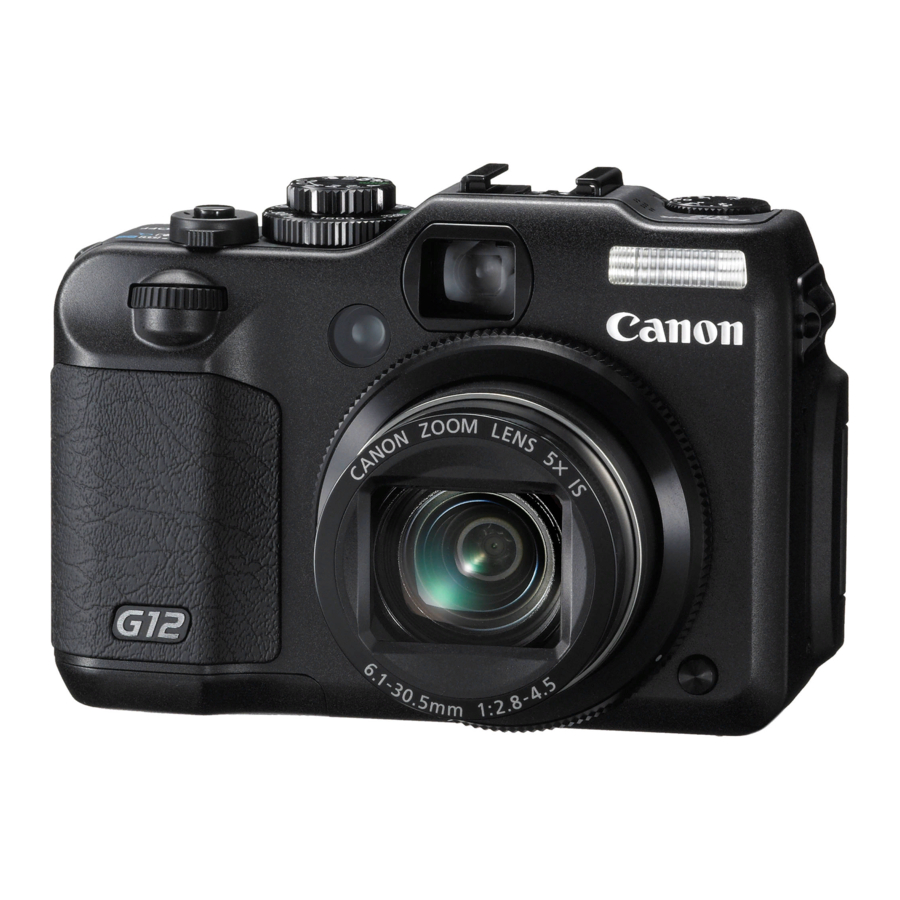
Canon powershot g12 camera
Hide thumbs
Also See for PowerShot G12:
- Getting started (255 pages) ,
- User manual (214 pages) ,
- Specifications (3 pages)
Advertisement
Canon PowerShot G12 Digital Camera Basics
Source: Canon PowerShot G12 Camera User's Guide
Turn on the Camera
Press the power button on the top of the camera to turn it on. The
lens will open, the startup screen will appear in the viewfinder, and
the camera will automatically go into shooting mode. If prompted to
enter the date and time, choose cancel.
Insert Memory Card
If no memory card is installed in the camera, you will be prompted
on screen to insert one. Slide open the cover on the bottom of the
camera to access the battery and memory card slots. Insert a standard
size SD memory card as shown until it locks in place with a click.
Close the cover. Press down while sliding it back into place with a
click.
Playback/Shooting Mode
Shooting mode allows you to take pictures while playback mode
allows you to review images already acquired and saved to the
memory card. Press the playback button to alternate between
shooting mode and playback mode.
Display Button
• Press once for Normal view in LCD viewfinder
• Press twice to turn on Rule of Thirds grid lines
• Press three times to turn off LCD display
• Press and hold 1 sec. to decrease/increase LCD brightness
Resolution and Compression Settings
Press the FUNC SET button on the Control Dial to open up the
function settings menu. Navigate to the resolution settings and
select L (3648x2736 pixels). Next, press the DISP button to access
the JPEG compression settings. Set the compression to FINE
(highest quality).
1
Advertisement

Related Manuals for Canon PowerShot G12


Summary of Contents for Canon PowerShot G12
-
Page 1: Turn On The Camera
Press the FUNC SET button on the Control Dial to open up the function settings menu. Navigate to the resolution settings and select L (3648x2736 pixels). Next, press the DISP button to access the JPEG compression settings. Set the compression to FINE (highest quality). Source: Canon PowerShot G12 Camera User’s Guide... -
Page 2: Shooting Modes
Set the Mode Dial to Tv. This mode allows the user (semi- to manually set the shutter speed by turning the front automatic) dial. The camera will automatically set the aperture value based on the user’s shutter speed selection. Source: Canon PowerShot G12 Camera User’s Guide... -
Page 3: Scene Mode
Capture subjects in brightly lit areas with lots of reflective Beach sunlight. Underwater Requires a waterproof case Foliage Shoot leaves, trees, and flower blosoms in vivid colors. Snow Shoot subjects against white background. Fireworks Capture fireworks in vivid colors. Source: Canon PowerShot G12 Camera User’s Guide... -
Page 4: Control Dial
Image Type – JPEG; RAW o Resolution – L (3648x2048); M1 (2816x1584); M2 (1920x1080); S (640x360) JPEG Compression (select DISP Button) – Fine (best quality/largest file size); Normal (lowest quality/smallest file size) Source: Canon PowerShot G12 Camera User’s Guide... -
Page 5: Menu Button
ISO speed setting. The higher the ISO setting, the more sensitive the image sensor will be to light but also, the more grainy the image will appear. Use a low ISO setting in bright light and a higher setting in dim light situations. Source: Canon PowerShot G12 Camera User’s Guide... -
Page 6: Exposure Compensation Dial
Unless you intentionally want to override the AE settings, its best to leave this set to 0. Source: Canon PowerShot G12 Camera User’s Guide...