Advertisement
Quick Links
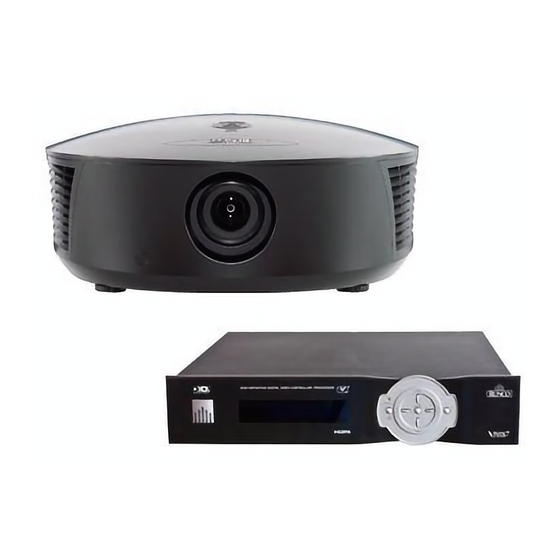
LightStyle™ Series Model LS-12HBd
High Brightness, Active 3D Home Theater Projection System
IMPORTANT HEALTH AND SAFETY INFORMATION FOR 3D VIEWING: Please read and make sure you
WARNING
understand the following safety information before using the product for viewing 3D content. Provide this
information to the end users of this product and ensure that they understand it.
It is widely recognized that stereographic display devices can cause discomfort, including, without limitation, dizziness,
nausea, headaches, eye fatigue and eye-strain, in some individuals. The 3D effect and experience will vary by individual,
depending on a variety of factors, including his or her health and vision. Runco recommends that users take regular breaks
when watching 3D video or playing games using stereoscopic displays. Discontinue use if any discomfort occurs. Parents
of young children should ensure their children avoid extensive exposure to electronic stereographic entertainment.
The quality and appropriateness of the 3D screen materials onto which the image is projected and the quality of the 3D
content being displayed both have a significant and noticeable impact on the overall 3D experience. A properly-calibrated
projection system, including glasses and an optimized third-party screen, displaying high-quality 3D content is the best
formula for immersive and comfortable 3D experiences. Please refer to the LightStyle™ LS-12HBd Installation/
Operation Manual for proper projector installation and usage instructions.
The glasses that accompany this product are not safe to use as sunglasses, protective eyewear or any use outdoors or
other than only in conjunction with the proper operation of the Runco product with which they are sold. It is common to dim
the lights in a home theater. Using 3D glasses and the immersive imagery of stereoscopic imagery can increase the risk of
tripping or falling the dark. Special care should be taken.
Do not tilt your head while using the 3D glasses.
Installation Overview
Step
Procedure
1
Choose a location for the projector
2
Install anamorphic lens mounting assembly (optional)
3
Mount the projector
4
Mount the Dimension Digital Controller
5
Connect the Dimension Digital Controller to the projector (see diagram at right)
Connect other external equipment to Dimension Digital Controller (optional):
• Audio processor or secondary display device
• Control system interface (RS-232)
6
• 12-volt trigger-activated equipment (retractable screens or screen masking)
• External IR repeater
• Network hub, router or gateway (Ethernet)
7
Connect signal sources to the Dimension Digital Controller
8
Connect the Active 3D Emitter to the Dimension Digital Controller (see diagram at right)
9
Connect system components to AC power
10
Apply power to the projector
11
Adjust primary lens: projected image size (zoom), position (shift) and focus
12
For rear-screen and/or ceiling-mount installations, select the proper picture orientation
13
Use Image Alignment controls to fine-tune image geometry
14
Install and adjust secondary anamorphic lens (optional)
LS-12HBd Projection System Quick Setup Guide
Quick Setup Guide
For Details, Refer to This Page
in the LightStyle™ LS-12HBd
Installation/Operation Manual
21
28, 40
33
35
36
38
43
49
49
50
24, 51
51
52
54
Installation Overview (Continued)
Display calibration: adjust the following for each Dimension Digital Controller input and display
mode (resolution/frame rate); save settings when finished:
• Aspect ratio
• Color level
15
• Brightness
• Tint
• Contrast
• Input position
• Color temperature and white balance
16
Prepare Runco Active 3D Glasses for use and test with 3D source material
Connecting the Projector and 3D Emitter to the Dimension Digital Controller
Dimension Digital Controller
DisplayPort r r
DisplayPort
Active 3D Emitter
3D SYNC IN
Note: Runco recommends using the RS-232 communication link between the LS-12HBd projector and the Dimension Digital Controller.
However, display control using HDMI CEC control messages is also possible. For more information on this capability, please contact Runco
Technical Support.
Page 1
Pri. Display Control
Sec. Display Control
Sec. Display Control
3D SYNC
TRIGGERS
TRIGGERS
IR
IR
1
1
2
2
3
3
Component / SCART
Component / SCART
Y
Y
Video 1
Video 1
Video 2
Video 2
Pb
Pb
Pr
Pr
Video 3
Video 3
HDMI 2
HDMI 2
HDMI 4
HDMI 4
HDMI 6
HDMI 6
HDMI 8
HDMI 8
HD2
HD2
Ethernet
Ethernet
RS232
PRIMARY
SECONDARY
3D Sync Out
RS232
PRIMARY
SECONDARY
Out
Sync
3D
020-1252-00 Rev. A (September 2013)
60 through 79
94
HDMI Out
To Sec. Display
HDMI Out
HDMI Out
HDMI Out
Audio Only
Audio Only
To Pri. Display
Advertisement

Related Manuals for Runco LightStyle LS-12HBd


Summary of Contents for Runco LightStyle LS-12HBd
-
Page 1: Quick Setup Guide
The glasses that accompany this product are not safe to use as sunglasses, protective eyewear or any use outdoors or other than only in conjunction with the proper operation of the Runco product with which they are sold. It is common to dim... - Page 2 Composite 3 - Composite 2 - 16:9 - 4:3 - Letterbox - VirtualWide - on the OSD, press ENTER Composite 1 Cinema - Virtual Cinema - Native to select that item. LS-12HBd Projection System Quick Setup Guide Page 2 020-1252-00 Rev. A (September 2013)
- Page 3 1, 2, 3, 4, ... 23, 24 Splash Enable On/Off Standby Mode Low Power / Fast Startup OSD Position Hor. / Ver. 0, 1, 2 ... 100 System Reset LS-12HBd Projection System Quick Setup Guide Page 3 020-1252-00 Rev. A (September 2013)
- Page 4 Selects the Virtual Cinema aspect ratio (ASP=7) or (KEY=86) Selects the Auto Cinema aspect ratio © Copyright 2013 Runco International. All rights are reserved. Trademarks and registered trademarks used in this document are the property of their respective owners. LS-12HBd Projection System Quick Setup Guide Page 4 020-1252-00 Rev.