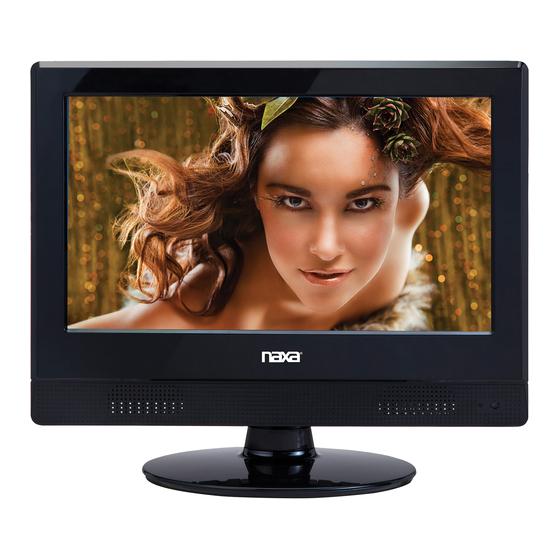
Summary of Contents for Naxa NT-1506
- Page 1 16” Wide Screen HD LED TV with Built-in Digital TV Tuner MODEL NO: NT-1506 Instruction Manual PLEASE READ CAREFULLY BEFORE USE USER’S MANUAL...
-
Page 2: Safety Information
Safety Information Warning To prevent fire and/or electric shock, do not use this plug with an extension cord, receptacle or other outlet unless the blades can be fully inserted to prevent blade exposure. Do not expose this appliance to rain or moisture. AVIS RISQUE DE CHOC ELEC TRIOUE/NE PAS OUVRIR Important Safety Instructions... -
Page 3: Important Safety Precautions
Important Safety Precautions Important Safety Precautions Please, immediately pull out the AC power plug Do not place the LED TV on an unstable from adapter if there is an abnormal sound or surface. smell or the LED TV has sound but no picture, and contact after sales support. - Page 4 Input terminals used for external equipment connection One computer VGA/PC input One PC Audio inputt One AV input One HDMI input One EARPHONE output One USB input One ANTENNA input...
- Page 5 Please make sure the following items are included with your LED TV. If any items are Specifications W arnings missing, contact your dealer. Color active matrix LED display Remote Control & Model NT-1506 Owner’ s Batteries (AAAx 2) Instructions 1366X768 Fine digital control Power supply...
- Page 6 General Description General Description Overview of remote control Overview of back panel Number key(0-9): 4. -/--: RETURN: P.MODE: 7. S.MODE: PROG +/-: DC 12V HDMI VIDEO EARPHONE AUDIO 11. ARROW BUTTONS( ENTER: INFO: Displays the channel information AV Audio POWER(DC 12V) input Audio inputs for external devices.
- Page 7 General Description External Connection Connecting VCR Installing Batteries in the Remote Control Installing Batteries Installing Batteries These instructions assume that you have already connected your TV to an antenna or a cable TV system. Skip step 1 if you have not yet connected to an antenna or a cable Open the battery compartment system.
- Page 8 External Connection External Connection Connecting DVD Player/Set-Top Box via HDMI Connecting PC This connection can only be made if there is a HDMI Output connector on the external TV Rear Panel device. DC 12V HDMI VIDEO EARPHONE AUDIO TV Rear Panel DVD Player/Set-Top Box DC 12V HDMI...
- Page 9 Basic Operation OSD Menu Operations Turning the TV On and Off Adjust the OSD Screen How to turn the TV on or off Press SOURCE button to display the input INPUT 1. Insert the power cord plug into a polarized AC source list.
- Page 10 OSD Menu Operations OSD Menu Operations Adjust the OSD Screen Adjust the OSD Screen TIME PICTURE Press MENU button to display the main menu. Press MENU button to display the main menu. Press◄ / ► button to select TIME in the main menu, it will highlight the first option. Press◄...
- Page 11 OSD Menu Operations OSD Menu Operations Adjust the OSD Screen Adjust the OSD Screen LOCK LOCK Press MENU button to display the main menu. INPUT BLOCK Press◄ / ► button to select LOCK in the main menu, it will highlight the first option. Press ▼...
- Page 12 USB Operation USB Operation Note: Before operating Media menu, Plug in USB device, then press SOURCE button to set the Input Source to USB. Press ◄ / ► button to select Photo/Music , and then press ENTER button to enter. Enter the model of scanning music can scan the music files, as shown below: Choose PHOTO to enter the photo scan model, if there are many zones in mobile equipment, it would shown below:...
- Page 13 Troubleshooting Picture defects and the reason Snowy Picture plugged in. MUTE been...


