Advertisement
Quick Links
TO REPLACE BATTERIES
Use a Phillips/cross head screwdriver
(not included) to loosen screw in battery
compartment door located on the bottom of
the SIT 'N SPIN base (screw remains attached
to door). Remove door. Remove and discard
old batteries. Insert 2 x 1.5V "AA" or R6 size
batteries. Alkaline batteries recommended.
Replace door and tighten screw.
!
CAUTION:
TO AVOID BATTERY LEAKAGE
1. Be sure to insert the batteries correctly and always follow the toy and
battery manufacturers' instructions;
2. Do not mix old and new batteries or alkaline, standard (carbon-zinc)
or rechargeable (nickel-cadmium) batteries;
3. Always remove weak or dead batteries from the product.
IMPORTANT:
BATTERY INFORMATION
Please retain this information for future reference.
Batteries should be replaced by an adult.
!
CAUTION:
1. Always follow the instructions carefully. Use only batteries specified and be sure to insert them
correctly by matching the + and – polarity markings.
2. Do not mix old batteries and new batteries, or standard (carbon-zinc) with alkaline batteries.
3. Remove exhausted or dead batteries from the product.
4. Remove batteries if product is not to be played with for a long time.
5. Do not short-circuit the supply terminals.
6. Should this product cause, or be affected by, local electrical interference, move it away from
other electrical equipment. Reset (switching off and back on again or removing and re-inserting
batteries) if necessary.
7. RECHARGEABLE BATTERIES: Do not mix these with any other types of battery. Always
remove from the product before recharging. Recharge batteries under adult supervision. DO
NOT RECHARGE OTHER TYPES OF BATTERIES.
FCC STATEMENT
This equipment has been tested and found to comply with the limits for a Class B digital device,
pursuant to Part 15 of the FCC Rules. These limits are designed to provide reasonable protec-
tion against harmful interference in a residential installation. This equipment generates, uses
and can radiate radio frequency energy, and, if not installed and used in accordance with the
instructions, may cause harmful interference to radio communications. However, there is no
guarantee that interference will not occur in a particular installation. If this equipment does
cause harmful interference to radio or television reception, which can be determined by turning
the equipment off and on, the user is encouraged to try to correct the interference by one or
more of the following measures:
• Reorient or relocate the receiving antenna.
• Increase the separation between the equipment and the receiver.
• Consult the dealer or an experienced radio/TV technician for help.
© 2005 Hasbro. All Rights Reserved.
TM & ® denote U.S. Trademarks.
34676
P/N 6499290000
FOR NEW PRODUCTS AND OFFERS
FOR NEW PRODUCTS AND OFFERS
Questions? Call: 1-800-PLAYSKL
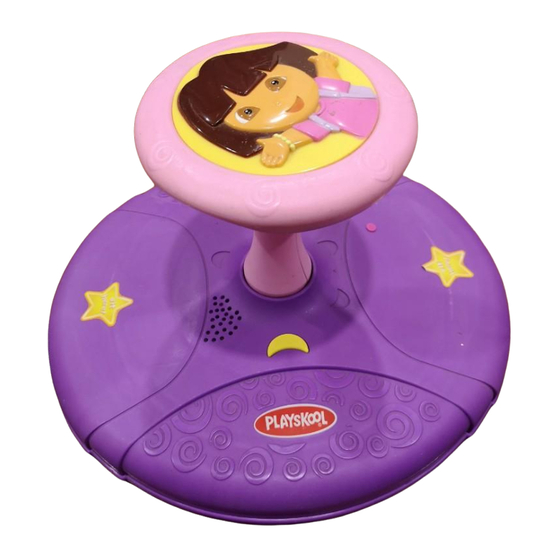
Sit 'n Spin
Thank you for choosing this PLAYSKOOL brand product!
Includes: SIT 'N SPIN base, center post (2 pieces),
3 screws, turn handle and instructions.
Adult assembly required.
Phillips screwdriver (not included) needed for assembly.
Batteries included.
Replace with 2 x
1.5V "AA" or R6
size batteries.
Alkaline batteries
recommended.
Phillips/cross head
screwdriver needed
to replace batteries.
OVER 18 Months
to 5 1⁄2 Years
34676
®
Advertisement

Summary of Contents for Playskool Dora the Explorer Sit 'n Spin 34676
- Page 1 • Reorient or relocate the receiving antenna. • Increase the separation between the equipment and the receiver. • Consult the dealer or an experienced radio/TV technician for help. © 2005 Hasbro. All Rights Reserved. TM & ® denote U.S. Trademarks. 34676...
- Page 2 ASSEMBLY: Here are the easy-to-follow instructions for assembling your DORA THE EXPLORER SIT ‘N SPIN toy. Please follow assembly instructions in proper order for best results. Use a Phillips (cross) head screwdriver (not included) and 2 screws (included) to connect the turn handle to the top of the center post.


