NETGEAR PS121v2 Installation Manual
Usb multifunction print server
Hide thumbs
Also See for PS121v2:
- User manual (50 pages) ,
- Installation manual (2 pages) ,
- Product data (2 pages)
Advertisement
Quick Links
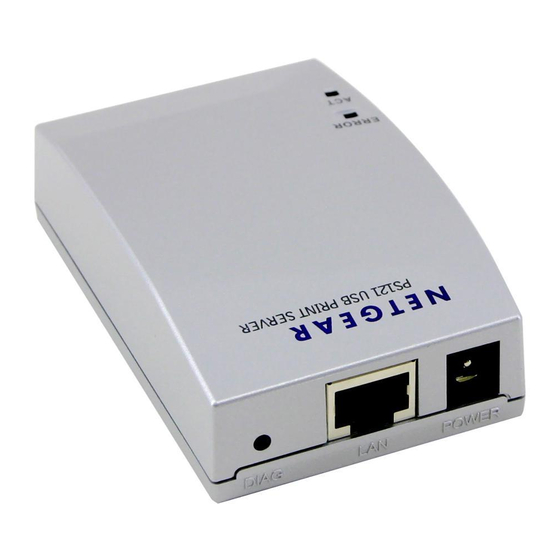
USB Multifunction Print Server Model PS121v2
These setup instructions assume that you will connect to an access point, wireless
router, or wired router.
Estimated Completion Time: 20 minutes for each printer; 10 minutes for each
computer.
Overview
When you finish the installation, your network will resemble the following
illustration.
Router
Print Server
PS121
Printer
Computers
Remove the NETGEAR CD.
What's on the CD?
•
A setup wizard
•
Software utilities you use for controlling your
print server and printer
•
The installation and reference guides
Note: Do not connect the USB Print Server until you are prompted to do so by the
wizard on the CD.
Set Up the Print Server and a
Single PC First
1. I
NETGEAR CD.
NSERT THE
If the wizard screen does not appear, double click
autorun.exe on the CD.
2. U
S
W
SE THE
MART
IZARD TO SET UP THE PRINT
.
SERVER
a.
Click Installation.
The Smart Wizard installation assistant opens the print server manager wizard.
b.
Follow the on-screen instructions, and click Next when you are ready to proceed.
c.
Follow the step-by-step instructions to complete setting up the PC connection to
the printer via the print server. In the Finalize Setup stage, click Print Test Page
to confirm that the installation was successful.
d.
Click Finish to finish the installation. The SmartWizard window will open to
show the print server that you just set up.
e.
Check that the NETGEAR PS121v2 SmartWizard icon,
System tray.
, is displayed in the
Advertisement

Related Manuals for NETGEAR PS121v2


Summary of Contents for NETGEAR PS121v2
- Page 1 MART IZARD TO SET UP THE PRINT SERVER When you finish the installation, your network will resemble the following Click Installation. illustration. Check that the NETGEAR PS121v2 SmartWizard icon, , is displayed in the System tray. Router Print Server PS121...
-
Page 2: Print Server
© 2006 by NETGEAR, Inc. All rights reserved. NETGEAR is a registered trademark of NETGEAR, Inc. in the United States and/or other countries. Other brand and product names are trademarks or registered trademarks of their respective holders.