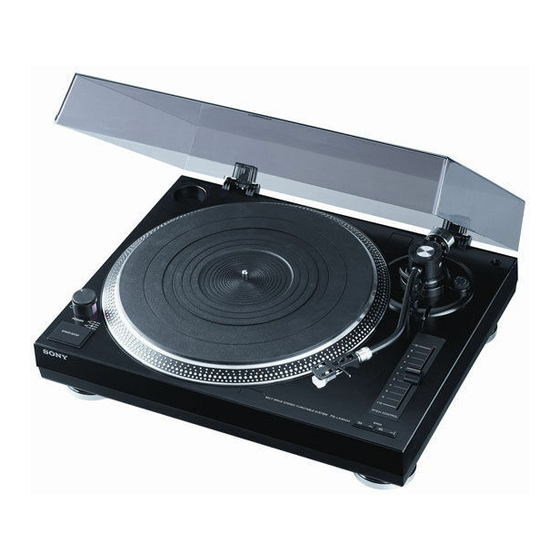
Sony PS-LX350H Operating Instructions Manual
Stereo turntable system
Hide thumbs
Also See for PS-LX350H:
- Specification (2 pages) ,
- Operating instructions manual (80 pages) ,
- Service manual (8 pages)
Summary of Contents for Sony PS-LX350H
- Page 1 3-864-750-11(1) Stereo Turntable System Operating Instructions PS-LX350H © 1998 by Sony Corporation...
- Page 2 Refer to these numbers whenever you If you have any question or problem call upon your Sony dealer regarding concerning your unit that is not covered this product. in this manual, please consult your nearest Sony dealer.
-
Page 3: Table Of Contents
ABLE OF CONTENTS Welcome! Thank you for purchasing the Sony Getting Started Stereo Turntable System. Before operating the unit, please read this Unpacking 3 manual thoroughly and retain it for Assembling the Turntable 4 future reference. Hooking up the Turntable 5... -
Page 4: Assembling The Turntable
Getting Started Insert the headshell into the front of the tone arm. Assembling the Turntable Turn the locking collar in the direction of the arrow until the headshell is secure. Rise the hinges and install the dust cover. If your turntable is equipped with a voltage selector, be sure to set the selector to your line voltage. -
Page 5: Hooking Up The Turntable
Getting Started Hooking up the Turntable Connect the supplied audio connecting cord and earth lead to the output terminals and GND terminal at the rear. Be sure to connect the red plug to the R output jack and the white plug to the L output jack. -
Page 6: Adjusting The Turntable
Getting Started Return the tone arm to the arm stand. Adjusting the turntable Since the tracking force is zero when the tone arm Before attempting to play any records, be sure to is properly balanced, set the tracking force scale complete the following steps to insure proper tone arm ring so that “0”... -
Page 7: Operations
Operations Set the cueing lever backward. Playing a Record The tone arm descends slowly to the record and playback begins. Adjust the volume on your amplifier. To stop playing Shift the cueing lever forward to lift up the tone arm, return the tone arm to the arm stand. Attach the protective cover onto the cartridge to prevent damage to the stylus. -
Page 8: Additional Information
Left channel earth To preserve maximum sound quality and avoid damage to your records, we recommend replacing the Be careful not to mix the polarities. stylus within this time limit. Additional replacement styli (ATN3600LX) are available from your Sony dealer. -
Page 9: Troubleshooting
Replace the drive belt. For details, please make a Should any problem persist after you have made these contact with Sony dealer. checks, consult your nearest Sony dealer. Sound is too low or distorted. b The turntable is not connected to the PHONO inputs The tone arm skips, skates or does not advance. -
Page 10: Parts And Controls
Additional Information Parts and Controls !º 45 r/min adaptor Dust cover !¡ Spindle Counter weight !™ Strobo lamp and POWER button Hinge !£ START/STOP button ANTI-SKATING dial !¢ Rubber mat Headshell holder Platter Arm stand !§ Cartridge and headshell Cueing lever !¶... - Page 12 Sony Corporation Printed in Taiwan...


