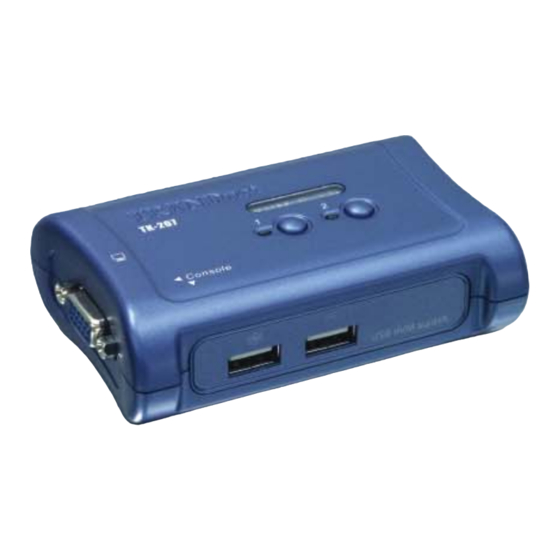
TRENDnet TK-207K Software Manual
2-port/4-port usb kvm switch, client switching software manual
Hide thumbs
Also See for TK-207K:
- Software manual (15 pages) ,
- User manual (11 pages) ,
- Guía del usuario (10 pages)
Advertisement
Advertisement
Table of Contents

Summary of Contents for TRENDnet TK-207K
-
Page 2: About This Guide
BOUT THIS UIDE The TK-207K/TK-407K 2-Port/4-Port USB KVM Switch will allow you to access, control, boot and reboot multiple USB- enabled computers. For PCs running Windows systems, it provides an innovative and easy-to-use KVM Client Switching Software -- a small windows client application to facilitate your... -
Page 3: Package Contents
Package Contents Unpack the package and check all the items carefully, and be certain that you have: ♦ 1 x TK-207K or TK-407K USB KVM Switch. ♦ 1 x Utility CD-ROM ♦ Multi-Language Quick Installation Guide ♦ 2 or 4 Sets of USB KVM Cables If any item contained is damaged or missing, please contact your local dealer immediately. -
Page 4: General Features
General Features ♦ Management 2 Computers ♦ Supports Microsoft IntelliMouse, Optiocal Mouse, Logitech NetMouse and more ♦ Supports Windows 98SE/ME/2000/XP/2003 Server and Linux ♦ Multi-Platform support for PC, Mac G3/G4, iMac and Mac Mini (Mac OS only supports push button functions) ♦... -
Page 5: Installing The Print Server
Installing the Print Server Insert the Installation CD-ROM into your computer’s CD-ROM drive to initiate the Auto-Run program, and the menu screen will appear as below. 1. Click Client Switch Software from the Auto-Run menu screen. The welcome screen appears as below. Click Next >. - 5 -... - Page 6 2. When completed, click Finish. - 6 -...
- Page 7 3. After installing the utility, the Client Switch Utility is automatically installed to your computer, and creates a folder in Start\Program\USBKVM Switcher. 4. After the installation is completed, you will see a KVM Switch icon on the system tray of your window desktop. Just right click to evoke the operation menu and double-click to evoke configuration box.
- Page 8 5. Connect the shared USB keyboard, mouse, monitor to your KVM Switch. Connect each KVM PC port to a computer via included USB KVM Cables. After you have connected the KVM and computers properly, the KVM Switch is ready to use. NOTE: •...
-
Page 9: Keyboard Hotkeys
Operate the KVM Switch Utility There are three methods to control your KVM Switch for PC: (1) face-panel push button (2) hotkey sequence (3) KVM Client Switch Utility. Face-panel button The face-panel button allows you a direct control over KVM switching operation. - Page 10 NOTE: • Both the universal hotkey, ScrLk + ScrLk and the user- definable hotkey, Ctrl + Alt + [command key] WILL NOT allow you to switch to an empty port that is not connected with any computer. To force your KVM to switch to an empty port, just press the face-panel button to switch.
- Page 11 KVM Switch Operation Reference Switch to PC x by Operation Menu Right-click the KVM Switcher icon from the system tray to evoke the operation menu, then select whichever PC that is available for switching. Once you select a PC channel, it will immediately switch to that PC.
-
Page 12: Kvm Switcher Configuration
Hotkey sequence = Ctrl + Alt + [command key]* * The factory default hotkey setting is Ctrl + Alt + 1/2/3/4 for PC 1/2/3/4. You can also use ScrLk + ScrLk to switch PC. Start Auto-scan Right-click the KVM Switch icon to evoke the operation menu, then select Start Auto-Scan to activate auto-scanning. - Page 13 the user-defined hotkeys, you can always use the universal hotkey for PC switching – ScrLk + ScrLk Turn On Buzzer (optional feature, not available on this model) [Check this option to This is feature is not available on this model. turn on the buzzer sound] Fix Audio Port at PC x (not available on this model) Check this option and then select the PC to fix the audio/mic channel...


