Table of Contents
Advertisement
Quick Links
Advertisement
Table of Contents

Related Manuals for Edimax EU-4306


Summary of Contents for Edimax EU-4306
- Page 1 EU-4306 Quick Installation Guide 03-2013 / v1.0...
-
Page 2: Table Of Contents
Contents I. Package Contents .................. 3 II. System Requirements................3 III. Installation .................... 3 IV. Linux ..................... 5 IV-1. Requirements .................. 5 IV-2. File Description ................5 IV-3. Conditional Complition Flags ............5 IV-3-1. Getting Started ................ 5 IV-3-2. Usage ..................6 IV-3-3. -
Page 3: Package Contents
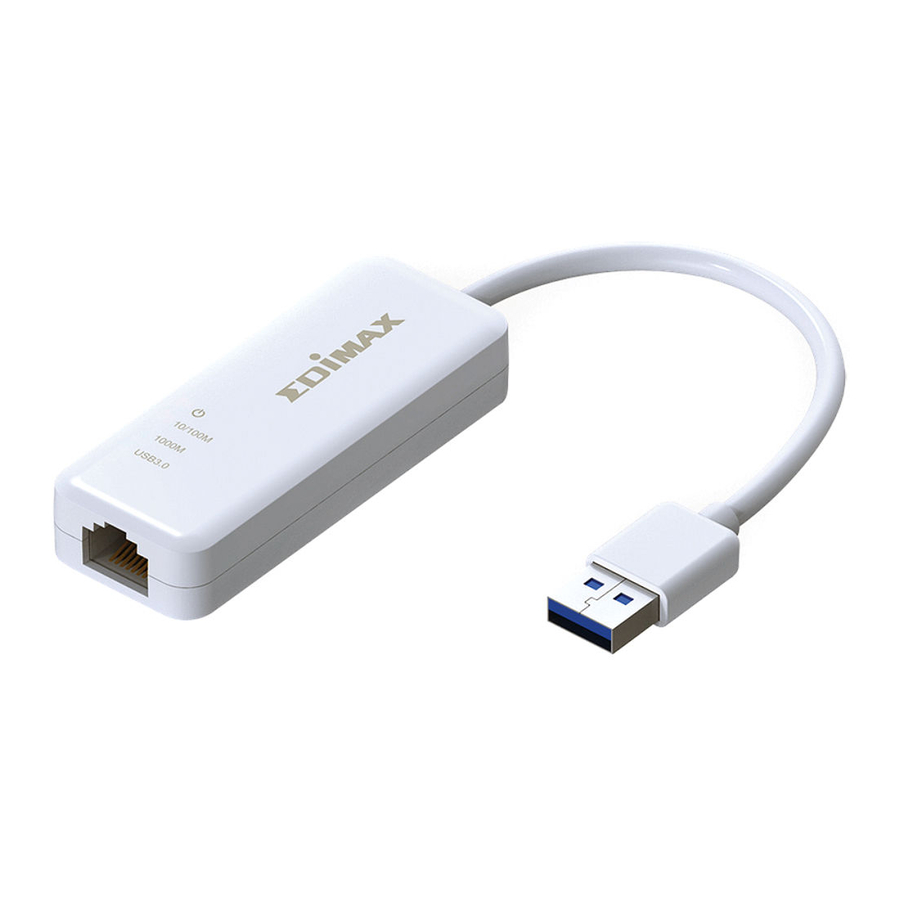
Switch on your computer and insert the Ethernet adapter into an available USB port of your computer. Note: The EU-4306 is compatible with USB 2.0 & 3.0 ports - for best performance please use a USB 3.0 port. If a Hardware Wizard/Driver Installation window opens as shown to the... - Page 4 Insert the included CD-ROM into the CD drive of your computer. Browse to the contents of the CD-ROM and open the “Drivers” folder. Open the correct folder for your operating system and then follow the instructions in the appropriate chapter to install the necessary drivers. IV.
-
Page 5: Linux
IV. Linux IV-1. Requirements In order to build the driver, Linux kernel sources must be installed on the build machine. The running kernel version must match the installed kernel sources; kernel sources can be obtained from www.kernel.org or your Linux distributor. -
Page 6: Iv-3-2. Usage
[root@localhost template]# make install Usage IV-3-2. To load the driver manually, go to the driver directory and execute the following commands: [root@localhost template]# modprobe usbnet [root@localhost template]# insmod ax88179_178a.ko To unload the driver, execute the following command: [root@localhost anywhere]# rmmod axax88179_178a Driver Parameters IV-3-3. -
Page 7: Mac Os
V. Mac OS V-1. Driver Installation Open the folder named “AX88179_178A_...” and double click the “AX88179_178A.dmg” file. Navigate to the disk image mounted to your Mac as shown in the following screen: Double click the .pkg file to open the driver installation wizard. Click “Continue”... - Page 8 Click “install” to continue the installation operation. You may be prompted for your username and password. You will be prompted that your computer must restart after the installation is complete. Click “Continue Installation” to proceed. When the installation is complete, as shown below, click “Restart” to restart your system.
-
Page 9: Driver Uninstallation
V-2. Driver Uninstallation Open the folder named “AX88179_178A_...” and double click the “AX88179_178A.dmg” file. Navigate to the disk image mounted to your Mac as shown in the following screen: Double click the “AX88179_178A_uninstall” file to uninstall the driver. The screen below will confirm the uninstall was successful:... -
Page 10: Troubleshooting - Os X 10.8 Installation Issue
V-3. Troubleshooting – OS X 10.8 Installation Issue For Mac OS X 10.8 users, new security features in the OX X 10.8 system may initially prevent you from installing the drivers. By default, the OS X 10.8 system prevents users from installing or launching applications which are not downloaded from the Mac App Store, or which have not been digitally signed by the developers. - Page 11 You will be prompted that the installer is from an unidentified developer and asked to confirm if you wish to open it. Please click “Open” to continue. The installer will open and function normally as described in V-1. Driver Installation.
-
Page 12: Windows
VI. Windows Open the correct folder for your version of Windows. On the following screen, open the folder named “AX88179_178A_...” Locate and double click the “Setup.exe” icon to start the driver installation wizard. - Page 13 Please wait while the setup wizard prepares to install the drivers. When the installation is complete, click “Finish”.
- Page 14 COPYRIGHT Copyright Edimax Technology Co., Ltd. all rights reserved. No part of this publication may be reproduced, transmitted, transcribed, stored in a retrieval system, or translated into any language or computer language, in any form or by any means, electronic, mechanical, magnetic, optical, chemical, manual or otherwise, without the prior written permission from Edimax Technology Co., Ltd.
- Page 15 Federal Communication Commission Interference Statement This equipment has been tested and found to comply with the limits for a Class B digital device, pursuant to Part 15 of FCC Rules. These limits are designed to provide reasonable protection against harmful interference in a residential installation.
- Page 16 EU Declaration of Conformity English: This equipment is in compliance with the essential requirements and other relevant provisions of Directive 1999/5/EC, 2009/125/EC. Français: Cet équipement est conforme aux exigences essentielles et autres dispositions de la directive 1999/5/CE, 2009/125/CE Čeština: Toto zařízení je v souladu se základními požadavky a ostatními příslušnými ustanovení mi směrnic 1999/5/ES, 2009/125/ES.
- Page 17 Declaration of Conformity We, Edimax Technology Co., Ltd., declare under our sole responsibility, that the equipment described below complies with the requirements of the European Council directive (2004/108/EC). Equipment: USB 3.0 Gigabit Ethernet Adapter Model No.: EU-4306 The following European standards for essential requirements have been followed:...