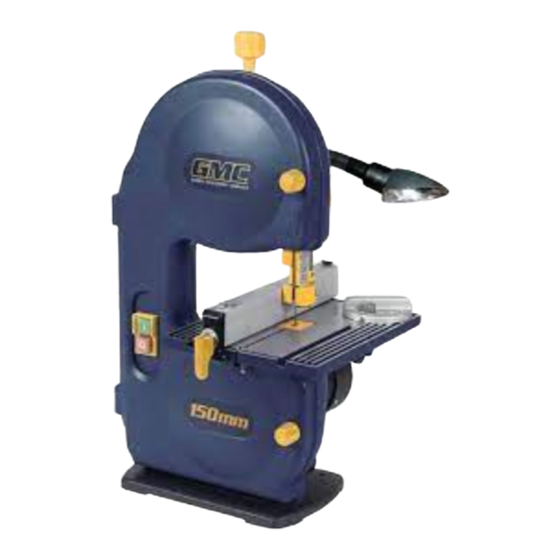
Summary of Contents for GMC BS7
- Page 1 I N S T R U C T I O N M A N UA L 150mm Band Saw • Melbourne • Perth • Auckland • Hong Kong • Shanghai • Taipei • New York • Verona • London • Paris 020218 BS7 ED3...
-
Page 2: Table Of Contents
Contents Warranty Introduction Specifications Safety instructions Additional safety rules for saws Unpacking Assembly Know your product Setting up Operation Maintenance Repairs Full 2 Years Home Use Warranty Whilst every effort is made to ensure your complete satisfaction with this tool, occasionally, due to the mass manufacturing techniques, a tool may not live up to our required level of performance and you may need the assistance of our service department. -
Page 3: Introduction
Width of throat: 150 mm Cutting depth: 50 mm Cutting width: 150 mm Saw blade length: 1085 mm Saw blade width: 3 - 6 mm Gross weight: 10.5 kg Safety instructions To use this tool properly, you must observe the safety regulations, the assembly instructions and the operating instructions to be found in this Manual. - Page 4 Do not expose power tools to rain and high humidity. Do not use power tools in the presence of flammable liquids or gases. 3. Keep visitors away from the work area. and onlookers, especially children and infirm persons should be kept well away from where you are working. Do not let others in the vicinity make contact with the tool or extension cord.
-
Page 5: Additional Safety Rules For Saws
Prevent body contact • Keep the area free of tripping hazards. • Do not let anyone under 18 years operate this saw. • Always stand to one side when operating the saw. • Never use a cracked or distorted saw blade. Only use sharp blades. -
Page 6: Unpacking
Failure to do so could result in serious personal injury. Mounting 1. It is best to attach the band saw to a firm, stable surface at a convenient working height. A work bench is ideal. 2. Drill four 12 mm holes in the work bench to match the four holes in the base of the saw. -
Page 7: Know Your Product
1. Saw blade 2. Wheel housing 3. Upper housing locking knob 4. Lower housing locking knob 5. Saw band tensioning knob 6. Saw band tracking knob (not shown) 7. Drive belt (not shown) 8. ON button 9. OFF button 10. Table insert 11. -
Page 8: Setting Up
Setting up Electrical installation WARNING. The band saw is equipped with a 230 – 240V ~ single phase 200W motor. It must be connected to an earthed socket and it is recommended that a residual current device (RCD) safety switch of 30 mA capacity be used in the circuit. -
Page 9: Dust Collection
CAUTION. Wood dust and chips in a confined area can give rise to fire or an explosion. Guard against possible ignition sources. Changing the saw band The saw is supplied with a general-purpose woodcutting blade. WARNING. Ensure that the mains... -
Page 10: Operation
1. Extension leads must have a minimum lead cross section of 3 x 0.75 mm (240V). 2. The saw is automatically turned off in the event of a power failure. You will need to press the ON button again to restart the saw. (Only on some models) -
Page 11: Maintenance
4. Re-lubricate all moving parts at regular intervals. CAUTION. Do not use cleaning agents to clean the plastic parts of the saw. A mild detergent on a damp cloth is recommended. Water must never come into contact with the saw. - Page 12 Carefully read the entire Instruction Manual Before returning this product for a Warranty Claim or any other reason Please Call 1300 880 001 (Australia) or 0800 445 721 (New Zealand) When you make your call, please have the following information at hand: •...


