
Related Manuals for GMC 3G12V


Summary of Contents for GMC 3G12V
- Page 1 CORDLESS 3 GEAR HAMMER DRILL 3G12V, 3G144V, 3G18V, 3G18VM, 3G24V, 3G24VM INSTRUCTION MANUAL...
-
Page 2: Table Of Contents
Contents Warranty Introduction Environmental protection Description of symbols Specifications General safety rules Additional safety instructions for drills Additional safety instructions for charger Additional safety instructions for battery pack Unpacking Know your product Adjustable side handle Inserting and removing bits Fitting and removing the battery pack Battery charging To obtain the best life for the battery Battery indicator... -
Page 3: Introduction
Introduction Your new GMC power tool will more than satisfy your expectations. It has been manufactured under stringent GMC Quality Standards to meet superior performance criteria. You will find your new tool easy and safe to operate, and, with proper care, it will give you many years of dependable service. -
Page 4: Specifications
Specifications 3G12V 230 – 240 Vac, 50Hz Charger 45W 14Vdc, 2A 1 Hour Charging time 2 x 1.5Ah Batteries Nominal battery voltage Three speed Gear Variable speed Switch 20 positions Torque settings Drill chuck 10mm Keyless capacity 2.4kg Weight 17.65 Nm... -
Page 5: General Safety Rules
General safety rules WARNING. Read all instructions. Failure to follow all instructions listed below may result in electric shock, fire and/or serious injury. The term “power tool” in all of the warnings listed below refers to your mains operated (corded) power tool or battery operated (cordless) power tool. -
Page 6: Additional Safety Instructions For Drills
Ensure that the lighting is adequate. • Do not put pressure on the drill, such that it slows the motor down. Allow the drill bit to cut without pressure. You will get better results and you will be taking better care of your tool. -
Page 7: Additional Safety Instructions For The Charger
• Support the work properly. • If you are interrupted when operating the drill, complete the process and switch off before looking up. • Periodically check that all nuts, bolts and other fixings are properly tightened. • When using the drill, use safety equipment including safety glasses or shield, ear defenders, and protective clothing including safety gloves. -
Page 8: Additional Safety Instructions For Battery Pack
• Do not disassemble the charger. Take it to an authorised service centre when service or repair is required. Incorrect re-assembly may result in the risk of fire, electric shock or electrocution. • To reduce the risk of an electric shock, unplug the charger from the power supply before attempting to clean it. -
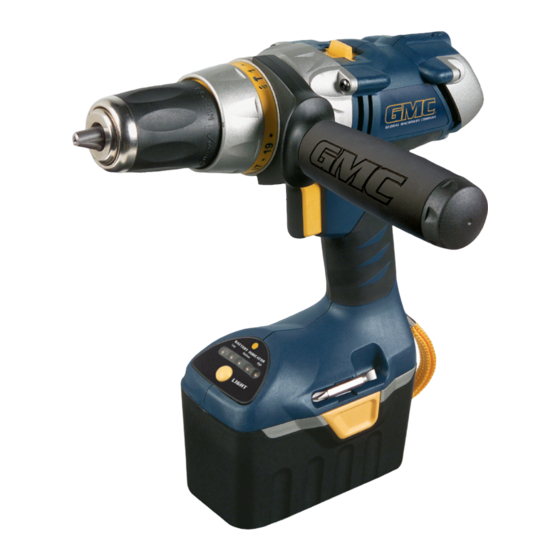
Page 9: Know Your Product
Know your product This drill can be used for drilling in wood, metal, masonry and screwdriving. Use the tool and accessories only for intended applications. All other applications are expressly ruled out. 1. Single sleeve keyless chuck 2. Torque adjustment/ hammer selection collar 3. -
Page 10: Adjustable Side Handle
Adjustable side handle The drill is supplied with a 360º adjustable side handle (5). Always fit and use the side handle when using the drill, this increases safety when operating the drill. To adjust the side handle, rotate the side handle in an anti clockwise direction approximately 2 full turns. -
Page 11: Battery Charging
Disconnect charger from power source when not in use. To obtain the best life for the battery Never allow the drill to come to a complete stand still before recharging. The battery should be placed on charge whenever the battery is noticeably running down or the drill no longer performs a task it previously performed. -
Page 12: Led Work Area Light
LED Work area light The drill has five LED lights (14) to illuminate the work area and improve vision when drilling in areas with insufficient light. To turn the LED lights on depress the LED light switch (13). To turn the LED lights off repress the LED light switch (13). -
Page 13: Torque Adjustment/Hammer Selection Collar
The range of twenty torque settings allows better control when using the drill as a screwdriver as it prevents over- tightening of the screws. The numbers circling the collar are used to indicate the level of torque. -
Page 14: Drilling Metals
WARNING. Never attempt to lock the trigger switch in the on position, do not lock the trigger on jobs where your hammer drill may need to be stopped suddenly. All drilling operations • Mark off the centre of the hole using a centre punch... -
Page 15: Care
Care • Don’t force the drill, let it work at its own pace • Keep the drill bit sharp. • Reduce pressure, as the drill is about to break through the item being drilled. Maintenance • Store the tools, instruction manual and where necessary the accessories in the original packaging. - Page 16 GMC customer assist If your product needs repairing, replacing, technical service or you simply need help or advice, please contact us on our Customer Assist Line 1300 880 001 (Australia) or 0800 445 721 (New Zealand). For prompt service we suggest you log your service request online at www.gmcservice.com.au.