Table of Contents
Advertisement
Advertisement
Table of Contents

Related Manuals for Parasound P 5


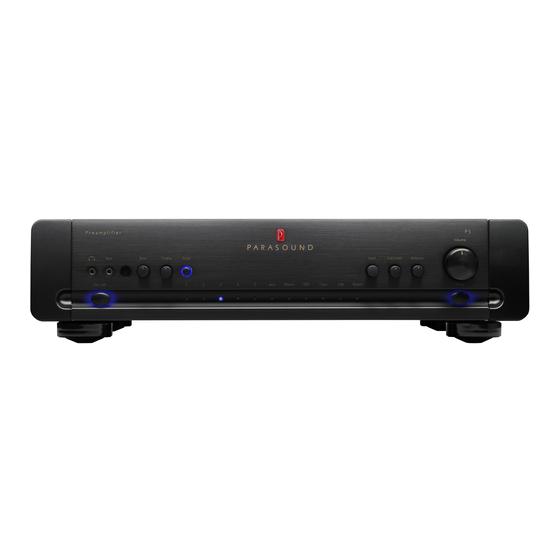
Summary of Contents for Parasound P 5
- Page 1 2.1 Channel Stereo Preamplifier OWNER’S GUIDE...
-
Page 2: Important Safety Instructions
Important Safety Instructions The lightning flash with the arrowhead symbol within an equilateral triangle is intended to alert the user to the presence of “dangerous voltage” inside the product that may constitute a risk of electric shock. The exclamation point within an equilateral triangle is intended to alert the user to the presence of important operating and maintenance instructions in the literature accompanying the product. -
Page 3: Table Of Contents
Table of Contents Introduction ..........Placement and Ventilation Guidelines . -
Page 4: Introduction
-The Parasound Staff Keeping Records for Future Reference Record the serial number located on the back panel or bottom of your P 5 in the space below. Also note your Parasound Dealer’s name and telephone number. Your purchase receipt/bill of sale is required to determine if your P 5 is eligible for Parasound warranty service. -
Page 5: Placement And Ventilation Guidelines
Note: Please save and store both the inner and outer cartons and, most especially, the foam packing inserts to protect the P 5 if you have to move it or ship it. You may wish to flatten the cardboard cartons to save room in storage after cutting the taped seams on the bottom flaps. -
Page 6: Analog Audio Input Connections
Always disconnect your P 5's AC cord before making or changing any input, output or trigger wire connections. Inserting or removing an input or output cable while the P 5 is turned on can result in a blast of sound that could damage your loudspeakers. Make sure there is no strain or tension on any cables that could cause them to pull loose. - Page 7 Connect the included cable with 3.5mm stereo plugs between the portable player or smart phone’s headphone jack and the P 5’s Aux input jack. The Aux input has an additional gain stage that boosts the input signal by 12dB so that the volume level remains consistent when you select your other source components.
-
Page 8: Home Theater Bypass Input
The Bypass input works by passing the incoming L, R and Sub channels directly through to the L, R and Sub output jacks. None of the P 5 circuits or controls has any effect on the bypassed signals. The P 5 is thus transparent to the Left, Right and Subwoofer(s) outputs from your surround sound processor or receiver and passes them on to your amplifier(s) and Subwoofer(s). -
Page 9: Digital Audio Inputs
The USB accepts sampling rates of 44.1 kHz, 48 kHz, 88.2 kHz and 96 kHz. It accepts 16 bit and 24 bit word lengths. The P 5 uses the USB 1.1 Audio standard which allows use of 15’ (5 m) USB cables without any performance penalty. -
Page 10: Usb Computer Setup
USB cable (included in the P 5 carton) and then turn on the P 5. The first time you connect your P 5 to a computer it will automatically install the correct drivers. Next you will need to ensure that the P 5 is set as the computer’s default audio output device. -
Page 11: Subwoofer Setup
There are two important steps in setting up your sub(s). These are crossover setup and level setup. Subwoofer Crossover Setup You will want to turn off the crossover built into your subwoofer since the P 5 has its own crossovers and leaving both crossovers on would result in double filtering. Most subwoofers have a switch to accomplish this. - Page 12 Crossover Setup (Continued)… Crossover On/Off Switches: Sub Output Crossover Off Full Range signals will be sent to the sub. You will need to adjust the crossover frequency on the crossover that is built into your subwoofer. Sub Output Crossover On The highest frequency going to the Sub is determined by the setting of the Low Pass frequency knob.
-
Page 13: Turn On Options
Some models of Parasound power amplifiers and preamplifiers use 2.5mm “sub-mini” trigger jacks. To use the P 5 with these models we include a trigger wire with a 3.5mm plug at one end and a 2.5mm plug at the other end. -
Page 14: Other Rear Panel Connections
AC Power Cord The AC cord supplied with your P 5 is a high quality IEC type cord. If possible, plug your P 5 into the same AC outlet that your source components and power amplifier are plugged into. If different AC outlets are used for the P 5 and these other components the ground potential may be higher or lower between the outlets, resulting in audible hum. -
Page 15: Front Panel Operation
A soft blue glow surrounds the On-Off button when the P 5 is turned off. Push the On-Off button once to turn on and the blue glow will get brighter. When the P 5 is turned on, the Input indicator and Mute button will illuminate blue. Push the On-Off button again to turn it off. - Page 16 The Mute will be automatically canceled if you press the volume up or down buttons on the remote. Note: Mute is not canceled when you turn the front panel Volume knob. Refrain from moving the Volume knob when the P 5 is muted to avoid a loud surprise when it is unmuted.
-
Page 17: Remote Control Functions
Remote Control Functions The P 5 remote control has a maximum range of approximately 20 - 25 feet (6 - 7.5 meters). Use only AAA alkaline batteries in the handset and insert them according to the + and – polarity markings in the battery compartment. - Page 18 Maintaining Your P 5 Your P 5 requires no periodic maintenance and has no user serviceable parts inside. To avoid risk of electric shock do not remove the top cover. To keep it clean use only a soft cloth moistened with a few drops of clear water or Windex. Never use any solvents or abrasives.
-
Page 19: Problem And Remedies
- Make sure the gain of the power amp is not set too low. - Are you trying to use P 5 with a turntable? Make sure you have set the phono selector switch to the correct cartridge type. Is the turntable's tracking force adjusted correctly for its cartridge? - Make sure the stereo power amp’s stereo/mono switch is set to stereo. -
Page 20: If You Require Assistance Or Warranty Repair
1. Unit was not purchased from a Parasound Authorized Dealer. 2. You do not have the original bill of sale or sales receipt from a Parasound Authorized Dealer. 3. You are not the original owner. The Parasound warranty is not transferable. -
Page 21: Specifications
MM > 70 dB, input shorted, unweighted MC > 67 dB, input shorted, IHF A-weighted MC > 55 dB, input shorted, unweighted Specifications and features subject to change or improvement without notice. Copyright Parasound Product Inc., 2013 Rev. 1.1 www.parasound.com... - Page 22 Parasound Products, Inc. 2250 McKinnon Ave, San Francisco, CA 94124 415-397-7100 / Fax 415-397-0144 www.parasound.com...