Table of Contents
Advertisement
Advertisement
Table of Contents

Related Manuals for HP df730v1


Summary of Contents for HP df730v1
- Page 1 Digital Photo Frame User Guide 7” df730v1 8” df840v1 10.1” df1010v1...
- Page 2 Note: Your frame style and features may differ from those documented in this User Guide. UG E_df 730v1 df840v1 df1010v1_v1.0_2012.06.28...
-
Page 3: Table Of Contents
Table of Contents Introduction ............................. 5 DPF Key Features ..............................5 What’s in the Box ..............................5 Compatible Memory Cards ............................ 5 Overview of the DPF ..........................5 Remote Control ............................6 Control Buttons on DPF ......................... 6 Getting Started ............................7 The HOME Screen .......................... - Page 4 Frequently Asked Questions ....................... 17 Important Safety Precautions ......................18 Cleaning the DPF..............................18 Product Specifications ......................... 18 Limited Warranty ..........................19 FCC Statement ..............................20 Declaration of Conformity........................20...
-
Page 5: Introduction
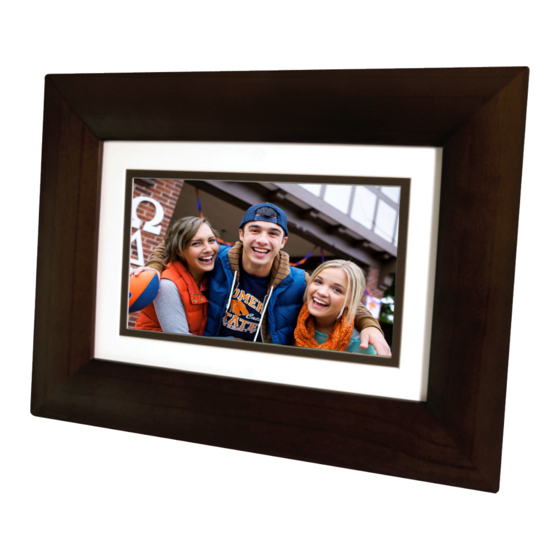
Introduction Welcome to the Hewlett Packard (HP) Multimedia Digital Photo Frame (DPF). Now you can display your digital photos directly from your memory card, no computer is necessary. DPF Key Features What’s in the Box Simple Plug & Play ... -
Page 6: Remote Control
Remote Control You can access all of the DPF’s features, and perform all of the functions by using the remote control. You will be able to perform several functions with the remote control that are not possible with the top-back panel control buttons. Note: Before first time use, pull the plastic tab sticking out of the remote control. -
Page 8: Setup Menu Overview
Photo Import Method Set photos to be imported compressed or original resolution and file size (page 11) Set Sleep Mode Power saving function (page 16) Reset to Factory Returns all function settings to the factory defaults (page 17) Defaults Set Language Select desired DPF display language (page 17) Create a personalized greeting which will be displayed when the unit is powered on Greeting Card... -
Page 9: Enter Greeting
STYLE 1 2 3 4 = Select the background image appropriate for your greeting (can also be your personal photo) = Clears the entry field = View your greeting with selected background image TITLE MSG = Toggle between the Title and Message entries ... -
Page 10: Photos
4. Your greeting will now display your personal photo as the background. VIEW 5. Select to view your greeting, and then press to return to the keyboard screen. Done 6. When satisfied with your greeting, select to save. PHOTOS PHOTOS feature includes many functions for optimizing and customizing your viewing preferences. -
Page 11: Optimal Image Display
3. Use to scroll through the LCD options, and use to adjust the setting until the desired view is achieved. Done 4. Use to select TIP: You can also adjust the brightness with the dial on the left side of the DPF. Optimal Image Display You can choose the desired display mode for displaying your photos on the DPF as follows: HOME... -
Page 12: Delete Photos From Internal Memory
Import All Photos 2. To import all photos, select Select Photos to Import To import individual photos, select 3. Use to scroll through the photos, and then press ‘ ’ to select the desired photos to import (‘ ‘ will deselect). Import Selected Photos. -
Page 13: Set Slideshow Interval
3. To assign an individual photo: With the desired photo displayed, press To assign multiple photos: Press ‘ ’ to select desired photos (‘ ‘ will deselect), and then press Assign to Folder 4. Select , and then select the desired folder into which you want to assign the photos. Play Slideshow from Slideshow Folder HOME 1. -
Page 14: Set Slideshow Shuffle
Set Slideshow Shuffle You can set the slideshow to display your photos in a random ‘shuffle’ order, or display them in the order as stored on the selected media source. HOME Setup Menu 1. On the screen, press to display the Slideshow Setup 2. -
Page 15: Run The Schedule
Run the Schedule Run Schedule After the schedule times have been set (per above instructions), you will use the function whenever you want the schedule to take effect. CALENDAR/CLOCK There are two methods for running the schedule, either from a slideshow or from the screen. -
Page 16: Set Sleep Mode
6. Similarly, to copy files from your computer to the internal memory, first locate the files on your computer, select the files you want to copy, and then drag and drop them into the DPF’s internal memory drive. TIP: Most cameras and graphic programs store photos in the Windows XP ‘My Pictures’ or Vista ‘Pictures’ folder. -
Page 17: Set Language
Set Language Depending on model, this DPF may include multiple languages for the user interface display. HOME Setup Menu 1. On the screen, press to display the Set Language 2. Select , and then select the desired language. Reset to Factory Defaults If you have changed function settings, using this feature will restore all settings to the factory pre-set defaults. - Page 19 1.866.949.2624...
- Page 20 VistaQuest Corporation...