Advertisement
Available languages
Available languages
Quick Links
This equipement fully conforms to the protection
requirements of the following Council Directives.
2004/108/EC : Electromagnetic Compatibility
MANUFACTURE
: HOSHINO GAKKI CO., LTD.
22-3 Chome, Shumoku-Cho,
Higashi, Nagoya, Aichi, Japan
CE EU REPRESENTATIVE
: HOSHINO BENELUX B.V.
J.N. Wagenaanweg 9,1422 AK
Uithoorn, Netherlands
Advertisement

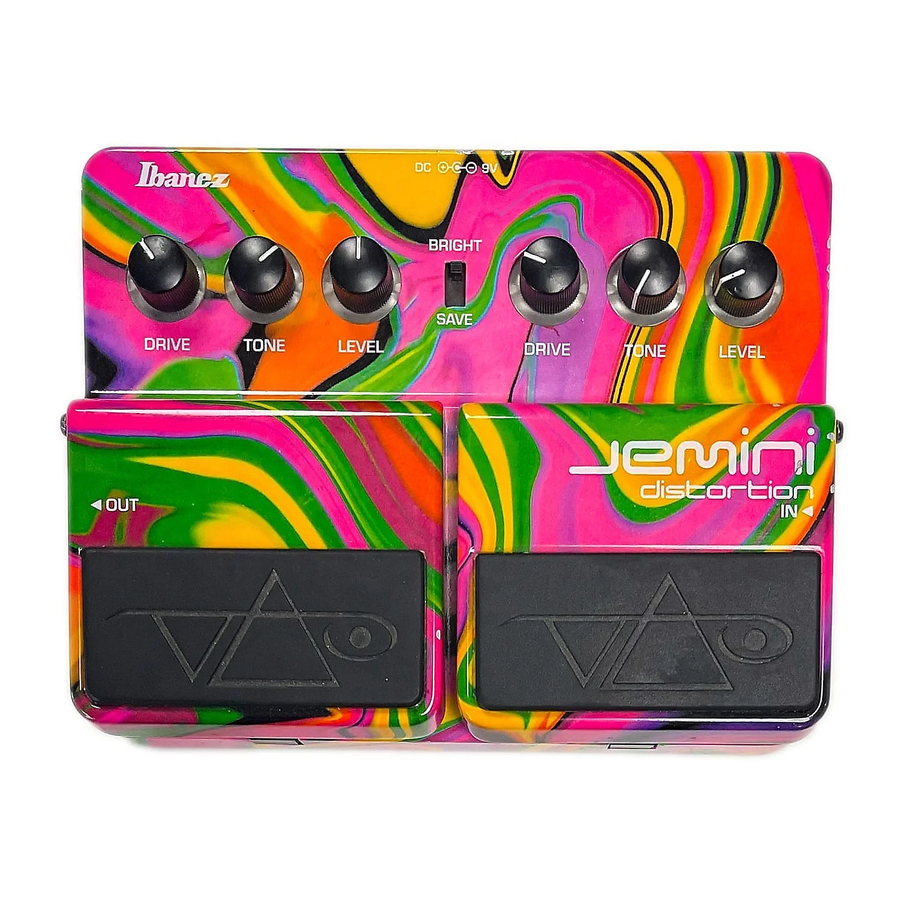
Summary of Contents for Ibanez JEMINI Distortion
- Page 1 This equipement fully conforms to the protection requirements of the following Council Directives. 2004/108/EC : Electromagnetic Compatibility MANUFACTURE : HOSHINO GAKKI CO., LTD. 22-3 Chome, Shumoku-Cho, Higashi, Nagoya, Aichi, Japan CE EU REPRESENTATIVE : HOSHINO BENELUX B.V. J.N. Wagenaanweg 9,1422 AK Uithoorn, Netherlands...
- Page 2 AC ADAPTER GUITAR GUITAR AMP - 1 -...
- Page 3 - 2 -...
- Page 4 • When not using the unit for a long time, remove the battery to avoid damage from battery leakage. • When using an AC adapter, use only the IBANEZ AC109, AC309 or AC509 adapter to prevent damage. • Don’t remove the screws on the bottom.
-
Page 5: Battery Replacement
. BATTERY REPLACEMENT 1 Press the button to open the pedal. 2 Release the battery snap and replace the battery. 3 Close the pedal. The input jack is used as the power supply switch when running on batteries. The power supply will be switched on when the plug is inserted into the input jack. 5. - Page 6 • Wenn Sie die Einheit für längere Zeit nicht verwenden, die Batterie entfernen, um mögliche Beschädigung durch ein Auslaufen der Batterie zu vermeiden. • Wenn Sie ein Netzgerät verwenden möchten, nur das Netzgerät IBANEZ AC109, AC309 oder AC509 verwenden, um eventuelle Beschädigungen zu vermeiden.
- Page 7 4. AUSWECHSELN DER BATTERIE 1 Drücken Sie die Taste, um das Pedal zu öffnen. 2 Geben Sie die Batteriehalterung frei und wechseln Sie die Batterie aus. 3 Schließen Sie das Pedal. Bei Betrieb mit Batterien wird die Eingangsbuchse als Stromversorgungsschalter verwendet. Die Stromversorgung wird eingeschaltet, wenn der Stecker in die Eingangsbuchse gesteckt wird.
- Page 8 • Si l’appareil doit rester inutilisé pendant une longue durée, retirer la pile afin d’eviter tout dommage dû à une fuite éventuelle de la pile. • Lors de l’utilisation d’un adaptateur CA, utiliser uniquement les adaptateurs IBANEZ AC109, AC309 ou AC509 pour éviter tout dommage.
- Page 9 4. AUSWECHSELN DER BATTERIE 1 Appuyez sur le bouton pour ouvrir la pédale. 2 Libérez la languette de la batterie et remplacez la batterie. 3 Refermez la pédale. La prise d’entrée sert de commutateur d’alimentation lors du fonctionnement sur batterie. L’appareil sera mis sous tension au branchement de la fiche dans la prise d’entrée. 5.
- Page 10 • Cuando no se va a utilizar la unidad durante mucho tiempo, quite la pila para evitar daños por fugas del electrólito. • Cuando se utiliza un adaptador de corriente alterna, utilice exclusivamente los adaptadores IBANEZ AC109, AC309 o AC509 para evitar daños.
- Page 11 1 Presione el botón para abrir el pedal. 2 Suelte la pila como un resorte y cambie la pila. 3 Cierre el pedal. Se utiliza la toma de entrada como interruptor principal cuando se hace funcionar con las pilas. Se alimentará la electricidad cuando se inserte el enchufe en la toma de entrada. 5.
- Page 12 • Quando non si usa l’unità per un lungo periodo, estrarre la pila per evitare danni dovuti a perdite di fluido della pila. • Quando si usa un trasformatore CA, usare solo un trasformatore IBANEZ AC109, AC309 o AC509 per evitare danni.
- Page 13 SOSTITUZIONE DELLA PILA 1 Premere il tasto per aprire il pedale. 2 Rilasciare lo scatto della pila e sostituire la pila. 3 Chiudere il pedale. La presa di ingresso è usata come l’interruttore di alimentazione durante il funzionamento a pile. L’alimentazione si attiva quando la spina viene inserita nella presa di ingresso. 5.
- Page 14 JEMINI • (IN) (IN) • • • • IBANEZ AC109 AC309 AC509 • AC ADAPTER GUITAR GUITAR AMP - 13 -...
- Page 15 DRIVE TONE LEVEL - BRIGHT: 49mA - SAVE : 23mA - 14 -...
- Page 16 / SPECIFICATIONS / TECHNISCHE DATEN / FICHE TECHNIQUE / ESPECIFICACIONES / CARATTERISTICHE TECNICHE /...


