Advertisement
Quick Links
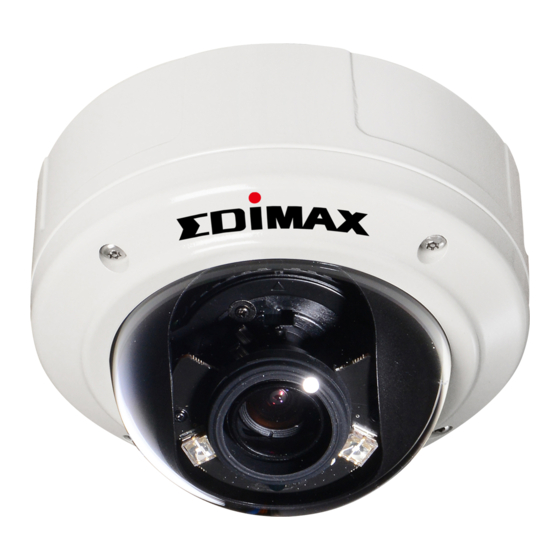
3Mpx PoE True Day & Night WDR
Vandal Dome Network Camera
Quick Installation Guide
Thank you for purchasing this product.
Before you use the product, please check the package
contents. If any item is missing, contact your dealer of
purchase to claim the missing item(s).
Package Contents:
No.
Description
1
Network IP camera
2
PU foam pad
3
CDROM with user manual, QIG and EdiView 32
4
QIG
5
Tools package
6
Terminal block (2 pins x 1 & 5 pins x 2)
Quantity
1
1
1
1
1
1
Advertisement

Summary of Contents for Edimax 3Mpx PoE
- Page 1 3Mpx PoE True Day & Night WDR Vandal Dome Network Camera Quick Installation Guide Thank you for purchasing this product. Before you use the product, please check the package contents. If any item is missing, contact your dealer of purchase to claim the missing item(s).
-
Page 2: Installation Of The Network Ip Camera
Installation of the Network IP Camera Please follow the instructions below to setup your new IP camera. Attach the front cover using the tool and screws included in the tools package. Attach the PU foam pad onto the bottom of the rear cover. Create your GPIO and power cable with the terminal blocks. - Page 3 motherboard. Terminal block definition: GPIO J17: 5 pins J18: 5 pins Power J15: 2 pins Pin No. Function Function Pin No. Function Pin 1 AGND Pin 1 DC 12V Pin 2 Audio Out Alarm In 1 Pin 2 Pin 3 Ext MIC In Alarm In 2 Pin 4...
- Page 4 Connect all of the cables to their respective terminals. Insert a micro SD/SDHC card (optional): please refer to the chart in chapter 1-1.4 of the user manual for the location. If the camera is connected to a PoE switch then the device can be powered without using the power adapter.
- Page 5 Search for the camera on your network You can use a web browser to access the network IP camera’s user interface (U.I.) and view images from the network IP camera. The system requirements to view the network IP camera are: ˙OS: Microsoft Windows XP/Vista/7 ˙Browser: IE7, 8, 9 (32Bit) ˙Cell phone: 3GPP player...
- Page 6 IP address: 192.168.2.3 User name: admin Password: 1234 You can access the camera directly if your PC resides in the same sub-network. Otherwise, use “IPFinder.exe” to search for the camera and assign an IP address before accessing it. 2. Open Internet Explorer and enter the IP address in the URL bar. The user login screen will prompt you for a username and password (admin, 1234): 3.
- Page 7 install the ActiveX plugin. For IE 9, the notification will be displayed at the bottom of Internet Explorer as shown below: Click “Allow” to install ActiveX plugin. If you see the following message: “Windows Firewall has blocked some features of this program” then please click “Allow access”...
- Page 8 6. After installing the ActiveX plugin, you should be able to see the video stream from the camera. Please refer to the user manual for more detailed instructions.


