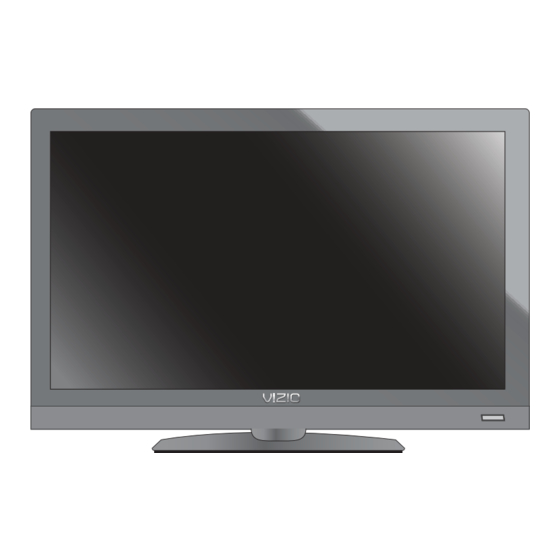
Vizio E320VA Quick Start Manual
Lcd hdtv
Hide thumbs
Also See for E320VA:
- User manual (88 pages) ,
- Quick start manual (2 pages) ,
- User manual (63 pages)

Related Manuals for Vizio E320VA


Summary of Contents for Vizio E320VA
- Page 1 VIZIO MODELS E320VA E420VA QUICK START GUIDE FULL USER MANUAL AVAILABLE AT VIZIO.COM...
-
Page 2: Important Safety Instructions
IMPORTANT SAFETY INSTRUCTIONS Your TV is designed and manufactured to operate within defined design limits. Misuse may result in electric shock or fire. To prevent • The lightning flash with arrowhead symbol within an equilateral triangle is intended to alert the user to the presence of your TV from being damaged, the following instructions should be observed for the installation, use, and maintenance of your TV. -
Page 3: Package Contents
PACKAGE CONTENTS VIZIO LCD HDTV Remote Control This Quick Start Guide 4 x Phillips Screws with Batteries HELP VIZIO REDUCE PAPER WASTE. DOWNLOAD THE FULL USER MANUAL AT VIZIO.COM/SUPPORT... -
Page 4: Using The Remote
USING THE REMOTE INPUT Change the currently-displayed input. POWER Turn TV on or off. A/V CONTROLS INFO Control USB media player. Display the info window. CLOSED CAPTIONS MENU Open the closed caption menu. Display the on-screen menu. EXIT ARROW Close the on-screen menu. Navigate the on-screen menu. -
Page 5: Installing The Base
INSTALLING THE BASE Place the TV screen-down on a clean, flat surface. To Place the TV on a stable, level surface. prevent scratches or damage to the screen, place the TV on a soft surface, such as carpet, rug, or blanket. Attach the base to the TV by tightening the four (4) included phillips screws with a screwdriver. -
Page 6: First Time Setup
FIRST-TIME SETUP Remove the battery cover by pressing gently on the Plug the power cord into an electrical outlet. arrow and sliding away from the remote. Insert the included batteries. Gently slide the battery cover back into place. - Page 7 Back of TV Coaxial Cable If you have an external antenna or a cable connection Turn the TV on by pressing the Power button on the that extends from a wall outlet, remote. connect it to the TV with an RF/Coaxial cable. The Setup App is displayed.
- Page 8 Use the Arrow buttons on the remote to highlight Select Home. your preferred language. Use the Right Arrow button to go to the next screen. Use the Right Arrow button to go to the next screen.
- Page 9 Use the Arrow buttons to highlight the input source Select Scan and press Right Arrow. that is delivering your TV signal. When the channel scan is complete, press the Exit Use the Right Arrow button to go to the next screen. button on the remote.
-
Page 10: Connecting Your Devices
CONNECTING YOUR DEVICES BACK OF TV Connect to HDMI port on side panel. Match colored connectors to colored ports. - Page 11 Choose ONE connection type for each device. Commonly-connected (Cables are not included.) devices: • DIGITAL HDMI CABLE • HD VIDEO BEST (1080P)* • HD AUDIO Cable or Satellite Boxes COMPONENT CABLE • ANALOG • HD VIDEO BETTER (1080I)* • STEREO AUDIO Blu-ray or DVD Players ™...
- Page 12 DO YOU HAVE QUESTIONS? LET US HELP! YOUR PRODUCT INCLUDES FREE LIFETIME TECH SUPPORT The VIZIO support team is highly trained and is based in the United States. We can help with: New Product Setup • Connecting Your Devices •...
-
Page 13: Help Topics
HELP TOPICS • The on-screen menu has guided setup. Press MENU, then select HELP > System Reset. How do I return to the Select Start Setup Wizard and press OK. Setup App? • To reset the TV to factory defaults, press MENU > HELP > System Reset. Select Reset All Settings and press OK. -
Page 14: Legal & Compliance
LEGAL / COMPLIANCE FCC Class B Radio Interference Statement NOTE: This equipment has been tested and found to comply with the limits for a Class B digital device, pursuant to Part 15 of the FCC Rules. These limits are designed to provide reasonable protection against harmful interference in a residential installation. -
Page 15: Limited Warranty
(90) days of commercial use. If a Product covered by this warranty is determined to be ABOVE. ANY IMPLIED WARRANTIES, INCLUDING ANY IMPLIED WARRANTY OF MERCHANT- defective within the warranty period, VIZIO will either repair or replace the Product at its sole ABILITY AND FITNESS FOR A PARTICULAR PURPOSE, SHALL BE LIMITED IN DURATION option and discretion. - Page 16 © 2012 VIZIO INC. ALL RIGHTS RESERVED. 120522OC-B...