Table of Contents
Advertisement
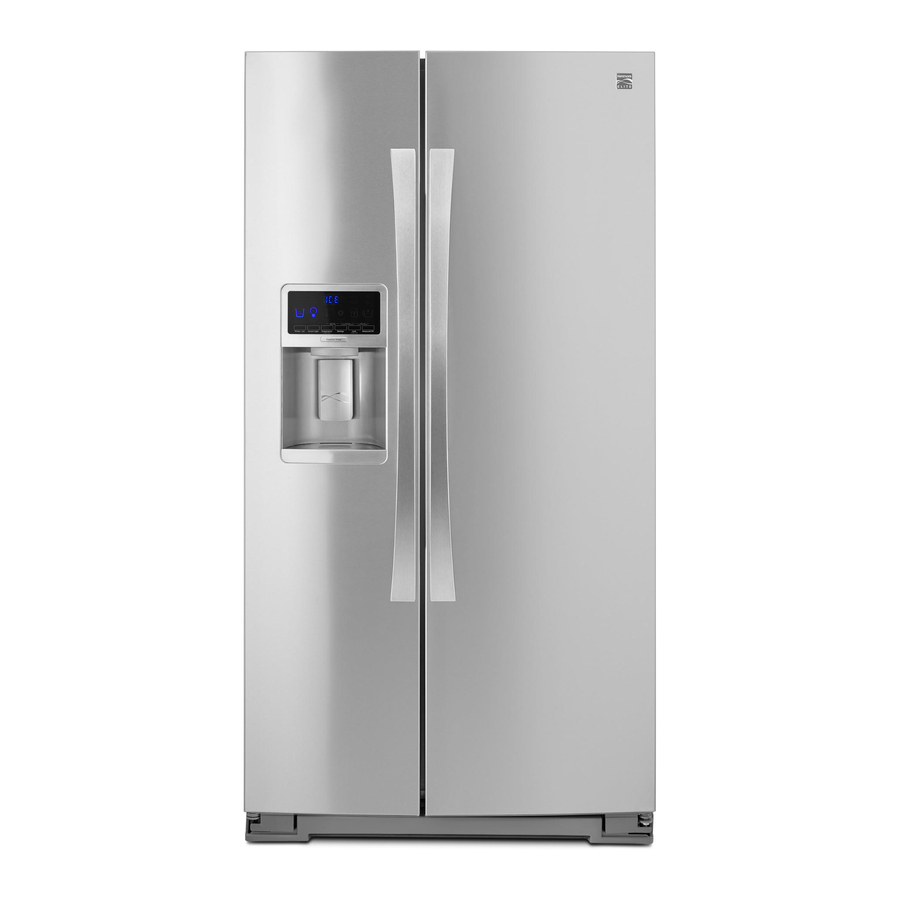
Side by Side Refrigerator
Use & Care Guide
Lado a Lado Refrigerador
Guia para su uso y cuidado
Compartiments
C6te _ C6te R_frig_rateur
Guide d'utilisation et d'entretien
Sears,
Roebuck
and Co., Hoffman
Estates,
IL 60179 U.S.A.
Sears Canada,
Inc., Toronto,
Ontario,
Canada
M5B 2B8
www.sears.com
241566600(0403)
Advertisement
Table of Contents

Related Manuals for Kenmore Kenmore Elite Side by Side Refrigerator


Summary of Contents for Kenmore Kenmore Elite Side by Side Refrigerator
- Page 1 Use & Care Guide Lado a Lado Refrigerador Guia para su uso y cuidado Compartiments C6te _ C6te R_frig_rateur Guide d'utilisation et d'entretien Sears, Roebuck and Co., Hoffman Estates, IL 60179 U.S.A. www.sears.com Sears Canada, Inc., Toronto, Ontario, Canada M5B 2B8 241566600(0403)
- Page 2 Congratulations on your purchase of a new refrigerator! At Sears, we are very proud of our product and completely committed to providing you with the best service possible. Your satisfaction is our #1 priority. Thank you for choosing Sears; we hope...
-
Page 3: For Your Safety
Pleasereadall instructionsbeforeusingyour newrefrigerator For Your Safety • Do not store or use gasoline, or other flammable liquids in the vicinity of this or any other appliance Read product labels for warnings regarding flammability and other hazards • Do not operate the refrigerator in the presence of explosive... - Page 4 RETURN IT TO THE NEAREST SEARS STORE IN THE UNITED STATES and Sears will replace free of charge. This warranty gives you specific legal rights and you may also have other rights which vary from state to state. Warranty service...
-
Page 5: Canada- Limitedwarranty
What Sears will do, free of charge, in case of defect: How long warranted Parts: At Sears' option, Labor: install What is covered? (from date of sale)? either repair or supply repaired or replacement part for:... -
Page 6: Master Protection Agreements
Master Protection Agreements Maintenance Agreements Congratulations on making a smart purchase. Your new Your purchase has added value because you can depend on Sears HomeCentral ® for service. With over 2400 Kenmore ® appliance is designed and manufactured years of dependable operation. -
Page 7: Installation Clearances
This Owner's Guide provides specific operating instructions for your model. Use the refrigerator only as instructed in this Use & Care Manual. Before starting refrigerator, follow these important first steps. Location • Choose a place that is near a grounded electrical outlet. - Page 8 Toe GrilleInstallation& Removal grille: To remove the toe 1 Open freezer and refrigerator compartment doors. 2 Working from left side of toe grille, slip your fingers between top of toe grille and cabinet. Gently pull forward until first set of tabs are free. Slide your hand down past the free tabs and pull forward...
- Page 9 ConnectingThe Ice MakerTo Your WaterSupply To avoidelectricshock,whichcan causedeathor severepersonal i njury,disconnectthe refrigerator f rom electricalpowerbeforeconnectinga watersupply lineto the refrigerator. To AvoidPropertyDamage: • Coppertubingis recommended for the water supplyline.Watersupplytubingmaded ¼" plasticis not recommended since it greatlyincreasesthe potentialfor water leaks. Manufacturer w ill notbe responsible for anydamageif plastictubingis usedfor supplyline.
- Page 10 To connect your water supply line to the ice maker inlet valve: 1 Disconnect refrigerator from electric power source. 2 Place end of water supply line into sink or bucket. Turn ON water supply and flush supply line until water is clear.
- Page 11 Tools Necessary: '_i_, 3/8" FL'<ed Phillips" Head Wrench Before you start: 1 Make sure the electrical power cord is unplugged from the wall outlet. 2 Open both doors and remove the toe grille (see page 8). Remove any food from the door shelves. 4 Close the doors.
- Page 12 Your refrigerator is designed for optimal convenience and storage flexibility. Use the illustration below to familiarize yourself with product features and terminology. CAUTION: Freezer and Refrigerator Controls Do Not Remove ice Cream Shelf_ Magnet Behind Dairy ice Maker ____ Compartment Fixed Door Bin Shelf...
-
Page 13: Allowingcoolingtime Beforeuse
AllowingCoolingTime BeforeUse To ensure reliable food storage, allow your refrigerator and freezer to operate with the doors closed for 8 to 12 hours before placing food inside. During this cooling period, do not need to adjust the controls, which are preset at the factory. - Page 14 What To Do If The Temperature Displays Flash If ever you see the temperature displays continuously flashing, it may indicate that the control system has detected a performance problem. Call your Sears service representative, who can interpret the flashing message.
- Page 15 SystemMonitoringAlarms The electronic control system continuously monitors your refrigerator/freezer temperature consistency, doors left ajar, and power failures. Variances from normal operating conditions are communicated by audible tones and a set of four status indicator lights. COLD AlarmReset Button IndicatorLights Eachtime you makesettingson thecontrol panel,a singleaudibletoneacknowledges your input.
-
Page 16: Turning The Cooling Systemon And Off
Using The Alarm Reset Button You can disable or activate the alarm system by pressing and holding the Reset button ALARM for three seconds. Use it, for example, to turn off audible tones and/or flashing indicator lights. The alarmsystemdoesnot automatically resetif you disconnect a nd reconnectyour refrigerator's powercord. -
Page 17: Cantilever Shelves
To avoid injuryfrom breakage,handletemperedglass shelvescarefully.Shelvesmay break suddenlyif nicked,scratched,or exposedto suddentemperaturechange. Cantilever Shelves You can easily adjust shelf positions in the freezer and fresh food compartments to suit your needs. The shelves have mounting brackets, which attach to slotted supports at the rear of each compartment. -
Page 18: Meat Keeper
Leafyvegetableskeepbestwhenstoredwith the HumidityControlset on HigherHumidity, or in a drawerwithouta HumidityControl.This keepsincomingair to a minimumand maintainsmaximummoisturecontent. Meat Keeper Some models are equipped with a meat keeper drawer for short term storage bulk meat items. This drawer includes a sliding control for adjusting temperature inside. - Page 19 Accessories Tall Bottle Retainer The tall bottle retainer keeps tall containers in the bin from falling forward when opening or closing the refrigerator door. To install, snap the ends of the retainer over the edge of the retainer wall as shown in the illustration.
-
Page 20: Using The Dispenser
UsingThe Dispenser Your automatic ice & water dispenser includes a control panel, a drinking glass bay, and two push-paddles for turning on the ice and water supplies. Using the dispenser control panel is necessary for the ice dispenser but not the water dispenser. -
Page 21: Ice And Water Dispenser
l Aut--° ° °omatic Ice & Water Dispenser PrimingThe WaterSupplySystem Your refrigerator's water supply system includes several tubing lines, an advanced water filter, a distribution valve bank, and a reserve tank to ensure ample supply to the ice and water dispenser at all times. - Page 22 The ice makeralsohasa built-inwire signalarm,whichautomaticallystopsiceproduction whenthe ice bin is full. This signalarmshouldnotbe usedto manuallystop theice maker. Ice Dispenser Tips • Ice cubes stored too long may develop an odd flavor. Empty the ice container explained on the next page. • Occasionally shake the ice container to keep ice separated.
-
Page 23: Locatingthe Filters
l+Aut+++omatic Ice & Water Dispenser To clean the ice dispenser: 1 Turn off ice production by pressing the On/Off switch to the "O" position. Remove the ice bin by lifting up and out. Empty and carefully clean the ice bin with mild detergent. Rinse with clear water. -
Page 24: Replacing The Water Filter
OrderingReplacementFilters Order new filters through the dealer where you bought your refrigerator, or contact Sears PartsDirect at 1-800-366-PART. You may want to consider ordering extra filters when you first install your refrigerator. Here are the product number to request when... -
Page 25: Replacing The Air Filter
l+ReplacingFilters it 25 ReplacingTheAir Filter In general, you should change the air filter every six months to ensure optimal filtering refrigerator odors. You may want to adjust this time period depending on the types and amounts of food you typically store in your refrigerator. -
Page 26: Ideas For Savingenergy
Frozen Food Storage • Keep the freezer compartment at 0 ° F or lower (see page 14 for more about temperature settings). ,, A freezer operates most efficiently when it is at least 2/3 full. Packaging Foodsfor Freezing • To minimize food dehydration and quality deterioration,... -
Page 27: Normal Operatingsounds & Sights
Normal OperatingSounds & Sights Your new high-efficiency refrigerator may introduce unfamiliar sounds. These sounds normally indicate your refrigerator is operating correctly. Some surfaces on floors, walls, and kitchen cabinets may make these sounds more noticeable. Following is a list of major components in your refrigerator and the sounds... -
Page 28: Protectingyour Investment
ProtectingYour Investment Keeping your refrigerator clean maintains appearance and prevents odor build-up. Wipe up any spills immediately and clean the freezer and fresh food compartments at least twice a year. When cleaning, take the following precautions: • Never use metallic scouring pads, brushes, abrasive... -
Page 29: Care& Cleaningtips
Care & Cleanln Care& CleaningTips Part Cleaning Agents Tipsand Precautions Interior& DoorLiners • Soapandwater • Use2 tablespoonsof bakingsodain 1 quartof warmwater. • Bakingsodaandwater • Be sureto wring excesswaterout of spongeor cloth beforecleaningaround controls,lightbulb or anyelectricalpart. DoorGaskets • Soapandwater • Wipegasketswitha clean soft cloth. Drawers&... -
Page 30: Replacing Light Bulbs
ReplacingLight Bulbs Both the freezer and fresh food compartments of your refrigerator include light bulbs that will need replacing from time to time. Some lights have covers that you will need to remove before replacing the bulbs. Always use bulbs that are designed for appliance lighting. -
Page 31: Before You Call
Digital temperature displays are • Electronic control system has detected • Call your Sears service representative, who can interpret flashing, a performance problem, any messages or number codes flashing on the digital displays. - Page 32 Temperatures Are Too Warm Problem Cause Correction Freezer/Refrigerator temperature is • Doors are opened too frequently or too • Warm air enters the refrigerator whenever the door is too warm. long opened Open the door less often. • Door is slightly open. •...
-
Page 33: Ice Dispenser
Before You Call Automatic Ice Maker Problem Cause Correction Ice maker is not • ice maker is producing less ice than you • ice maker should produce approximately 4-5 pounds of ice every 24 making enough expect. hours. Rapid Ice should produce up to 6 pounds of ice every 24 ice. - Page 34 Water Dispenser Problem Cause Correction Waterhas an odd • Water has been in the tank for a period of • Draw and discard 10-12 glasses of water to freshen the supply and tasteand/or time. completely rinse out the tank. odor. •...